This plugin version is deprecated but you can still download it from here.
First Time Installation
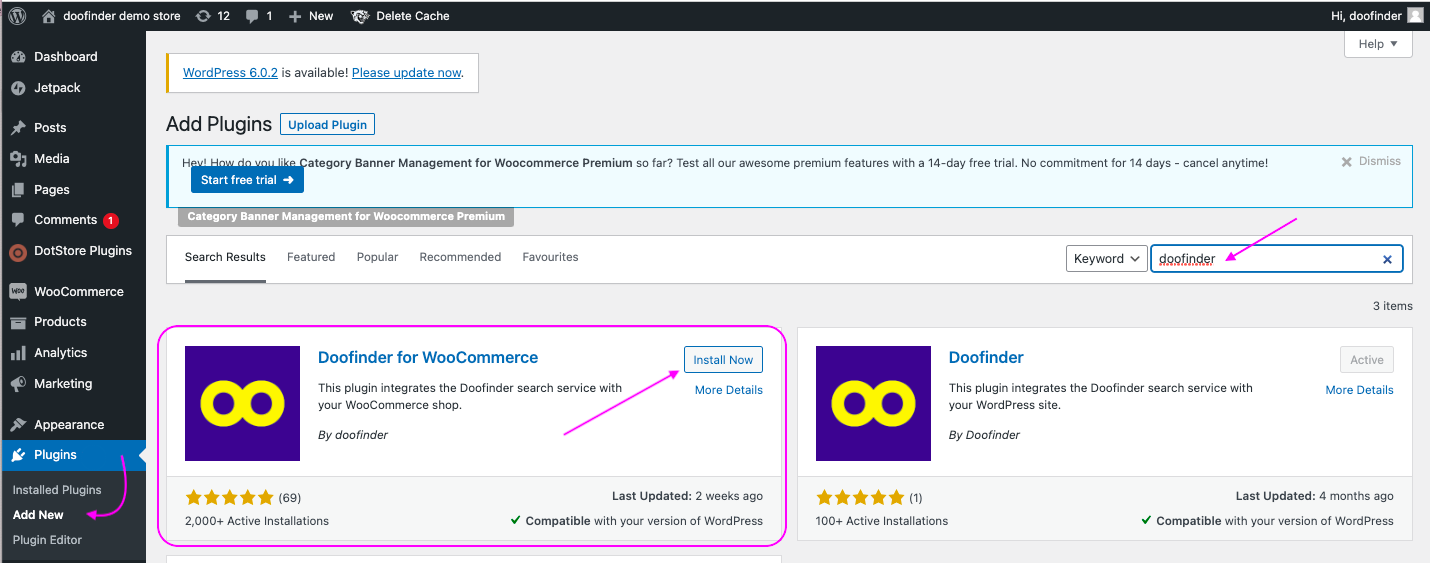
1.Inside your WooCommerce Admin Panel, go to Plugins > Add New, type 'doofinder' in the search box and click on the 'Install Now' button.
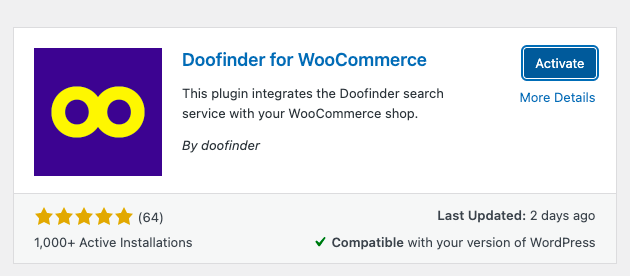
2.Click on Activate to activate the plugin.
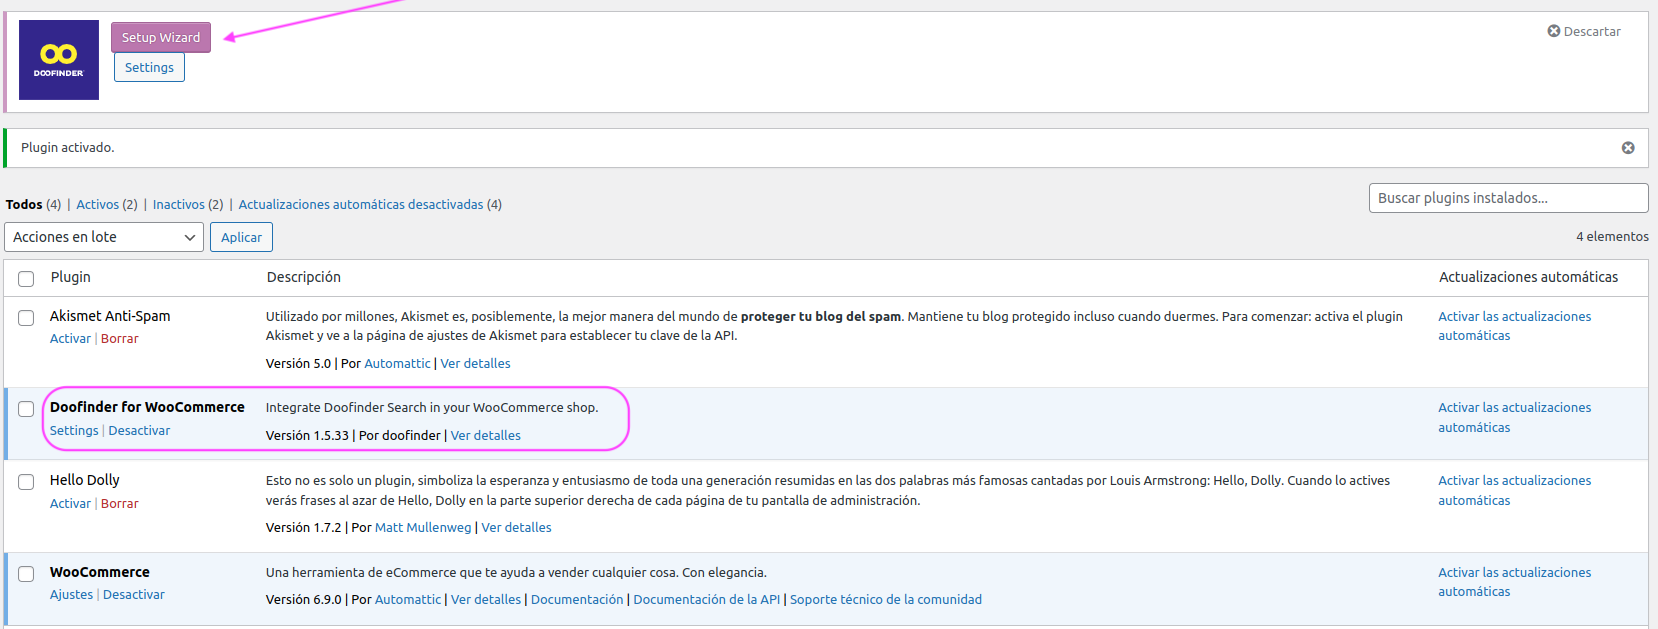
3.Go to Plugins > Installed Plugins> and find your newly installed 'Doofinder for WooCommerce' plugin. Click on the 'Setup Wizard' button to start the configuration.
The setup wizard is divided into four steps and will guide you through the installation process.
- Step 1: Choose your business sector from the dropdown menu and click on 'Next'.
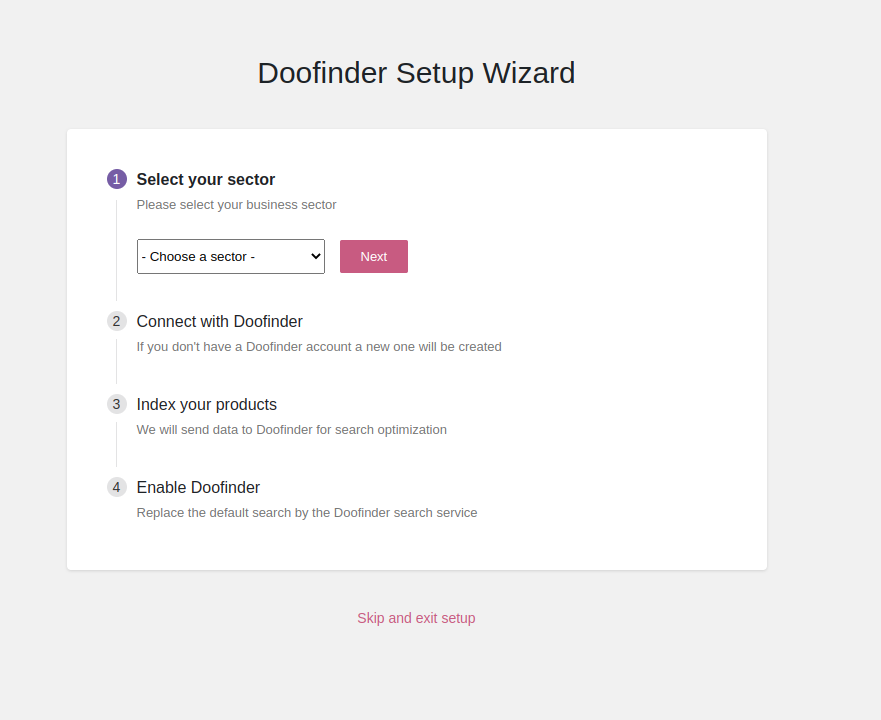
- Step 2: Log in with an existing account or register for a new free trial very easily.
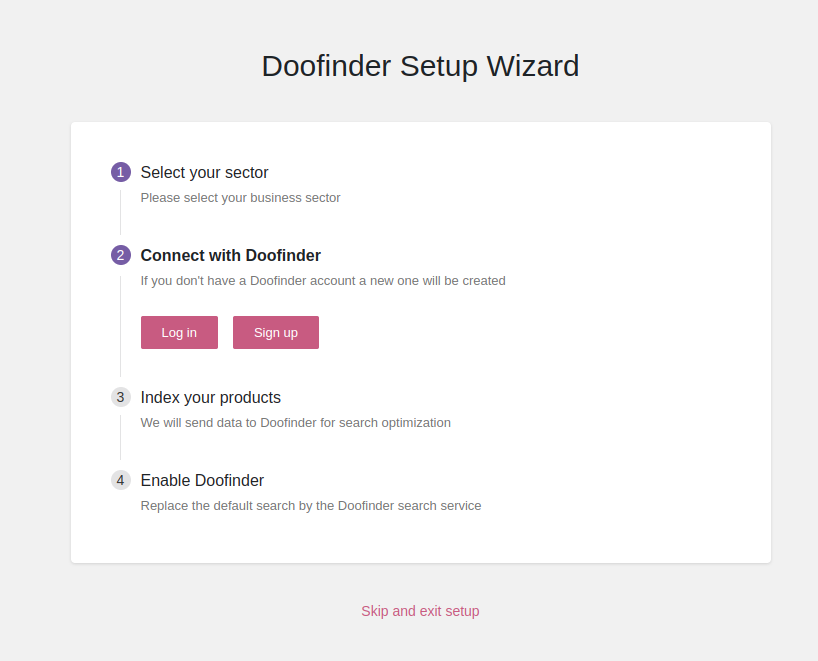
- Step 3 and 4 : Index, search engines and layer will be created automatically. Simply wait for the wizard to finish the setup.
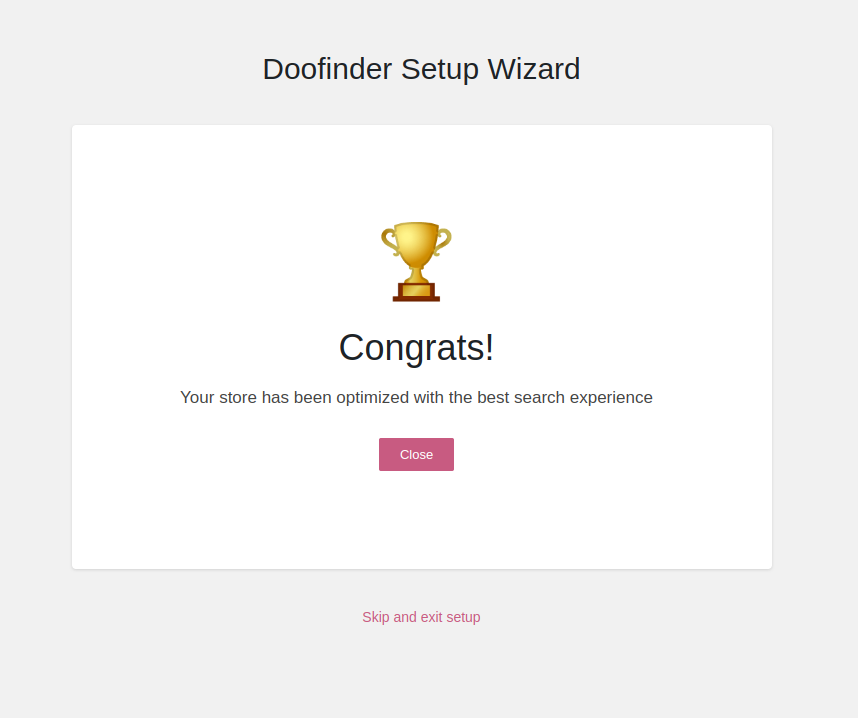
You are ready to go! Keep reading to explore the 'Manual Installation' option or go to 'Post-Installation'.
Manual Installation
You can install the plugin manually by any of these two methods:
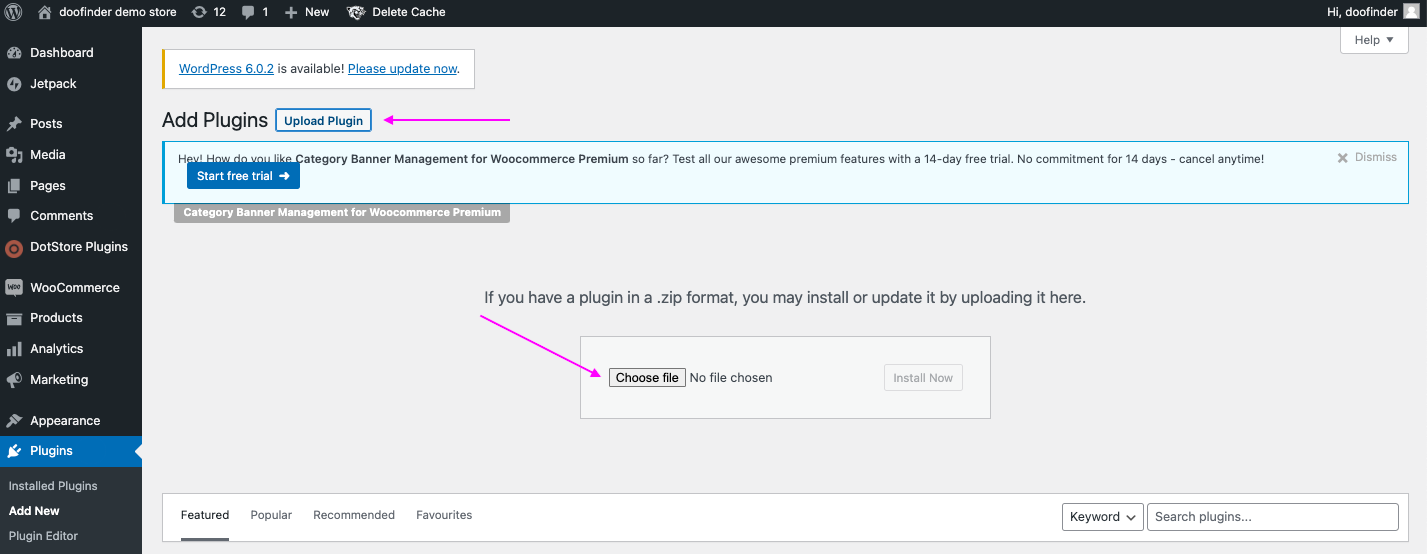
- In the WordPress admin panel, go to Plugins > Add New. Click "Upload Plugin". Choose the * .zip file containing the plugin, and click "Install Now".
- Or you can unpack the contents of the
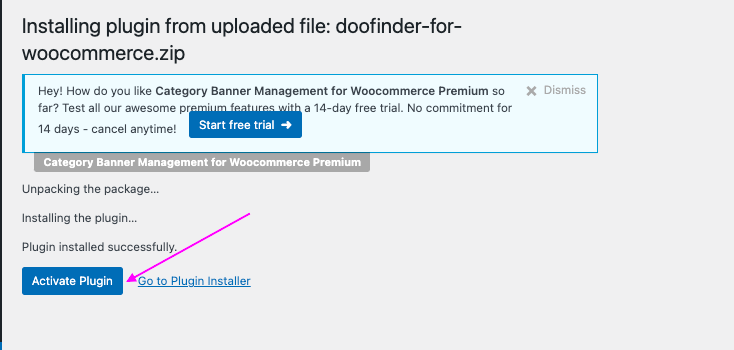
.zipfile containing the plugin to the plugin's folder in the typical WordPress installation that will be/wp-contents/pluginsfolder, and click "Install Now".
Then click on 'Activate Plugin'.
Post Installation
Once installed, click on Settings to access Doofinder configuration to check everything is OK.


Authentication and Search
It requires both the correct API key and the Hash ID of the search engine registered in Doofinder, but also checks that the other fields are correct.
API Key: Your API key can be found in the Doofinder Admin Panel. Click on your profile Icon (in the header) and then on API Tokens.

API Host: Verify your zone is correct, followed by your url. e.g.: https://eu1-api.
Admin Endpoint: Verify your zone is correct, followed by your url. e.g.: https://eu1-admin.
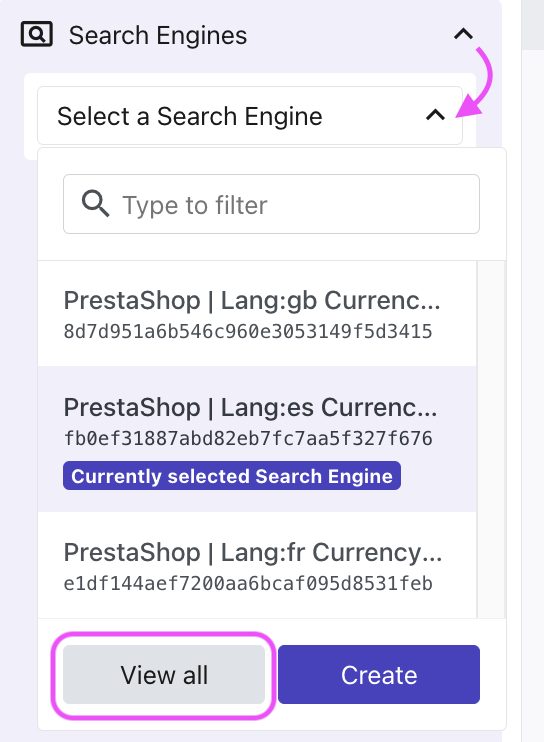
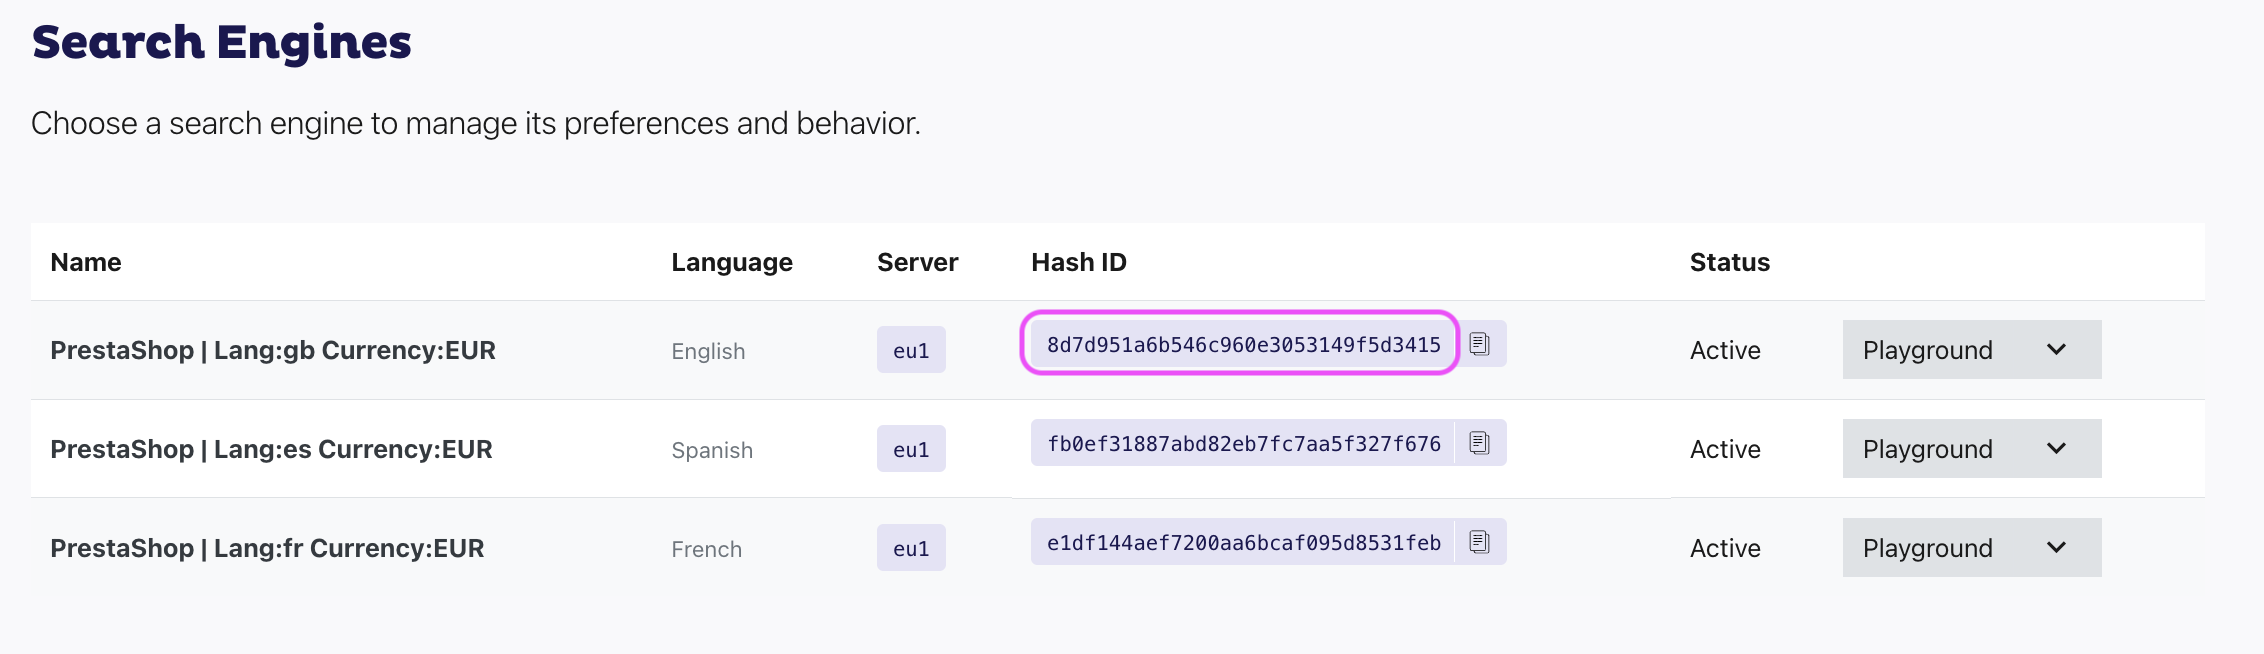
Hash ID: Search Engine's Hash ID can be found in the Doofinder Admin Panel. Click on Search Engines, view all, and Hash ID will be visible next to the name of your Search Engine.
Search Server: Verify your zone is correct, followed by your url. e.g.: https://eu1-search.
Layer
A Fullscreen Live Layer will be generated and activated by default. To create a new layer or customize it, check these articles 'Create a Layer' and 'Appearance'.
Script
The script is generated automatically during the installation process. You can also copy and paste the script from your doofinder Admin panel into the layer snippet box in your WooCommerce Store.

Search Engine
The search engine is automatically created.
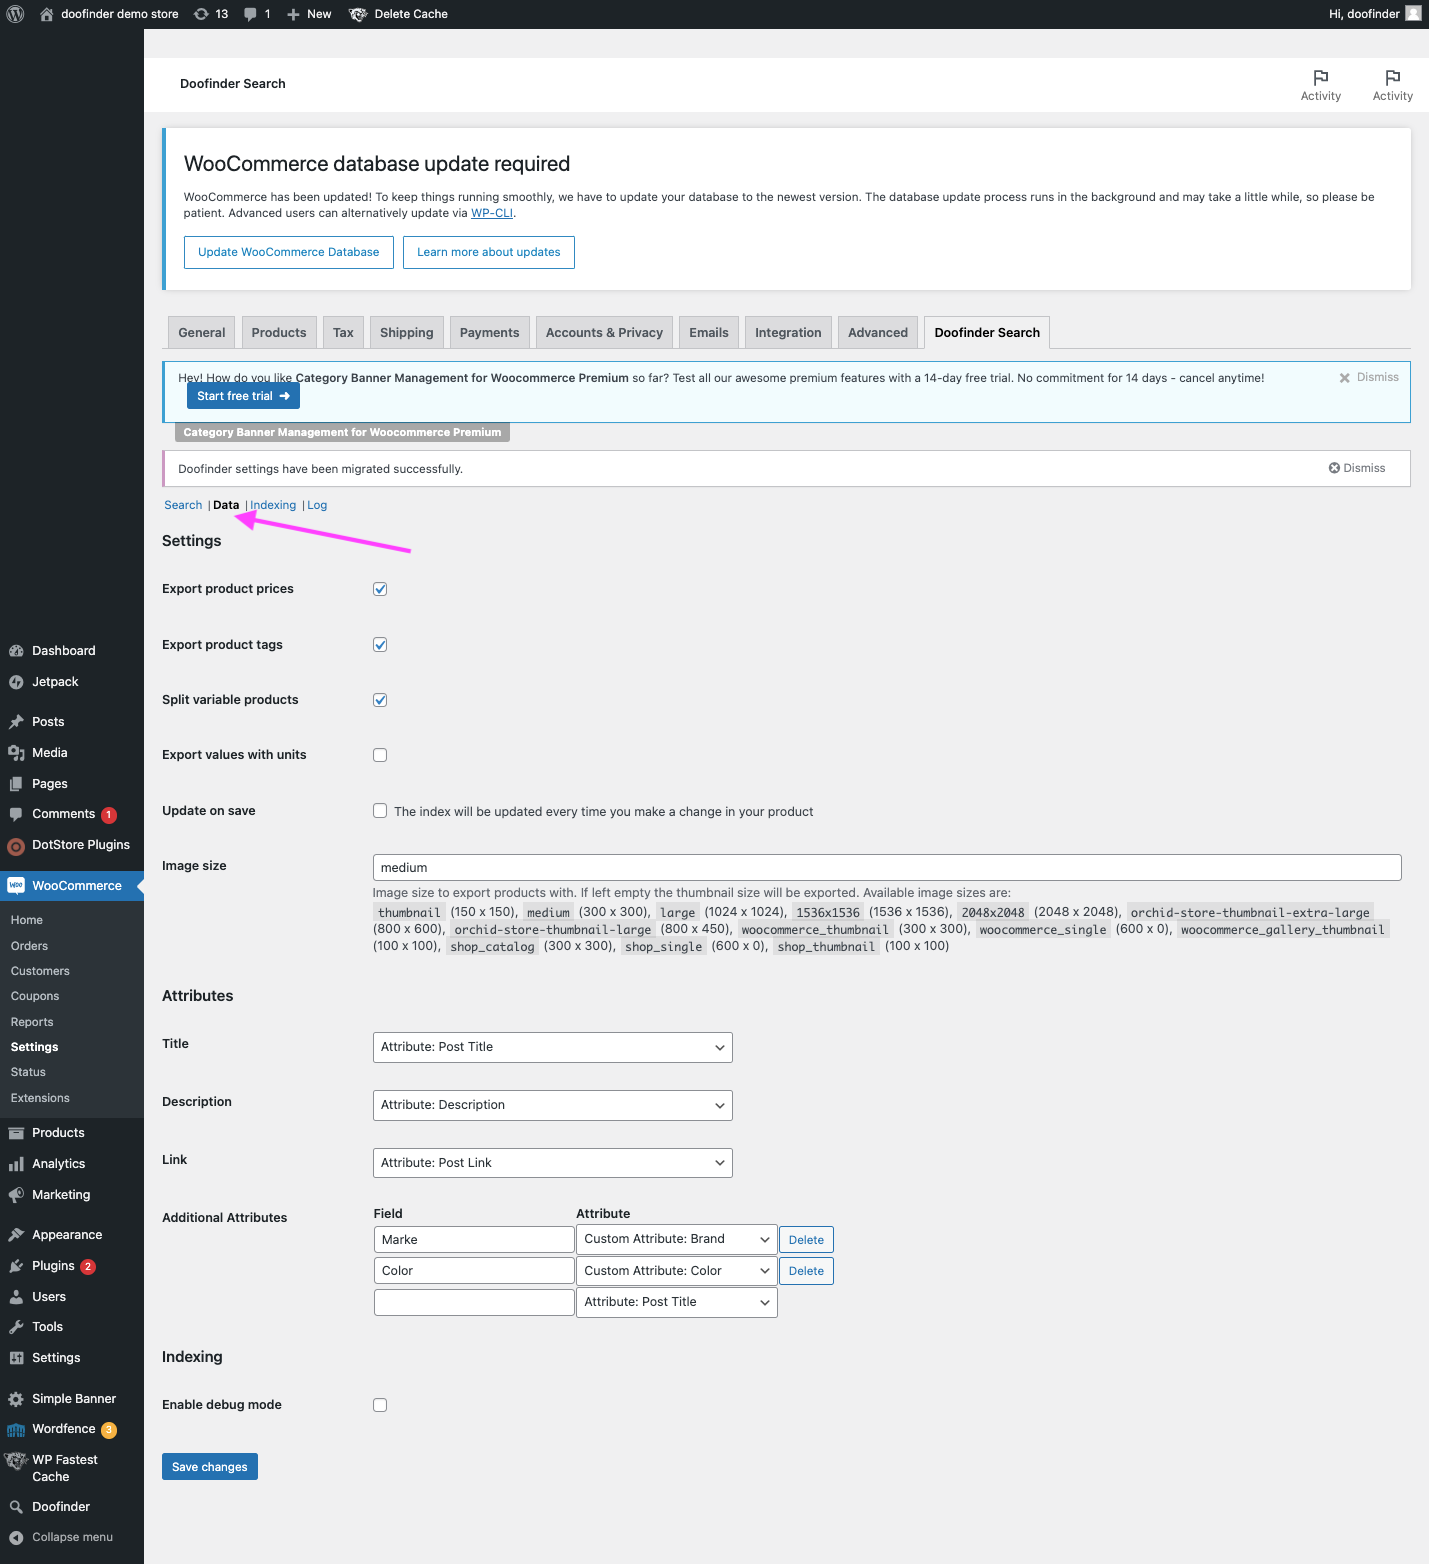
Data Feed
Choose your data feed options by clicking the box. Always remember to 'Save Changes'.
Export Product Prices
The product feed will contain prices of the products. If it is not selected, then prices will be omitted.
Export Product Tags
Product tags will be exported in the feed under the tags tag.
Split Variable Products
Each variation of the variable product will be exported as a separate product.
Update on Save
The index will be updated every time you make a change in your product catalog.
Export values with units (where applicable)
Width, height, length and weight of the products will be exported with units. If the option is not selected, then only the number will be exported.
Image Size
Select the image size to export products with. If left empty, the thumbnail size will be exported.
Attributes
You can change the default database fields used for the feed fields and add any additional fields you want to export. For example, by default, the product description (from the WordPress WYSIWYG editor) is exported as "description" in the feed. But you may want to export the "Short description" instead. Just choose it from the drop-down menu.
Additional Attributes
You can choose the additional attributes you want to export in addition to the default ones. To do this, simply type the name of the attribute you want to add in the "Field" field (how you want the attribute to appear in the feed), and in the "Attribute" drop-down you can choose which value should be exported. Then click Save. You can click Delete to remove the additional attributes from the feed.