Video last updated before 31-12-2024
Installation
To begin the installation process, you'll need to download the App from the Shopify App Store site and connect it to your Doofinder account. You can do this from your Shopify backend.
Step 1: Log in to your Shopify account and download the Doofinder application from the Marketplace. Inside your Shopify account, click on the search bar to open the search widget, or press CMD (⌘) + K on a Mac keyboard, or SHIFT (↑) + K on a Windows keyboard to start the search.
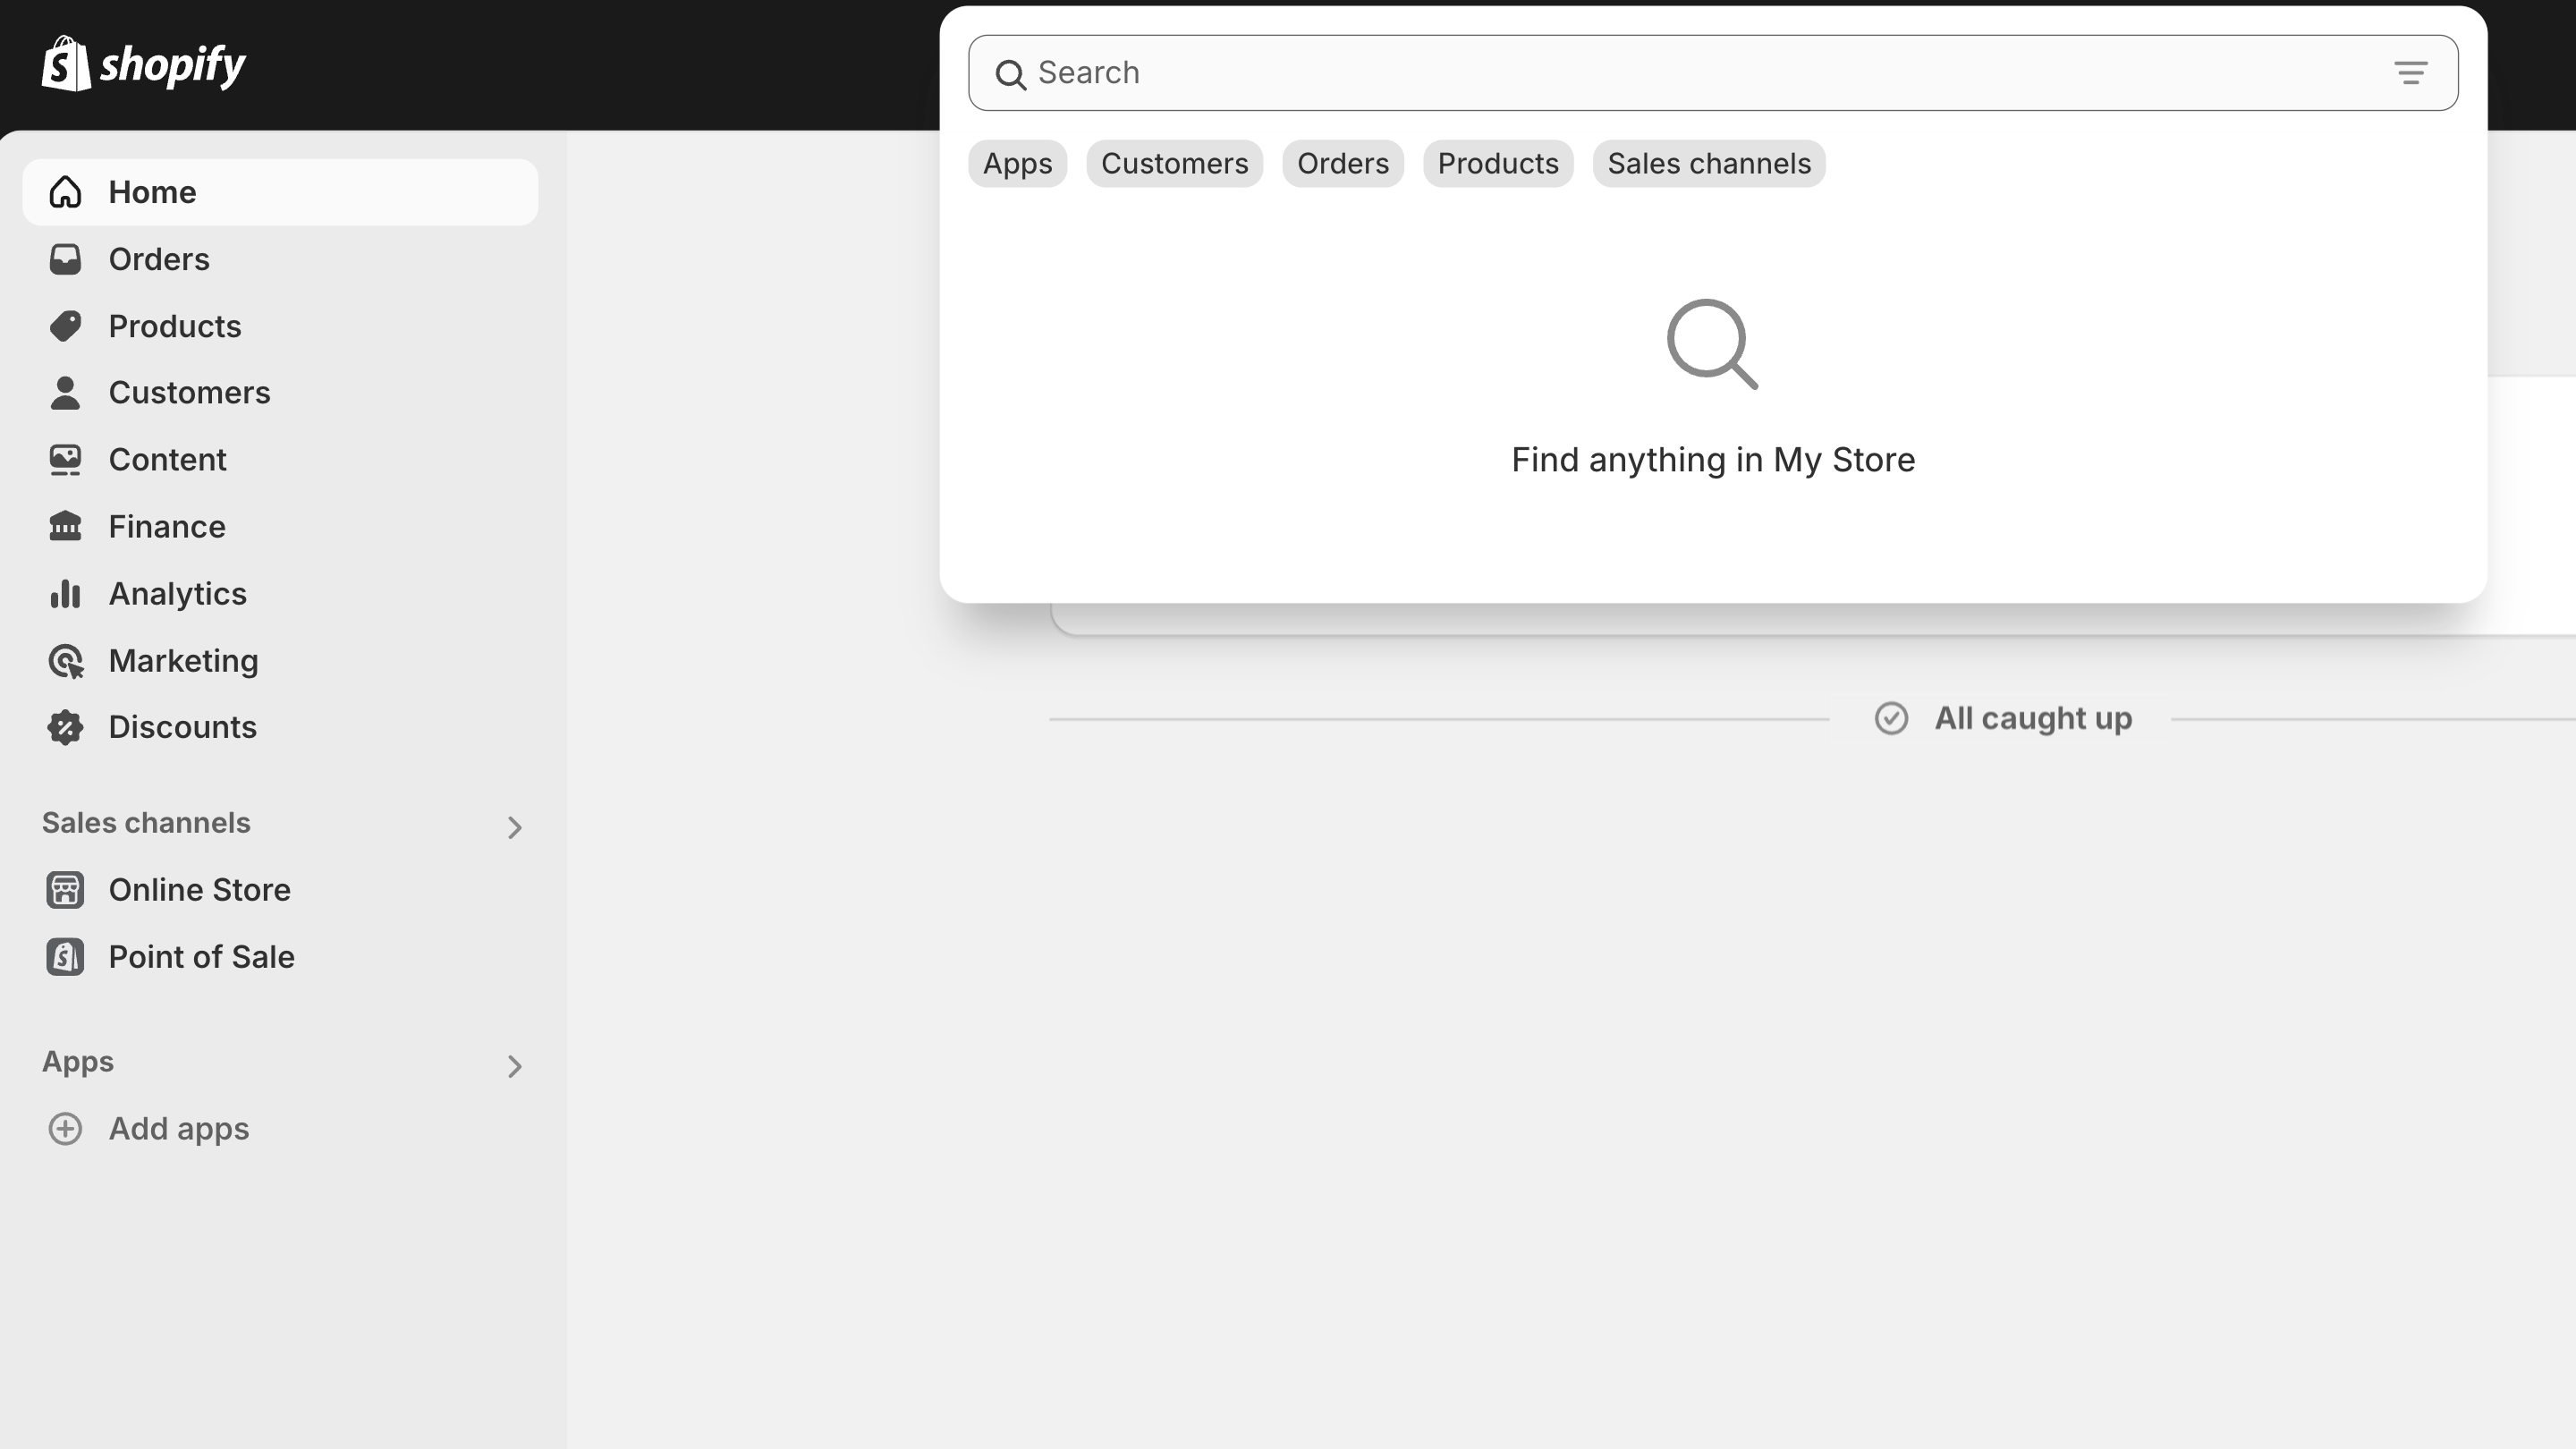
Step 2: Look for "Doofinder" and click on the App.
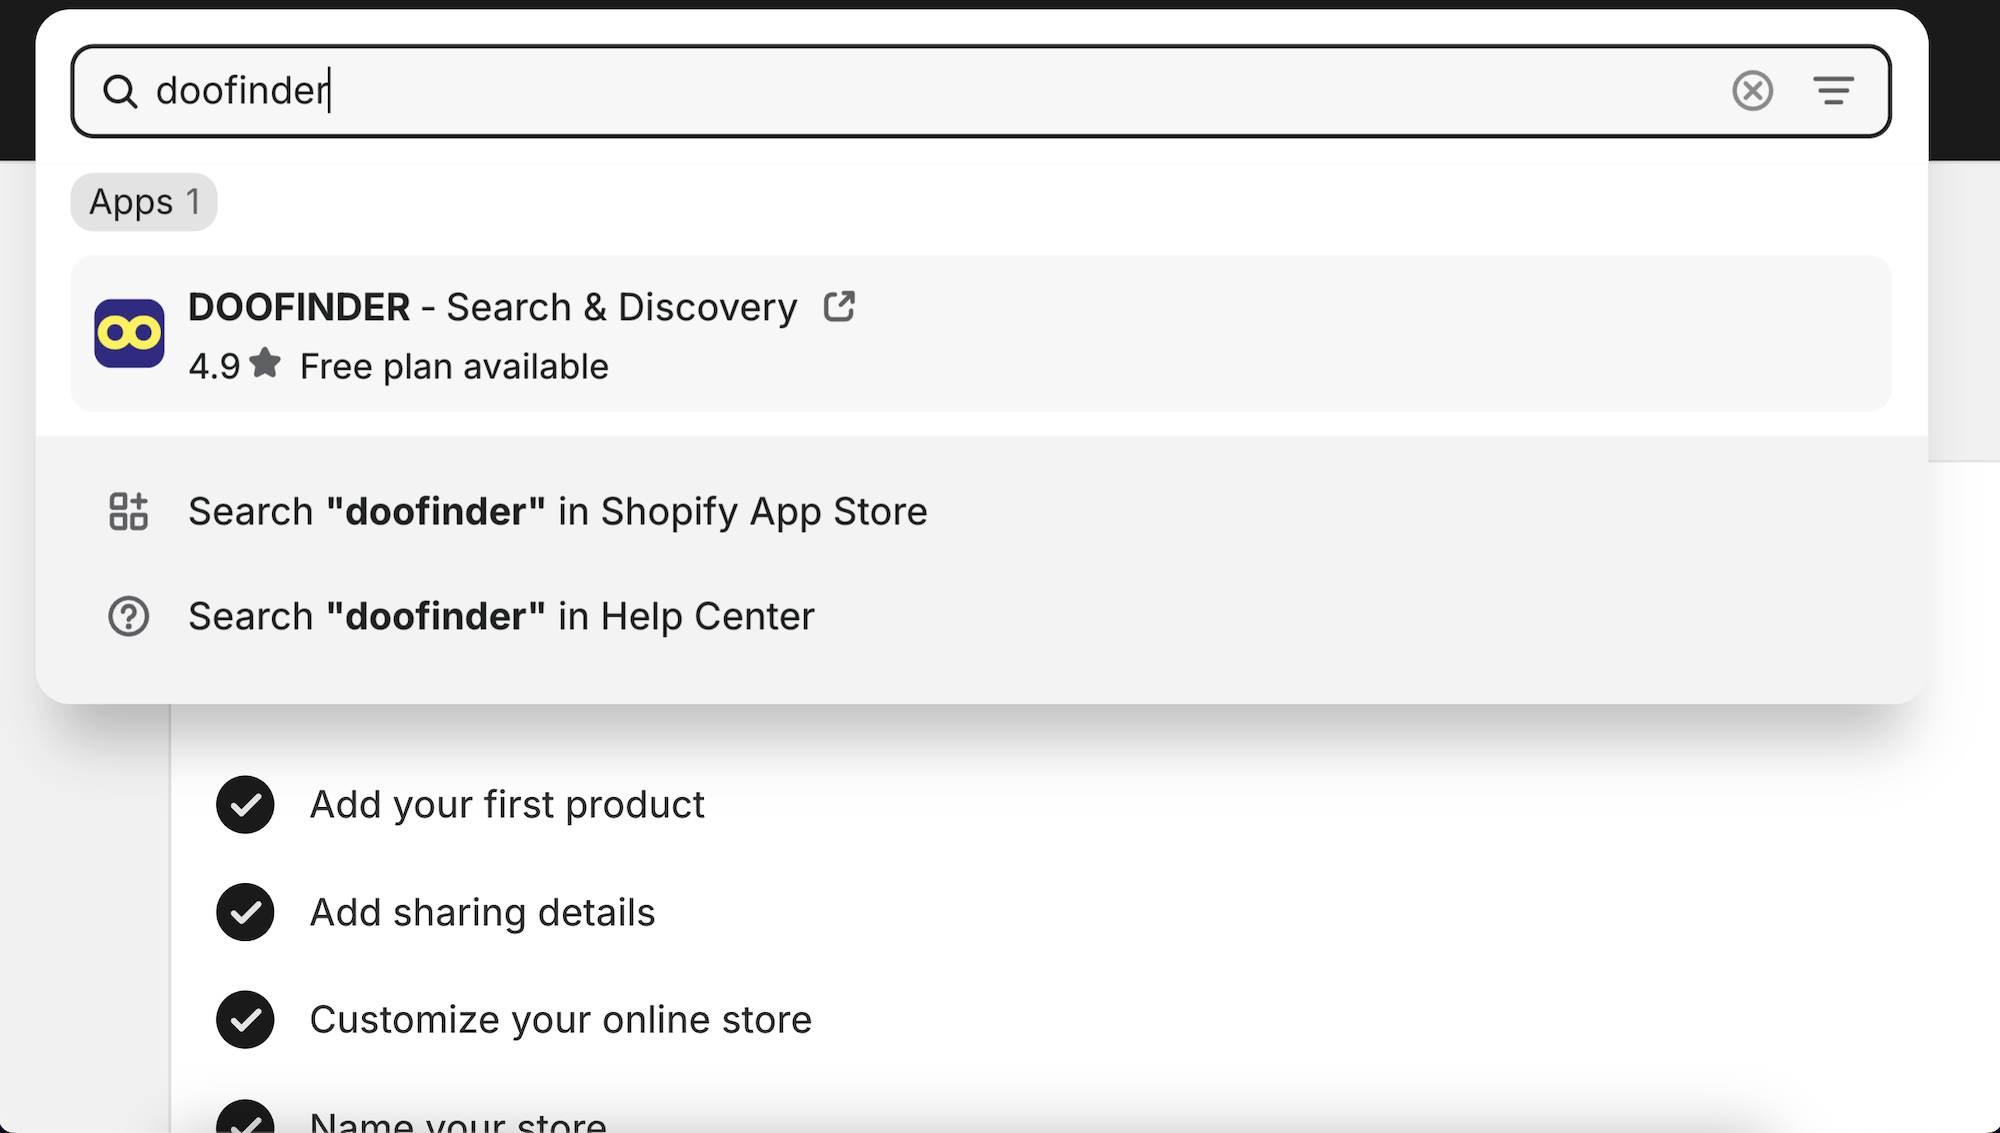
Step 3: You are now on the Shopify App Store site. Click on the 'Install' button.
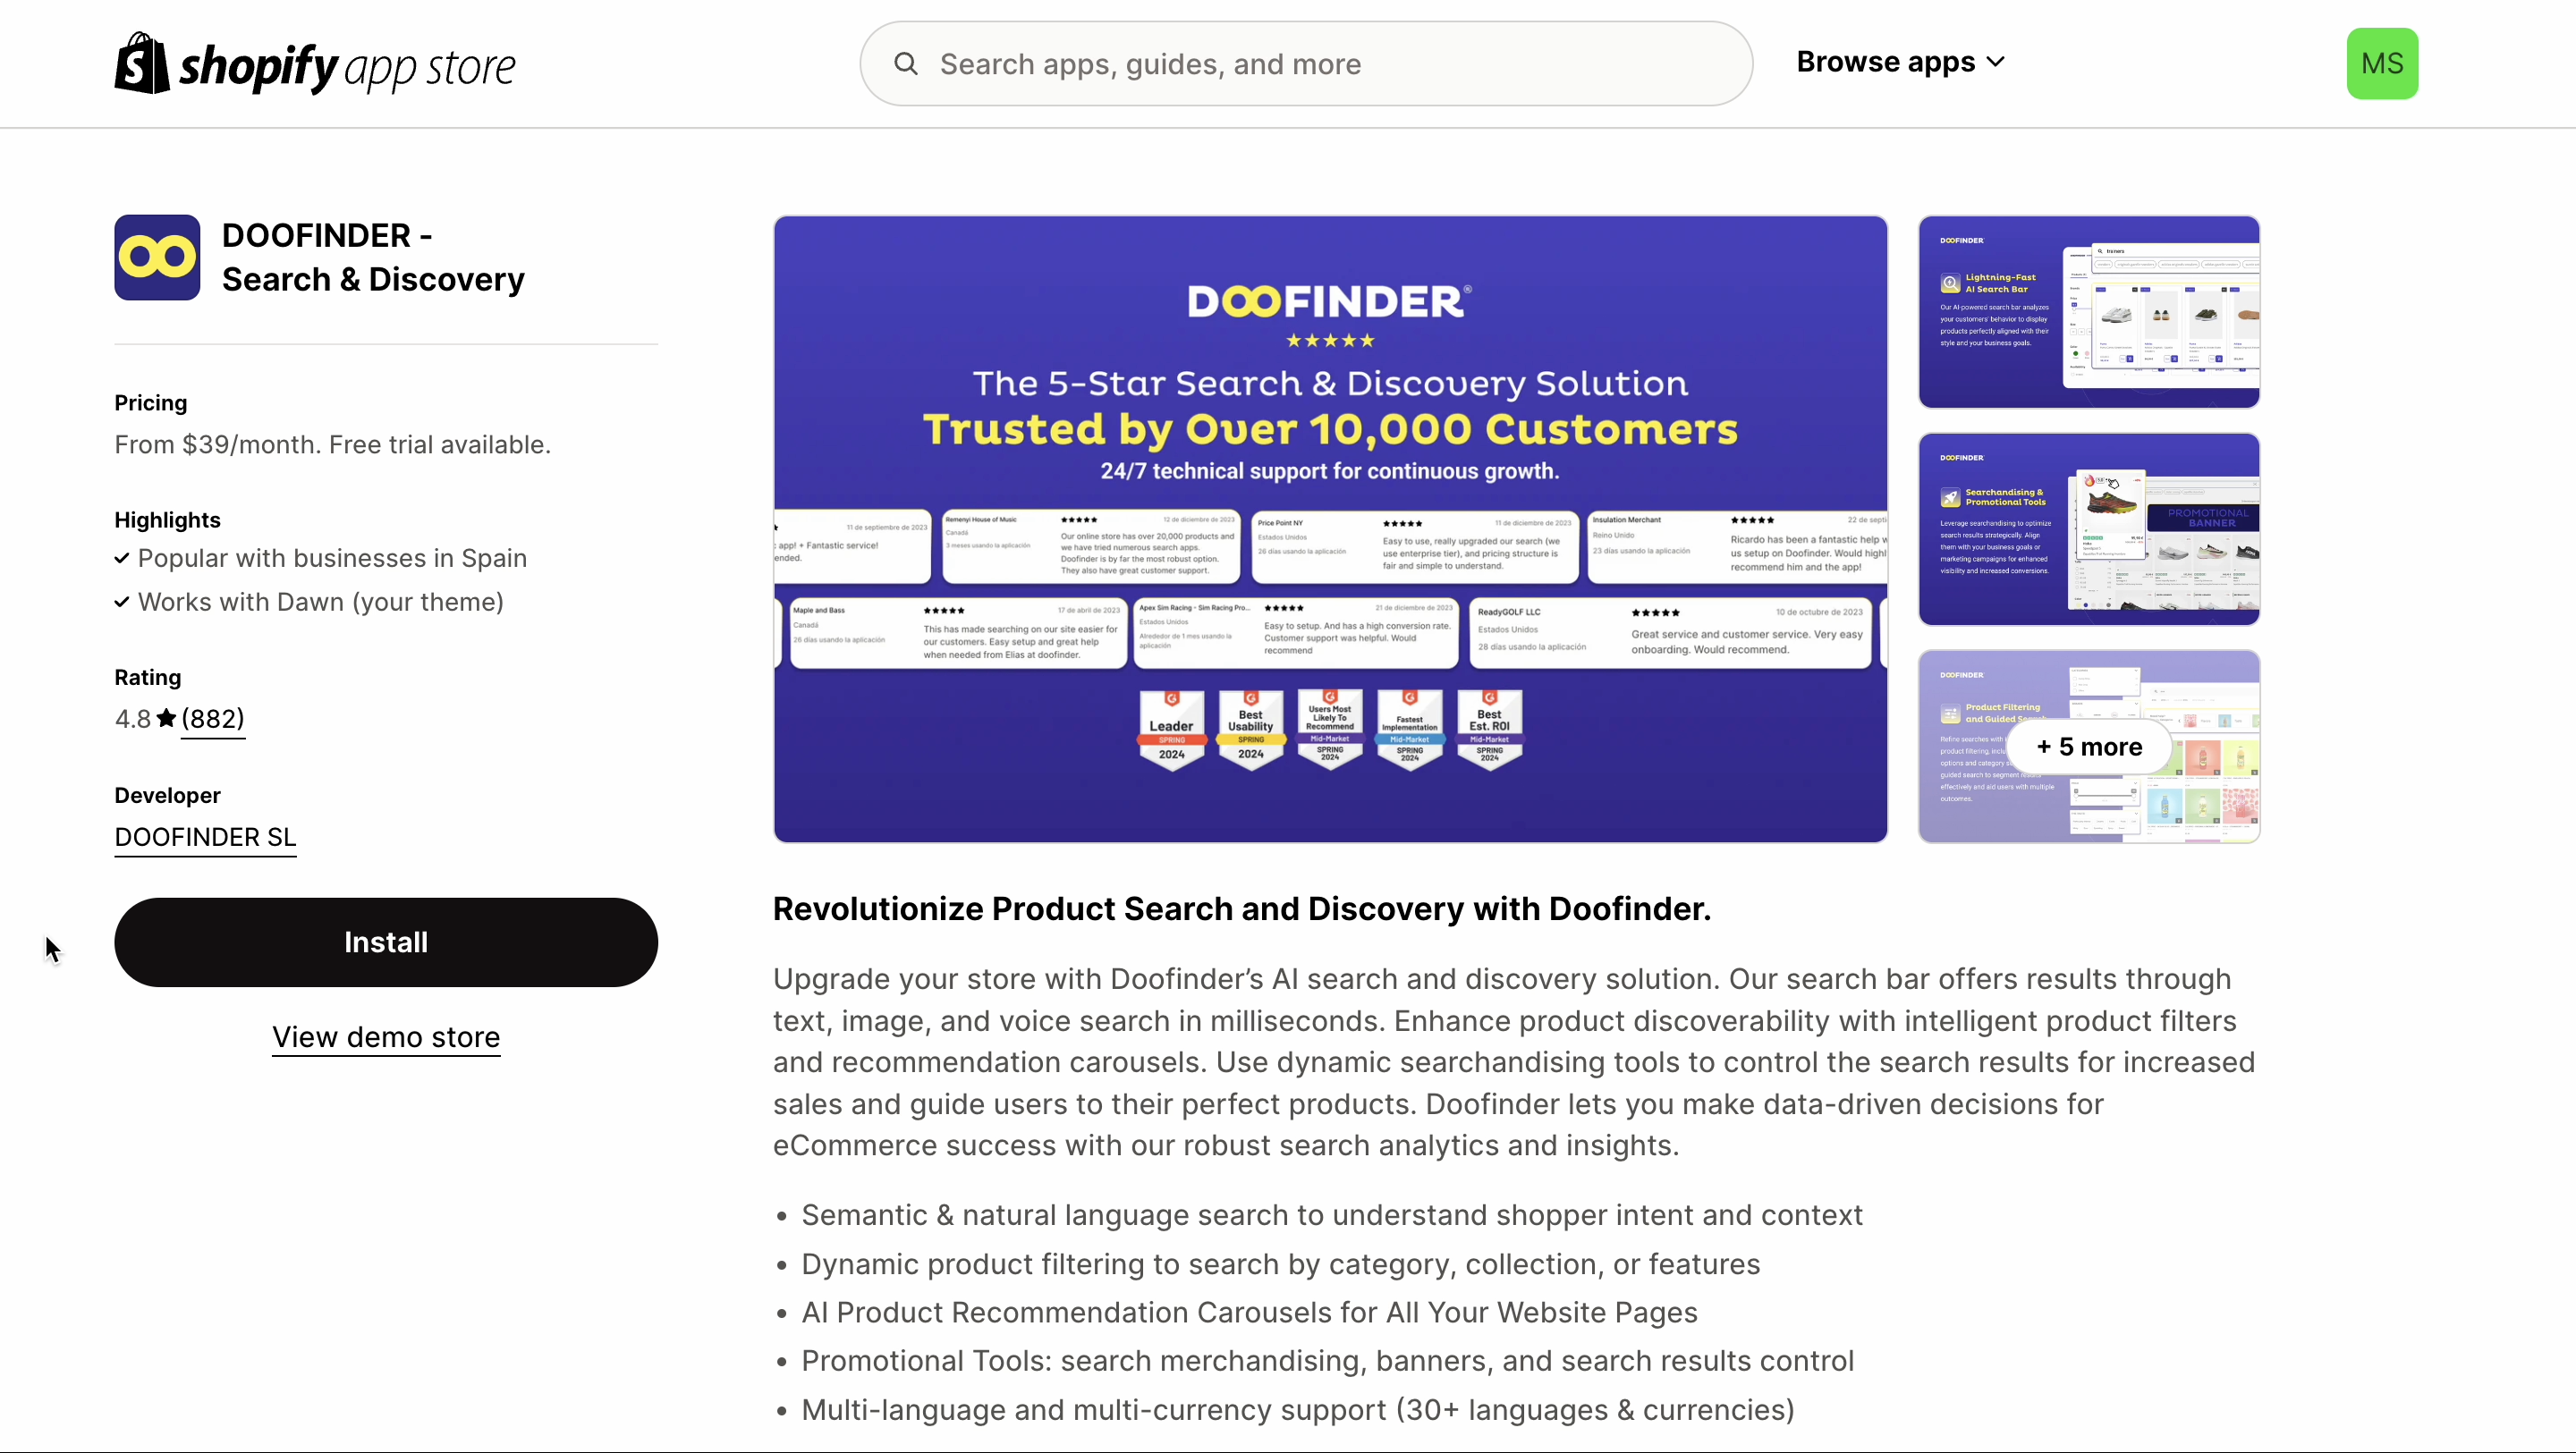
Step 4: Now, click on the “Install” button to install the Doofinder app on your Shopify backend.
Post-Installation
Step 5: Once installed, you’ll be redirected to Doofinder, and it will immediately start indexing your Shopify catalog on your Doofinder backend. This means that the indexation process has started. The Doofinder app is now accessible and visible in the left-side menu under "Apps."
Note that Doofinder won't be activated until the indexation process is finished.
As the Doofinder App continues indexing, you can explore the Admin Panel. You have now access to:
- Home
- Search
- Recommendations
- Quiz Maker
- Configuration
- Account
- Help Center
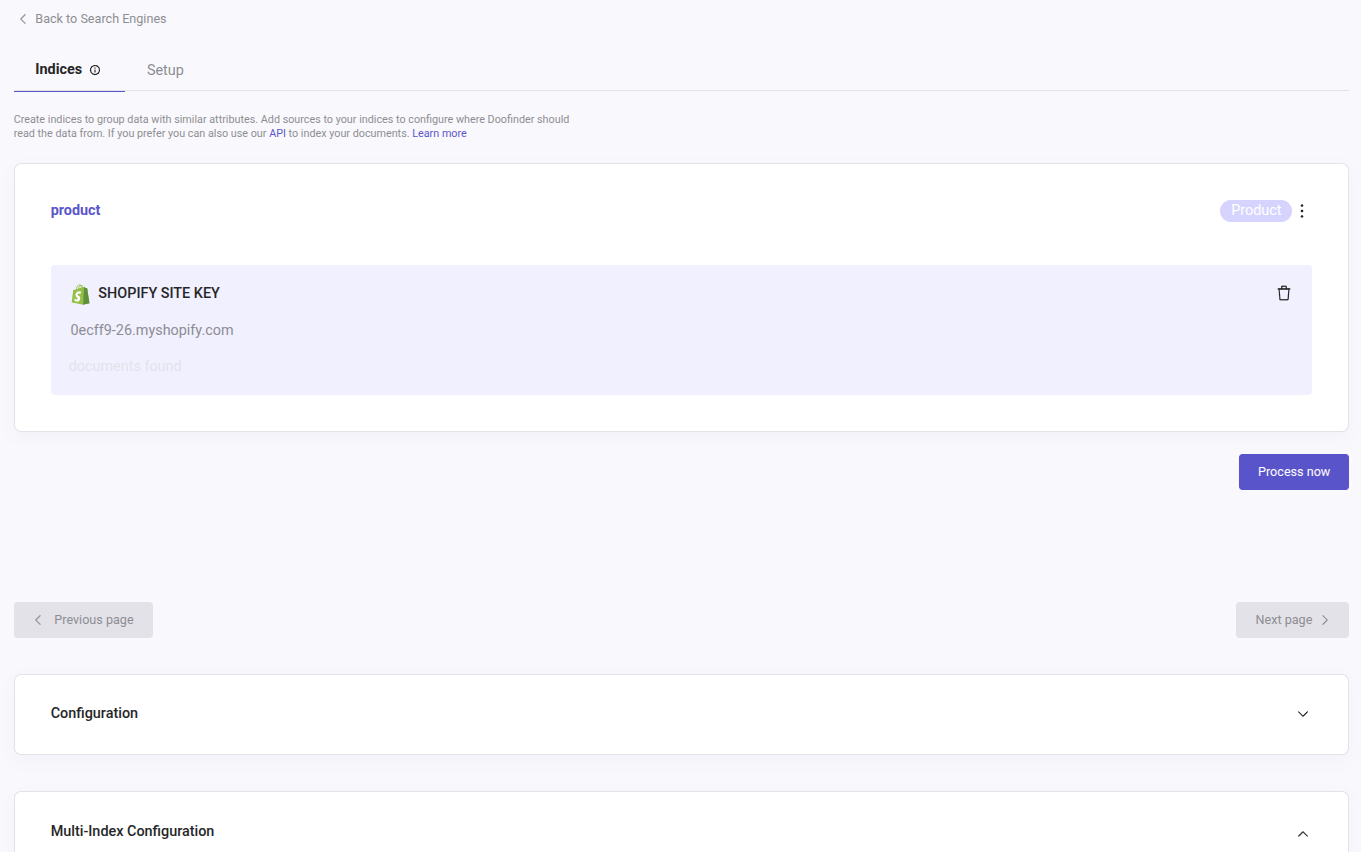
Step 6: Once the indexation is finished, you can check its status in your Doofinder Admin Panel. Once inside the Doofinder Admin Panel, go to Configuration > Search Engines > click on the Search Engine > Indices.
Here, you’ll be able to see your Shopify Site Key and check the indexation status.
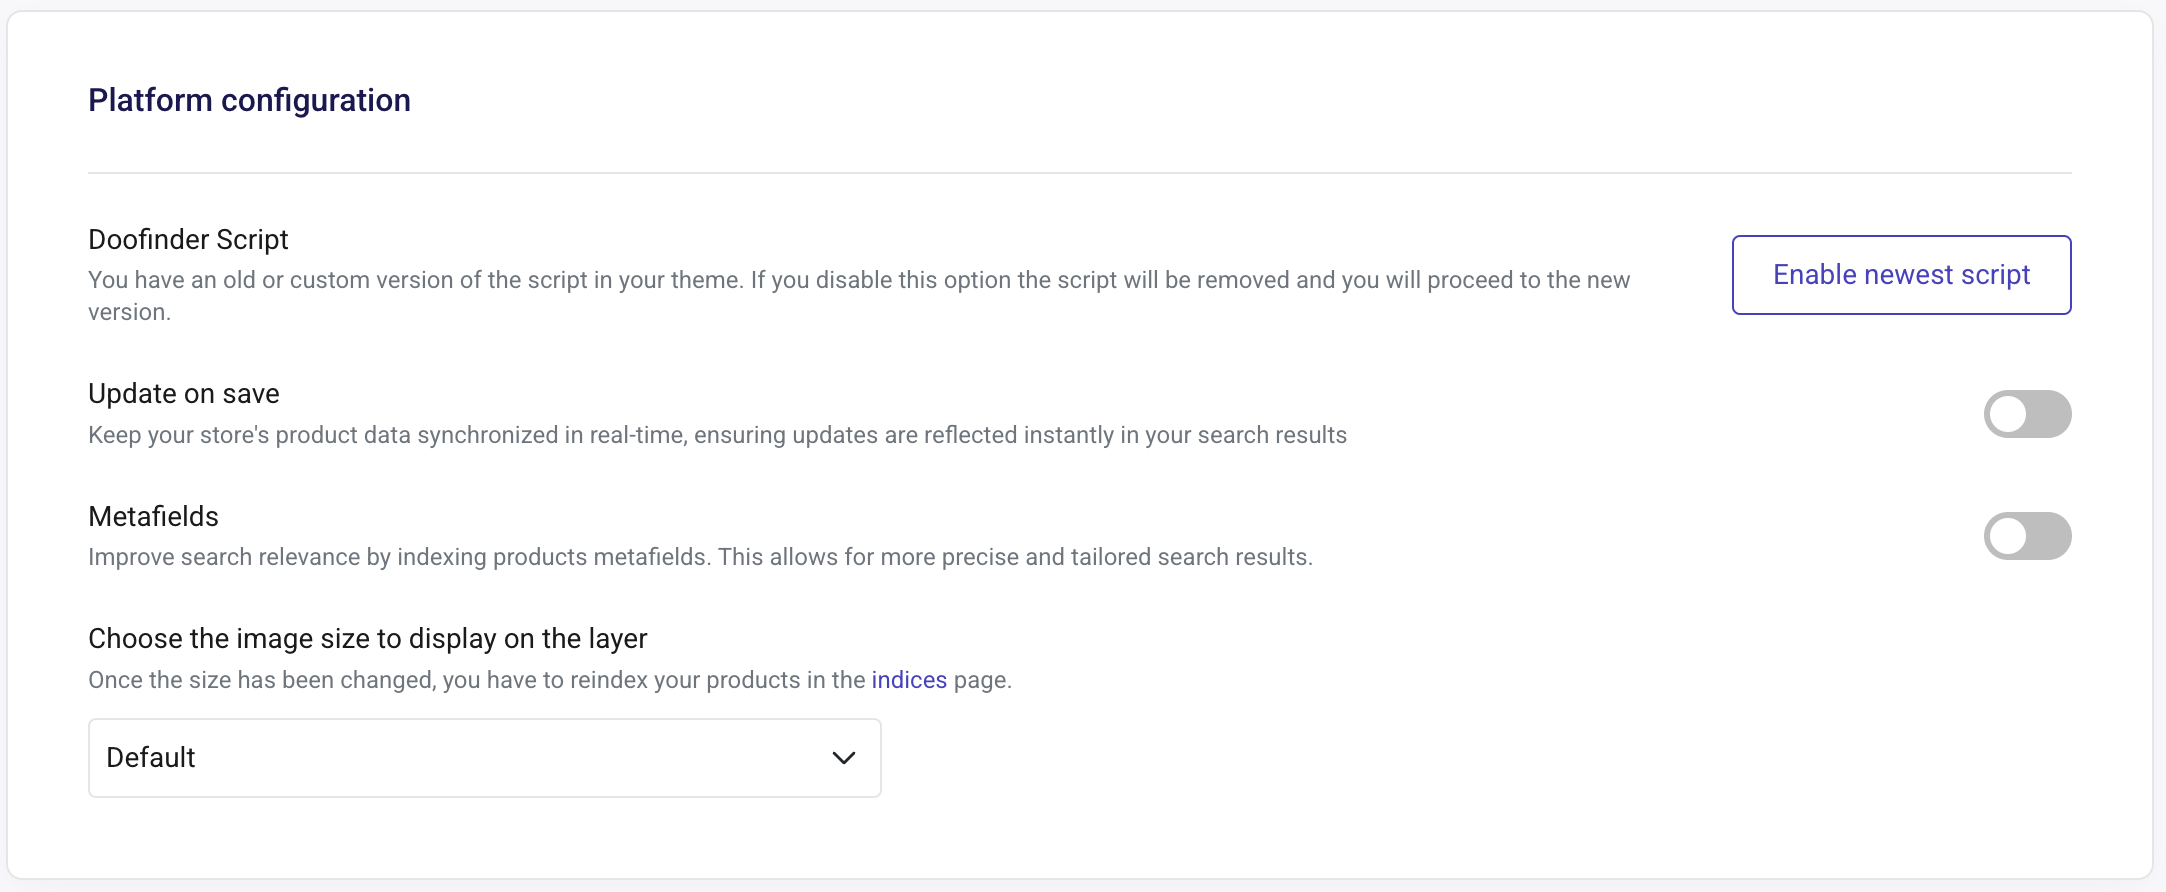
From the Doofinder Admin Panel you will be able to access the Store Settings and configure your Store Information. You can also activate or deactivate the Doofinder Script, activate or deactivate the Update on Save option, activate or deactivate Metafields indexing, and select the size of the images to display. We will take a look at each feature on the following sections.
Please notice that the update on save can consume high leves of API requests, and in order to reduce API calls, you migh want to keep it deactivated.
Doofinder Script
Step 7: The script is generated automatically during the installation process, but it needs to be activated manually on your Shopify Theme.
To activate the Doofinder Script on your Shopify Theme, follow these steps:
- On your Admin Panel go to Configuration > General Settings > Shopify.
- Scroll down to Platform Configuration > Doofinder Script, and click on the "Enable newest script" button.
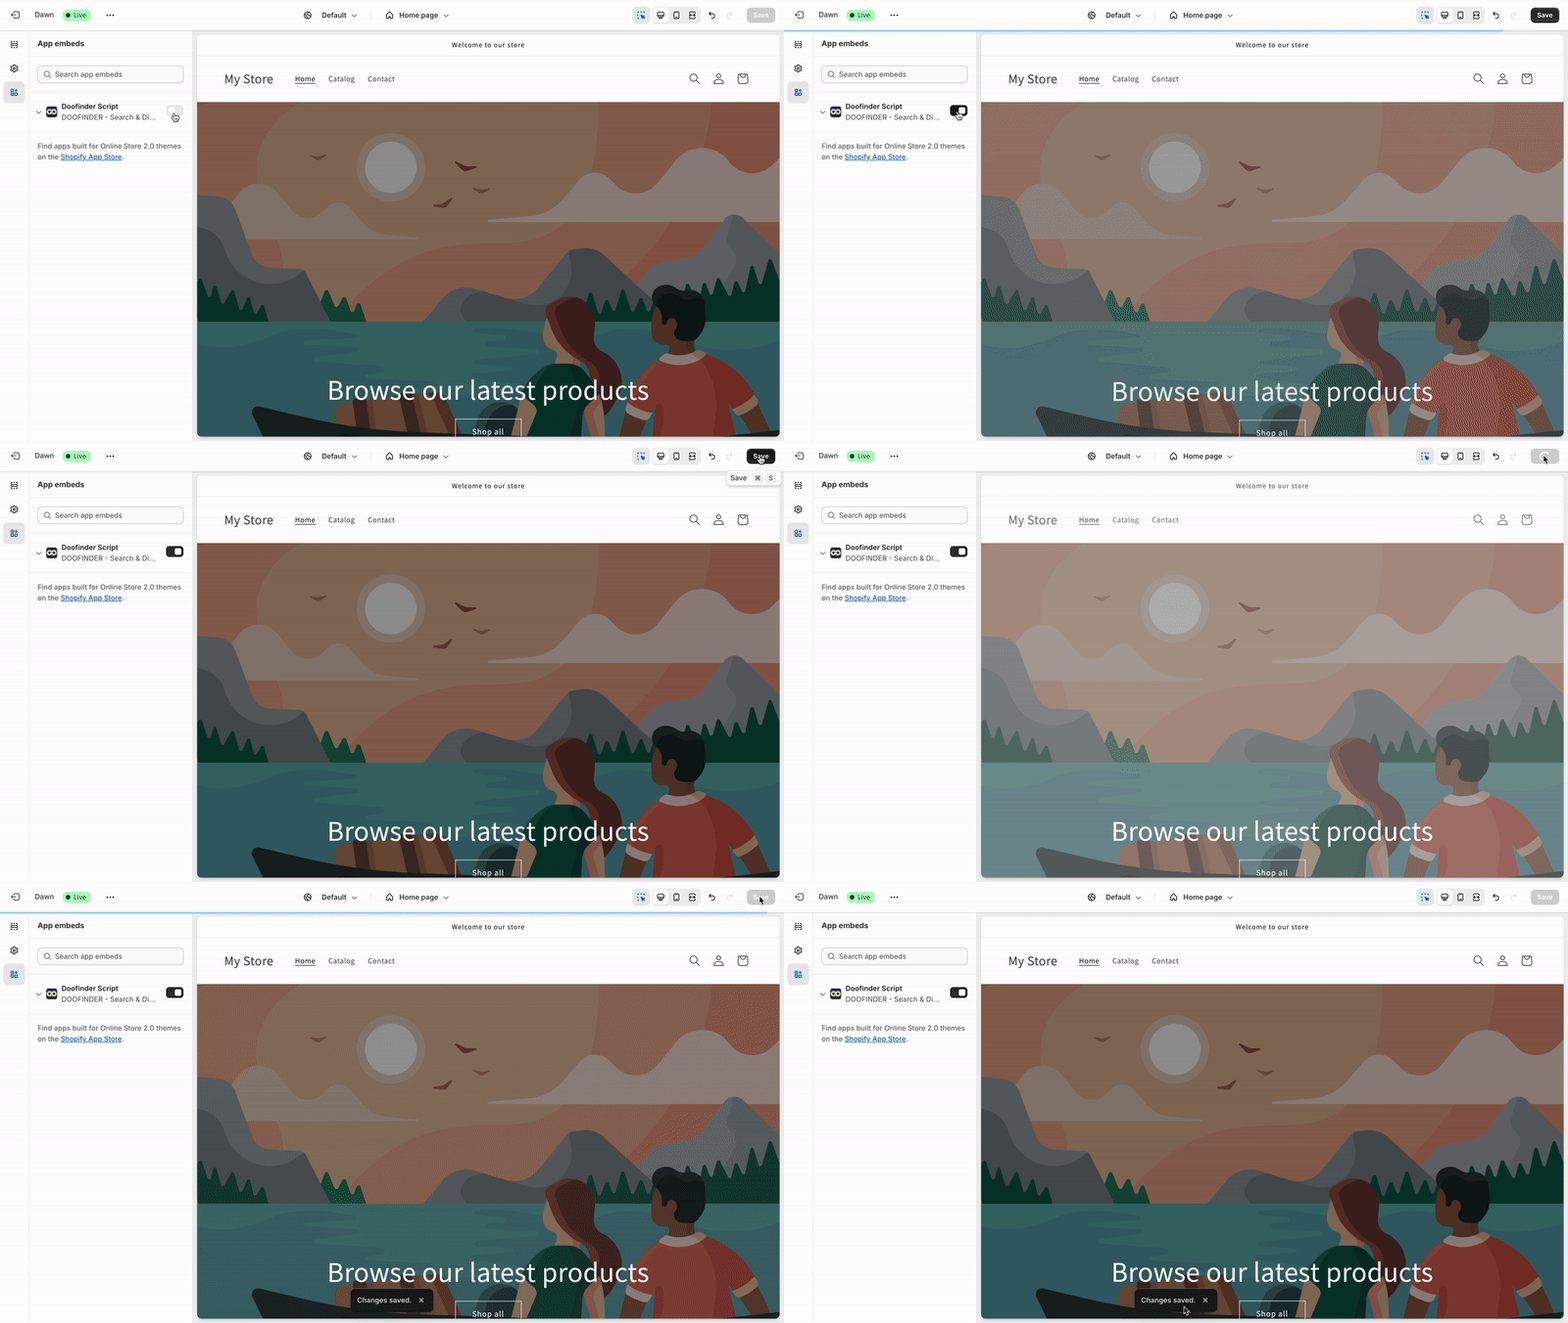
- You'll be redirected to your Shopify Theme, where you'll need to manually enable the Doofinder toggle. Follow these steps for an easy configuration:
- Deactivate the script.
- Click on "save".
- Activate the script again.
- Lastly, click on "save" again.
- Go back to your Doofinder Admin panel, and on Store Settings refresh the page. You will now see that the Script option will appear as currently "activated".

Once this step is completed and the Doofinder Script shows as "activated", Doofinder should be functioning correctly on your online shop.
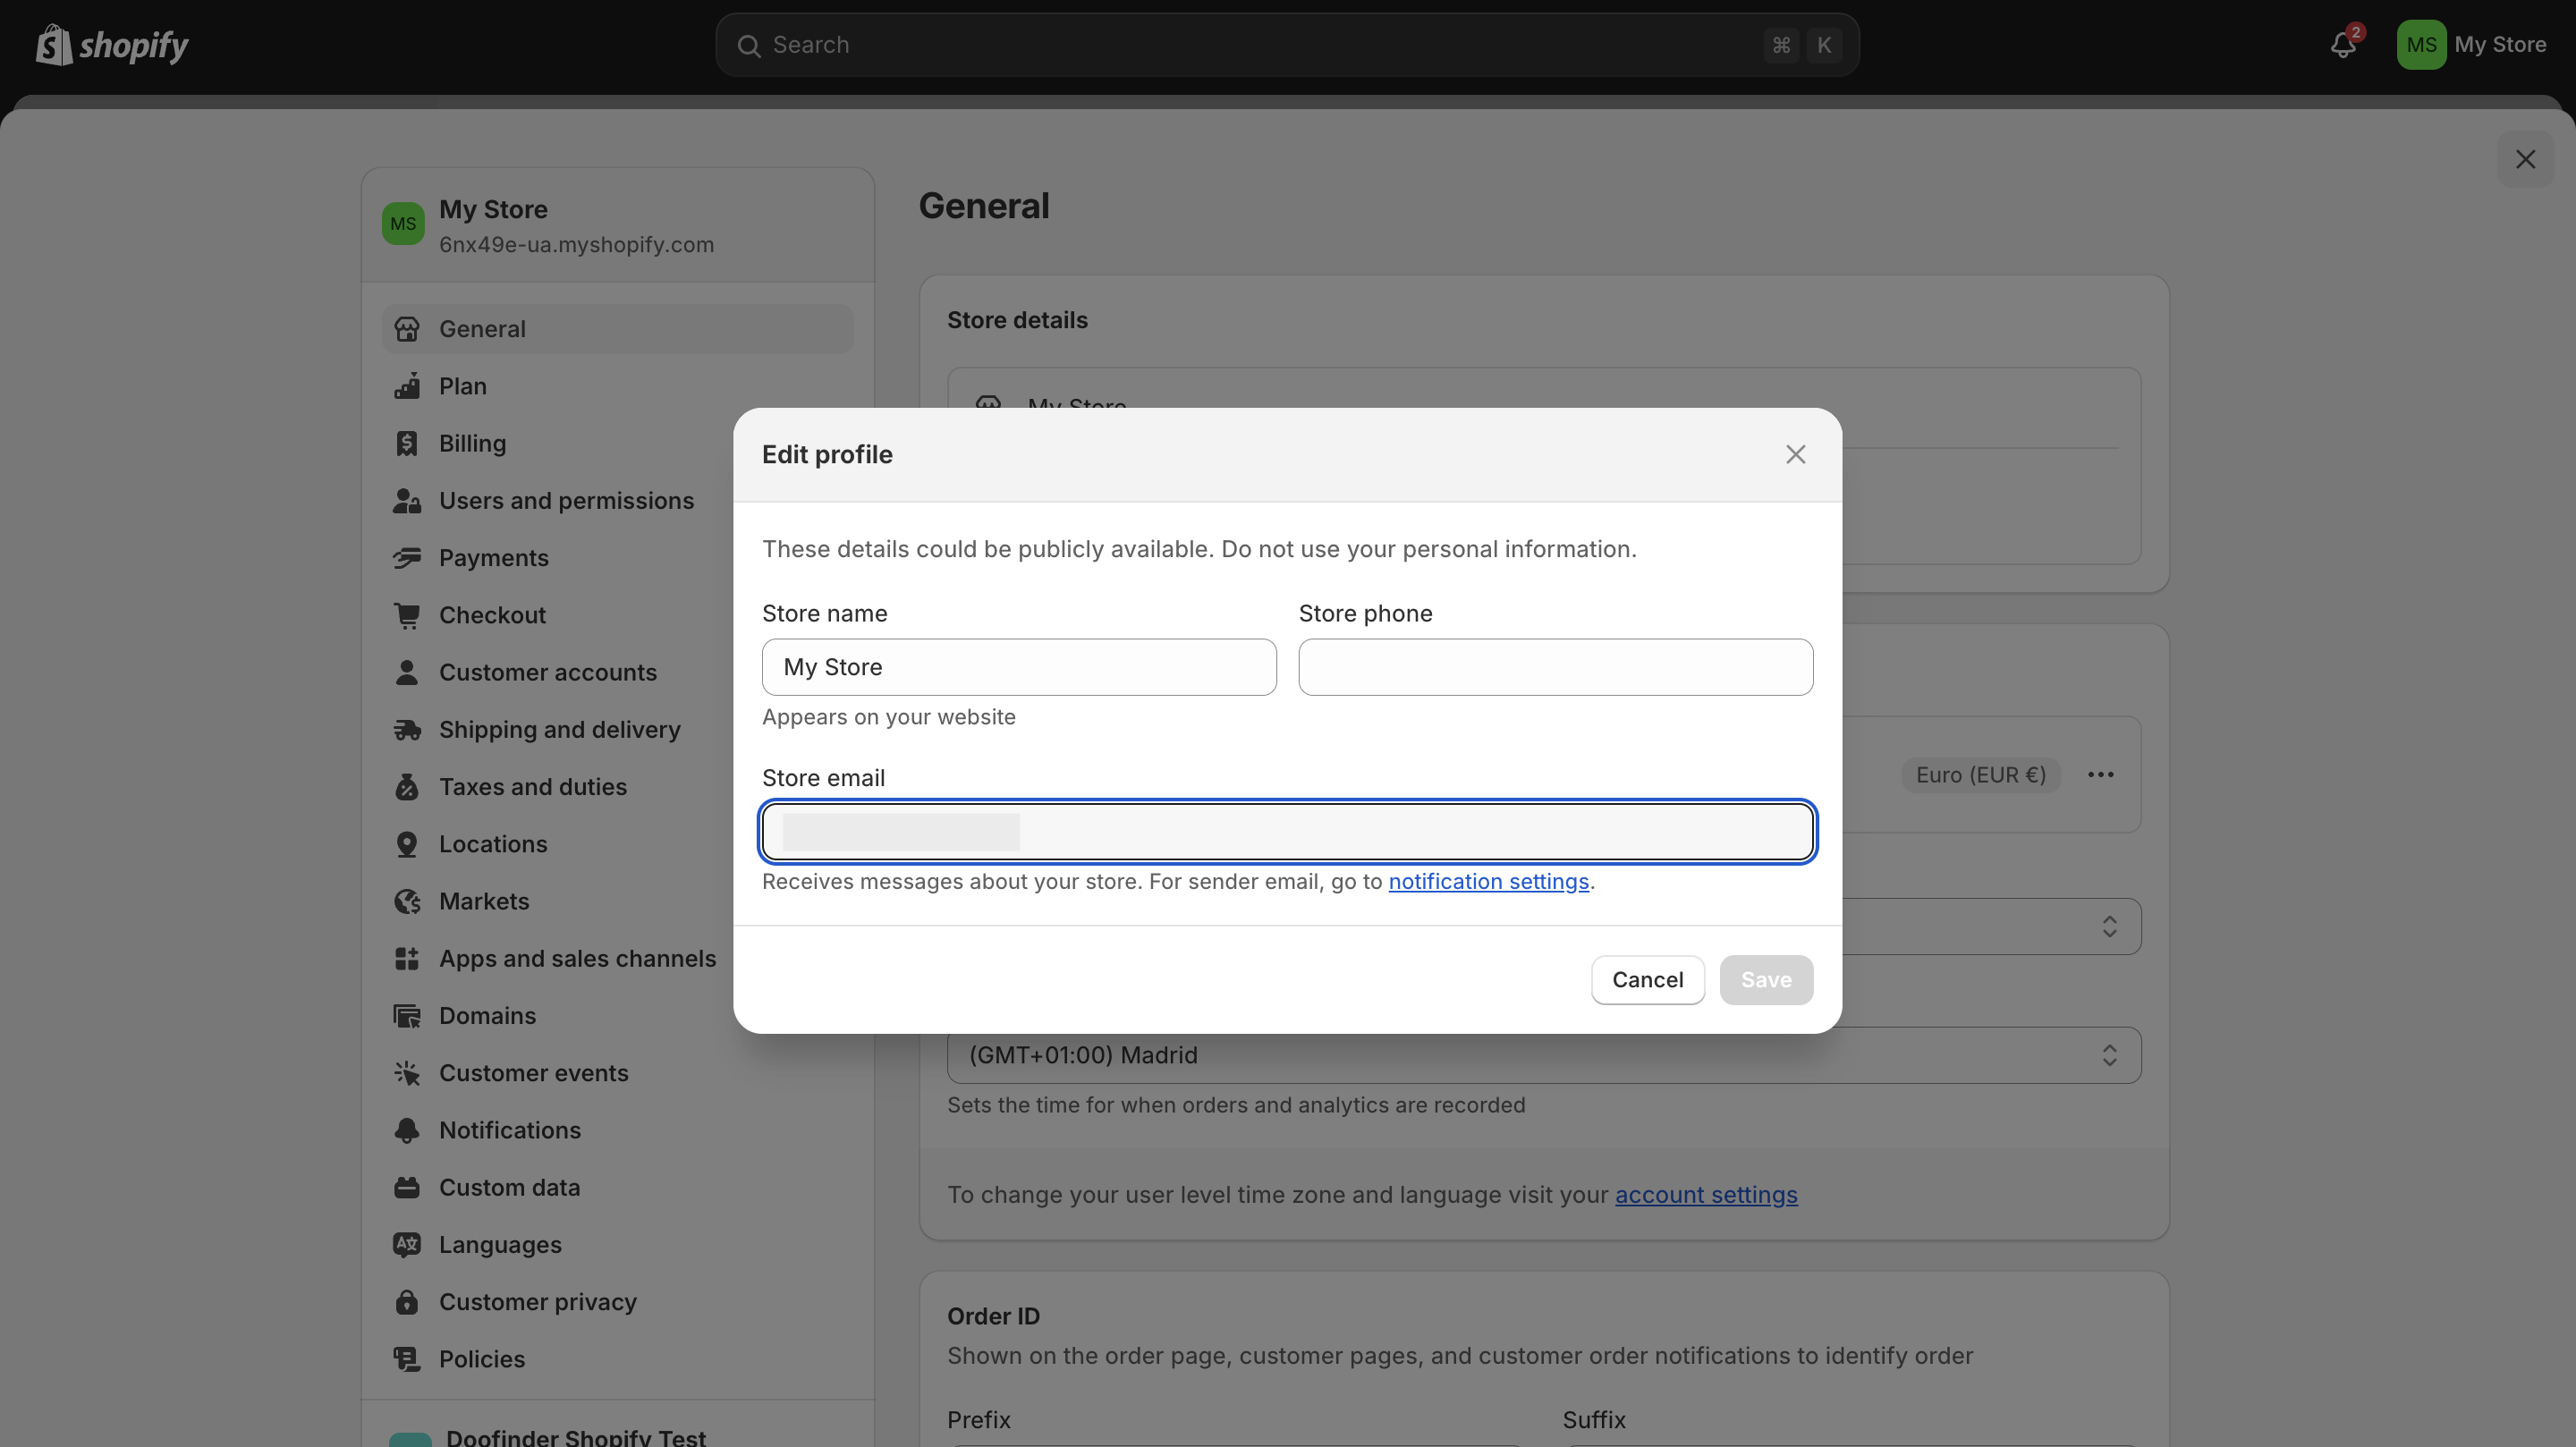
Make sure that the email associated to your Doofinder Admin Panel, matches the email configured for your Shopify store. To check this, on your Shopify backend, go to Apps > click on “App and sales channel settings”. On the General section, check if the Store Email matches the email on your Doofinder Store under the Account Section.
If you are trying to access through a staff account, note that your staff email should be associated to your Doofinder account, using the Team functionality.
Note that only the owner of the Doofinder account can add a team member to the account.
You should also make sure that the email used has been verified:
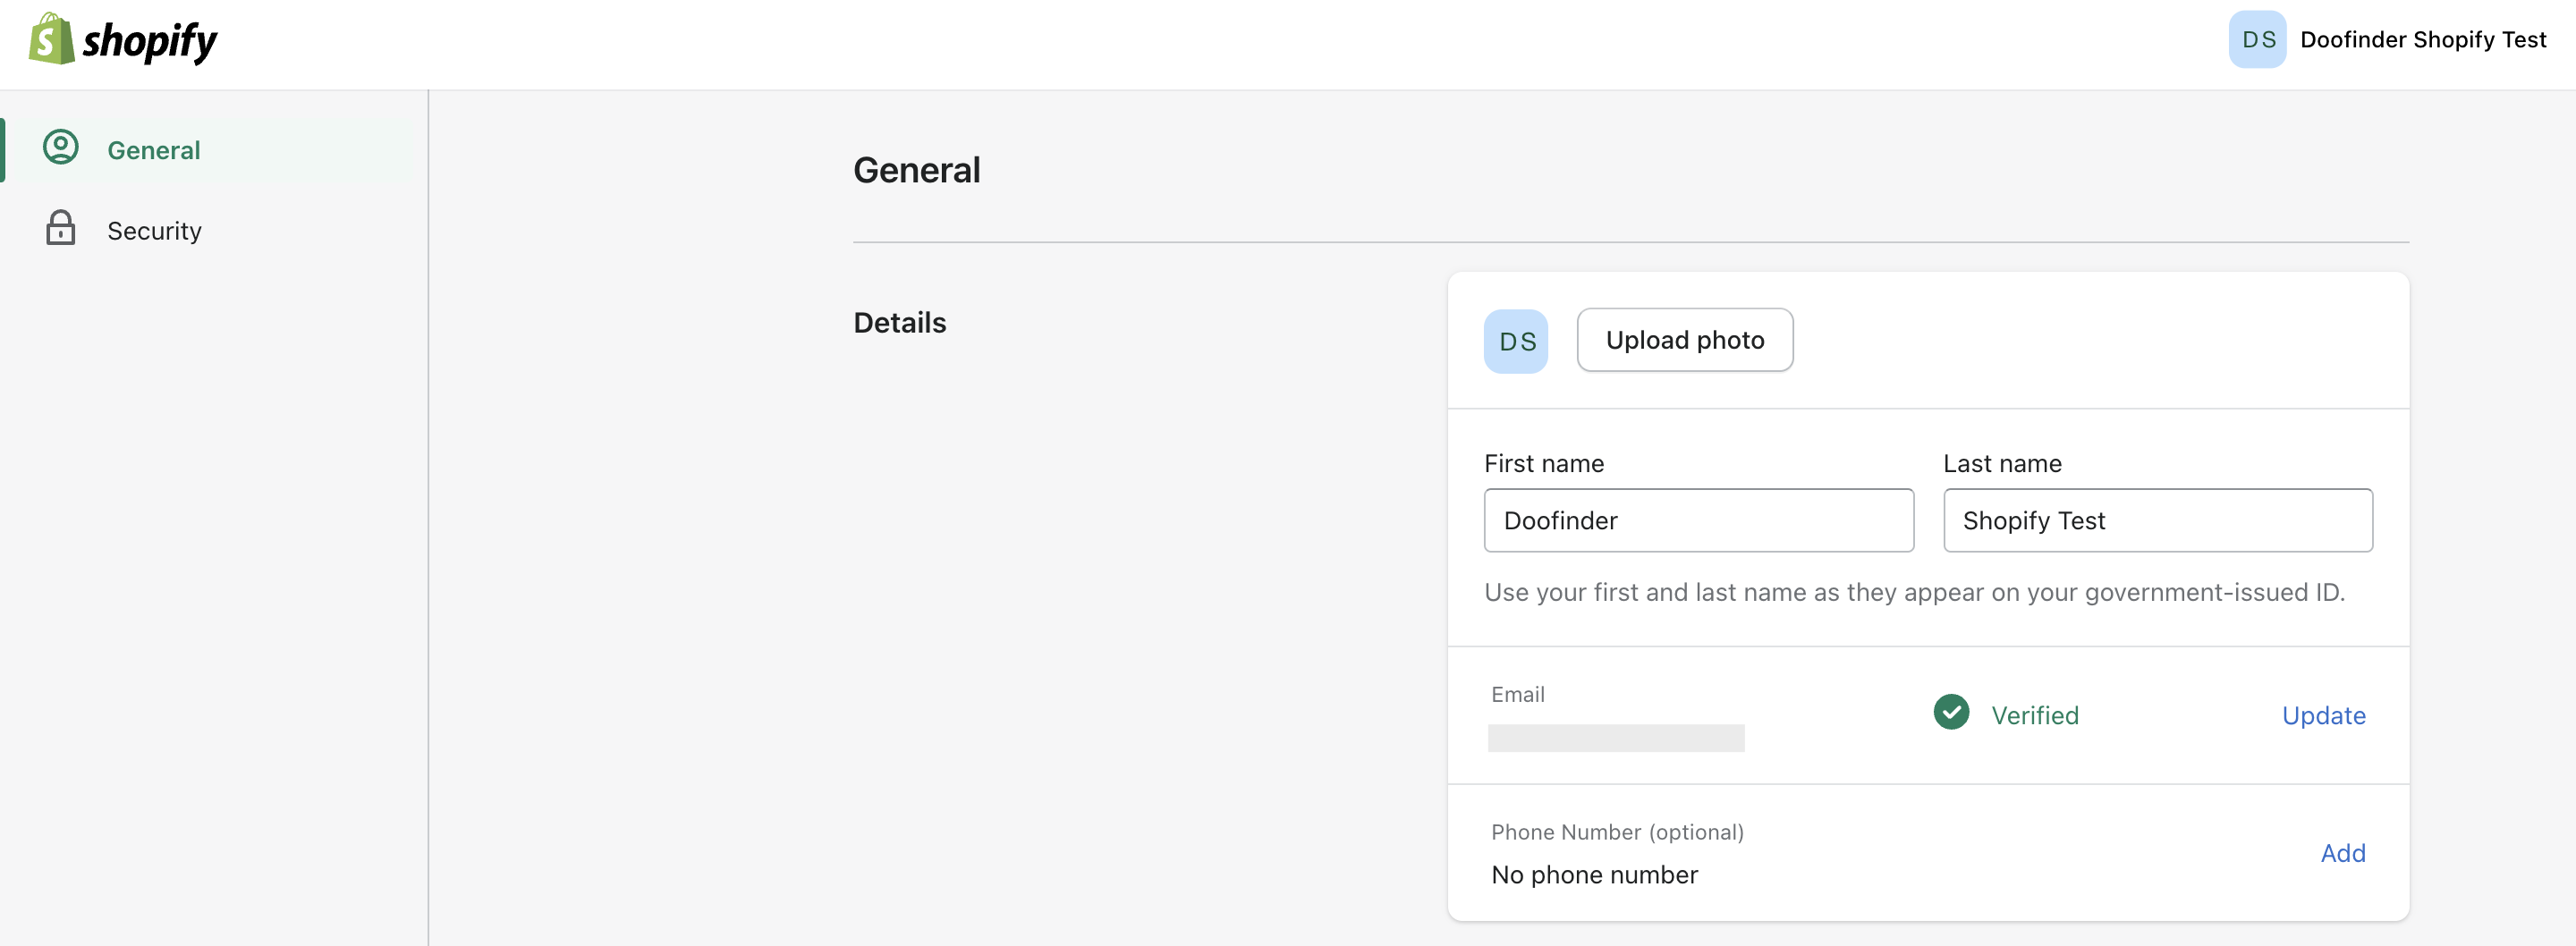
Account and Settings Panels
Explore the fundamentals of the Admin Panel by reading the articles on the Account section and the General Settings documentation.
Attributes Included in The Feed
Product Profit Margin
Doofinder indexes the Product Profit Margin, the attribute responsible for showing product profitability. This mimics the process of physical retail stores allowing you to manage profit margins at the product or brand level when deciding how and which products to promote or offer.
How is it done? We calculate both percentage margin (
df_calculated_margin_percentage) and absolute profit per unit (df_calculated_profit_per_unit).How can you use it? Configure boosting rules to prioritize higher-margin products in the search results.
Stock Quantity
Doofinder indexes the product stock quantity apart from the availability information. This means that we’re indexing the numerical value of the available stock of your products, at both variant and parent product levels, allowing you to use this information on the store.
How to use it? The stock quantity can be used in the boosting rules, relevance criteria or any other merchandising configuration.
Update on save: when stock changes and the platform uses update on save, only the affected products are indexed. This avoids a full reindex, reduces system load, and makes the new stock levels visible almost instantly.
Plugin update might be required to use this feature.
Module Update
Doofinder has its own Module for the majority of platforms, which must be regularly updated in order to keep the functionalities working properly, and latest updates pull through. Although not mandatory, we recommend always keeping the modules up-to-date.
How Do I Update The Module?
Shopify updates regularly and automatically, no action required!
Did you find this page helpful?

