When Doofinder is installed, a Store is created. This store will have a name, a Store ID (identifier), an associated URL, and an Industry (a business sector to which it belongs to). It will also include a single script, a list of the published Search Engines, as well as sales data configuration and security settings.
All this information, can be found under Configuration > Store Settings in the left-side menu of the Admin Panel, or the top-right side of the navigation bar. Let's explore it in more detail.
What Can Be Done in Store Settings?
In the Store Settings panel, you can manage your Store’s information, modify your set up, or even delete a Store.
Once you are in the Store Settings panel, you will find the Store ID information on the right side of the screen. Then, it is divided into three sections:
- General: This includes details such as your Store Name, URL, Industry, the list of Search Engines published, and the Installation script.
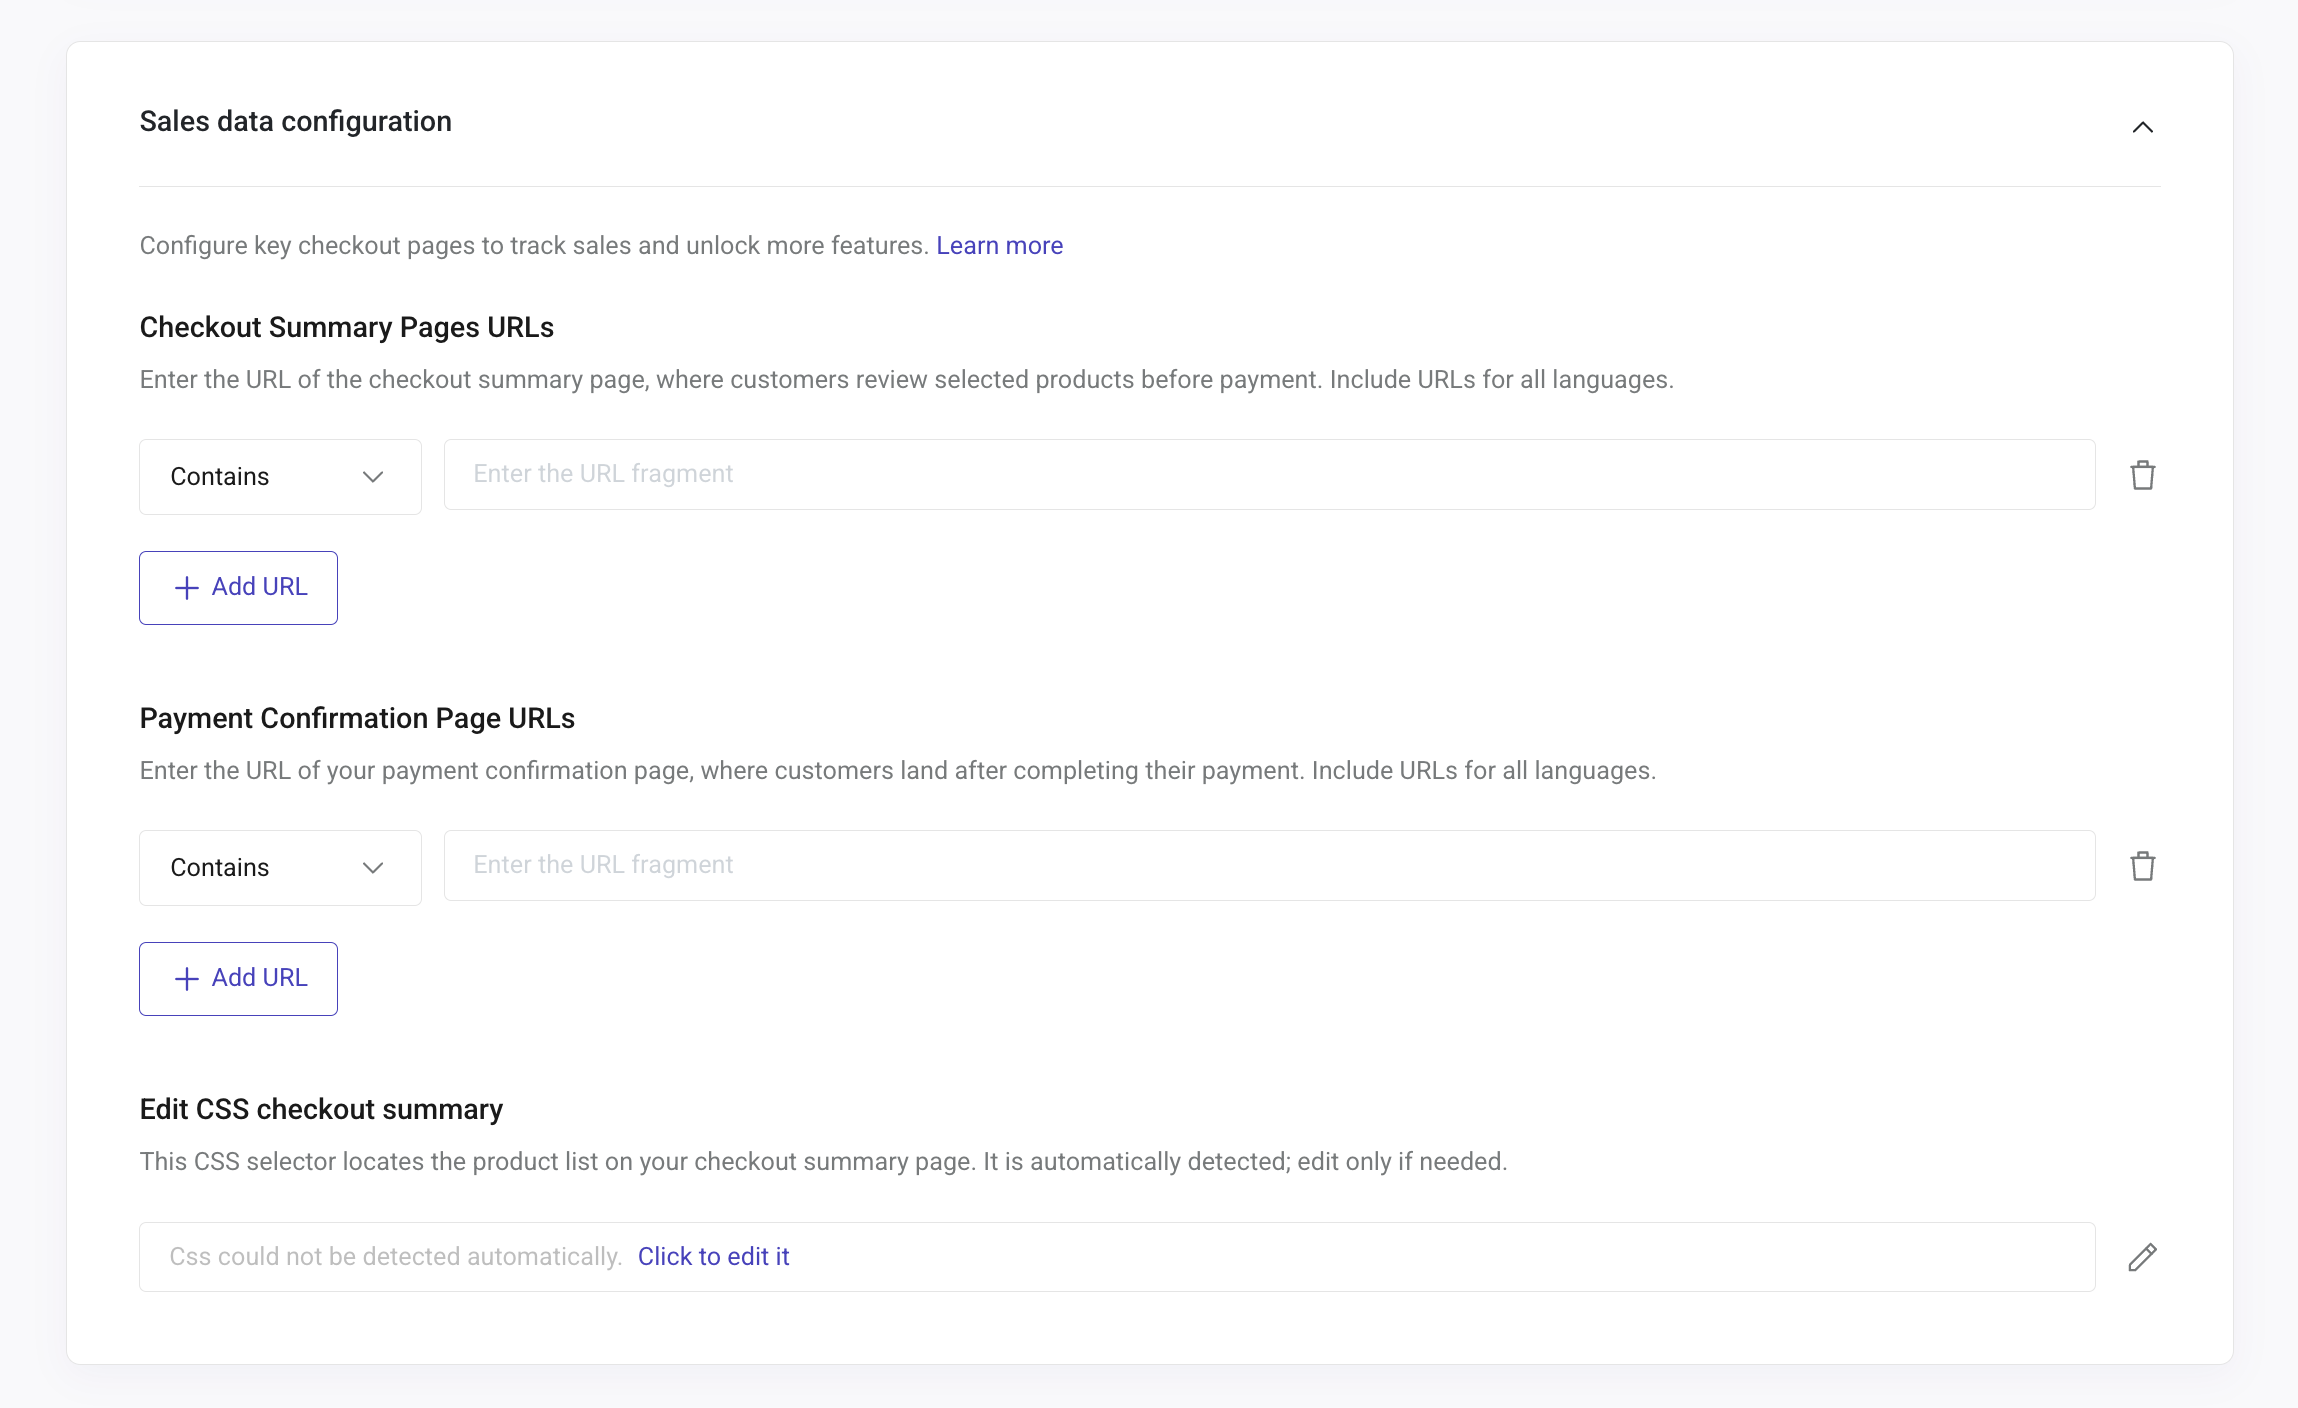
- Sales data: This includes the configuration of the key pages to track sales.
- Security: This includes Authorized domains and blocked IP's.
Keep reading for a complete definition of each setting.
Store ID
It is the identifier code of your store, also referred as "Installation ID". Check this example below:

General Section
In this section you will find the general information of your store, such as the store name, its URL, the Industry, the Cookie Consent for Full Product Functionality, the Google Analytics switch, the list of Published Store Search Engines, and the Installation script. Keep reading to explore each setting.
Store Name
This name will be used to identify the Store in the Admin Panel. Edit the name of your Store in this block.
Store URL
The URL of your Store, as typed in the web browser.
Industry
Choose an Industry sector from the dropdown menu to optimize the search and discovery experience based on the type of products you sell in your eCommerce.
If you are using AI SynonymBoost, remember to choose the appropriate sector.
Cookie Consent for Full Product Functionality
Enable this setting to allow your users to accept cookies and enjoy all the features included in your plan across Doofinder products.
Read more about Cookie Consent and Doofinder.
Google Analytics 4
You can integrate Doofinder with GA4 to track and measure user traffic and activity on your site.
Toggle the "Send data to Google Analytics" switch to start sending data:

For detailed instructions, read the article Activate GA in your Store.
To know which script you are using and how to update it to the latest version, read Update Script.
Published Store Search Engines
Find here all the Search Engines visible in your Store.
A list will appear with all the Search Engines published with the language of the Search Engine, including the default SE.
From here you will also be able to go to the Store Search Engines panel by clicking the "Configure Search Engines" button.
Installation Single Script
The Doofinder script is the JavaScript code Doofinder provides once you’ve created an account while signing in as a new user. You can always find the Doofinder Script on your Admin Panel > Configuration > Store Settings > General > scroll down to “Installation Script” and you’ll find it displayed.

Default Script
This is the single script with minimum configuration (store and zone):
<script src="https://eu1-config.doofinder.com/2.x/b128a542-ec79-4823-92d1-025d6345ab7c.js" async></script>
This script contains:
- Zone “eu1-config.doofinder.com”
Zone must be configured depending on the EU zone or US zone (your online store zone). “eu1” if your zone is Europe or “us1” if your zone is the United States.
- Store ID: is your Store ID code followed by “.js”.
For more information, go to Installing Doofinder.
Delete Store
In this panel you will be able to delete your Store. Scroll down to the bottom left and click the “Delete store” button. A pop-up will appear. Follow the instructions in order to delete the Store.
Note that deleting a store is a permanent action. Once deleted, the store and all associated search engines, settings, and configurations cannot be recovered. It will also stop functioning immediately on the active site.
Sales Data Configuration Section
In this section you can configure your checkout and payment URLs to register sales and unlock the potential of some of Doofinder features’, such as Conversion Rate, or the Best Seller logic.
You’ll find three areas to configure: Checkout Summary Pages URLs, Payment Confirmation Page URLs, and Edit CSS Checkout Summary.
Learn how to set up Sales Data configuration.

Security Section
In this section you can prevent unauthorized domains from using your search engines by authorizing domains or blocking IPs.
Learn how to configure security settings in this documentation.

