Log in and Create a Store in Doofinder
- Log in to your Doofinder Admin Panel.
- If you are new, a "Create store" button will appear on the front page. Click on "Create Store".
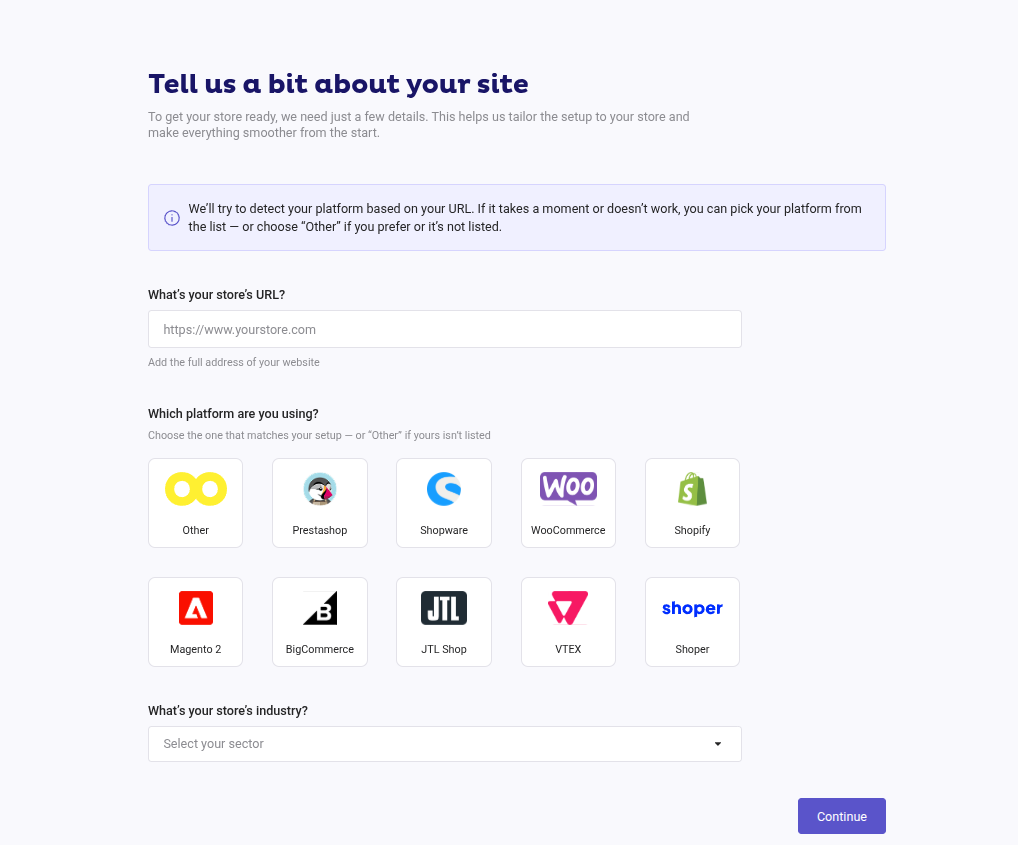
- Once clicked, a pop-up window will appear where you need to:
- Enter the complete URL of your website. Doofinder will detect your platform automatically. If not, select your platform in the following block.
- Select your store’s industry.
- Fill in the Settings URL and the API Token fields. Do not close Doofinder during this process. Keep reading for a comprehensive step by step.
- Go to your Shoper store's URL and add "/admin" to the end to access your Shoper admin panel.
- Copy the URL from the browser address bar (it doesn’t matter which section of the admin you are in), and paste it into the Settings URL field in Doofinder.
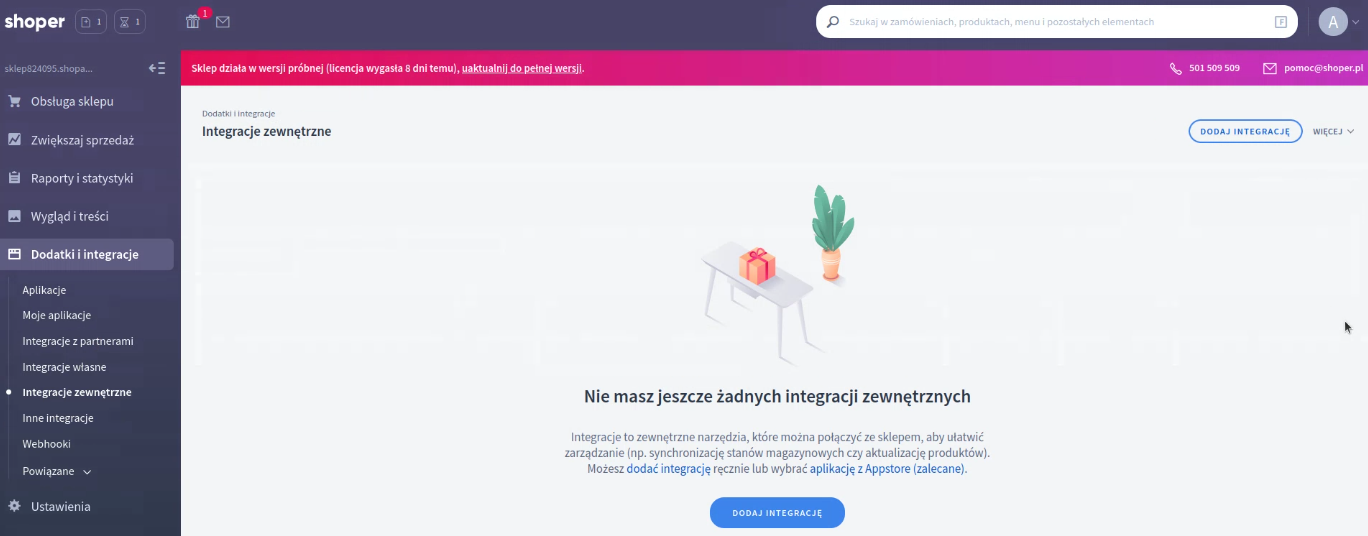
- In the Shoper Admin, from the left-side menu, go to Dodatki i integracje (Additives and integrations).
- Click Aplikacje i integracje (Applications and integrations) > in the top-right corner, access “Zewnętrzne aplikacje” (“External application”).
- You will be directed to the Nowa integracja (New integration) settings panel. Fill in the following fields:
- In Podstawowe (Basic) > Narzędzie (Tool) > select Inne (Other)
- Choose an Nazwa integracji (Integration name). For example, use “Doofinder”.
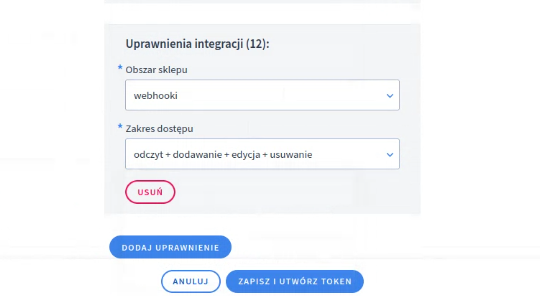
- In this same panel, under the Uprawnienia integracji (Integration permissions), enable and save the following permissions:
- atrybuty produktów (product attributes)
- stany dostępności (availability statuses)
- kategorie (categories)
- waluty (currencies)
- producenci (manufacturers)
- produkty (products)
- kolekcje (collections)
- aktualności/blog (news/blog)
- języki i lokalizacja (languages and location)
- strony informacyjne (informational pages)
- warianty produktów (product variants)
- webhooki (webhooks)
- Once generated, copy only your API Token > return to your Doofinder Admin Panel > paste the token into the API Token field, and click “Continue”.
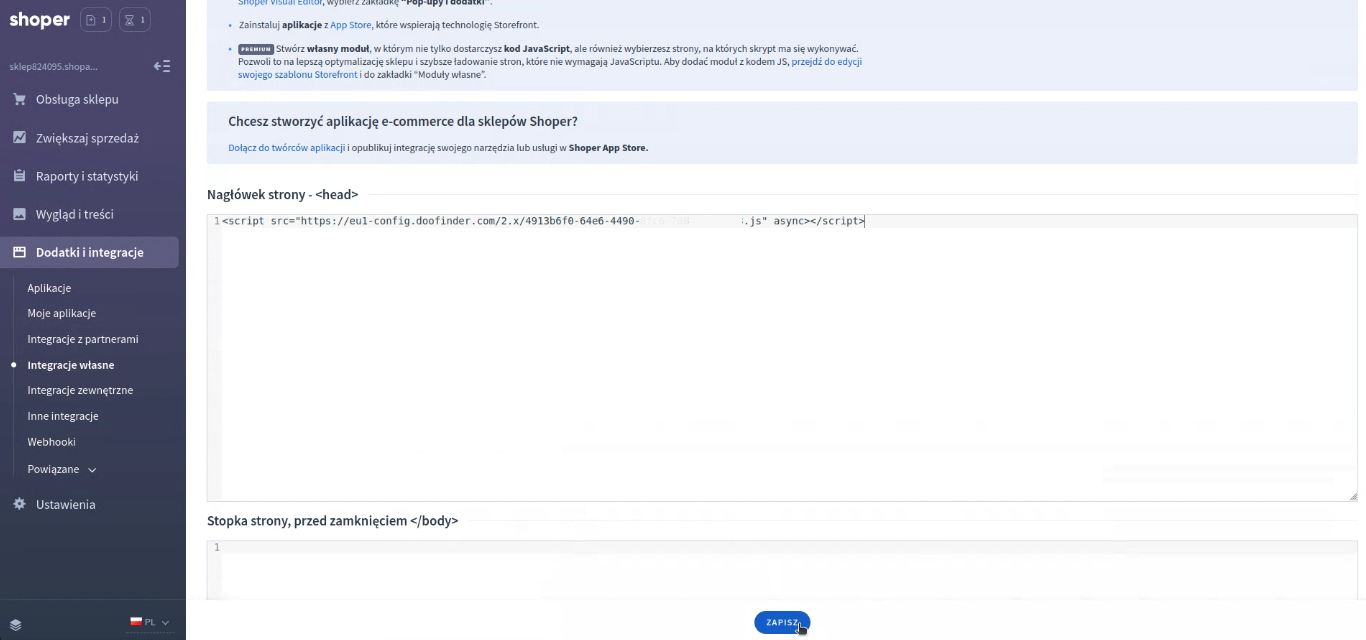
- Go to Shoper > in the left-side menu, click Aplikacje i integracje (Applications and integrations) > select własne integracje (Custom integrations).
- Scroll down to Nagłówek strony (Page header) > paste the Doofinder script, and click “zapisz” (“save”).
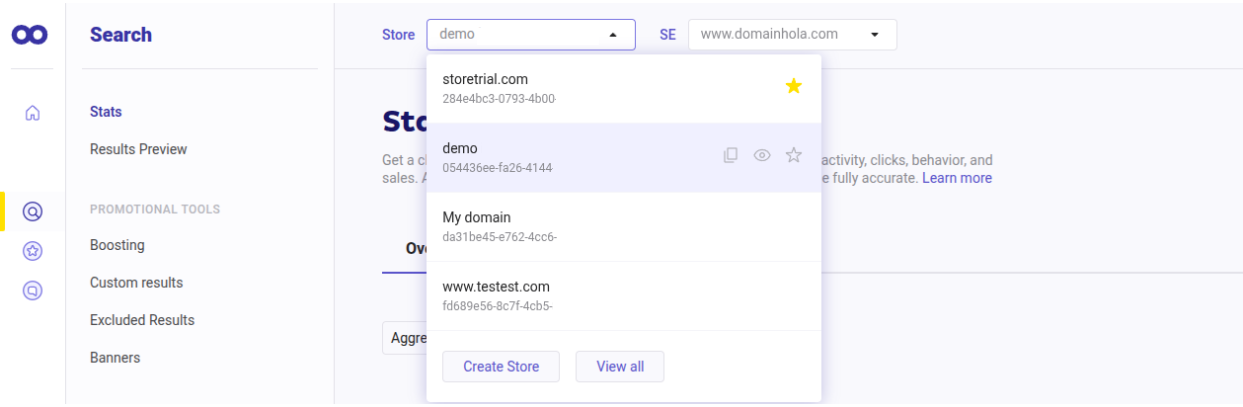
If you don't see it or prefer a different method, go to the top bar > click the "Store" dropdown menu > select "Create Store".
Click "Continue".
2. Platform Connection
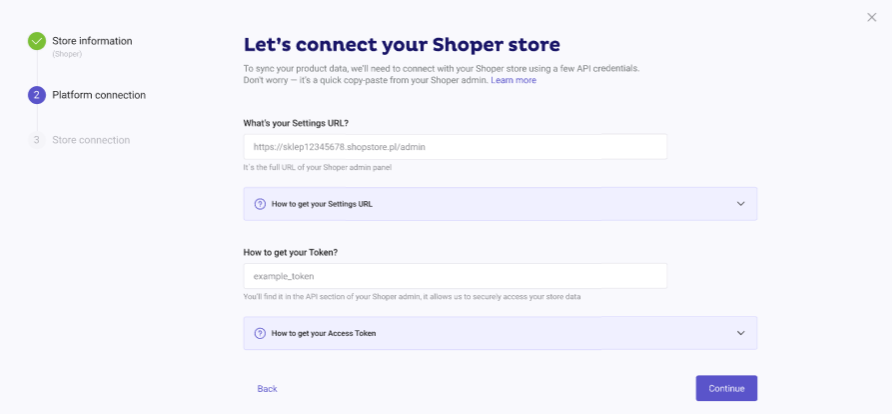
Complete the Settings URL
Create a Doofinder Integration in Shoper
To generate the access token, follow these steps:

Manage API Permissions
Select Odczyt (Read-only permissions) for these scopes:
Select odczyt + dodawanie + edycja + usuwanie (full permission: read, create, update and delete) for:
You should now have a total of 12 accepted scopes.
Click "zapisz i utwórz token" (“save and create token”).
Add the API Token
Additionally, in your Shoper Admin, click "Rozumiem" ("Accept") to finalize the integration setup.
If you leave this page without copying the token, you can generate a new one by going to Dodatki i integracje (Additives and integrations) > Integracje zewnętrzne (External integrations).
Click the configuration button for the Doofinder integration > select “Utwórz nowy Token API” (“Create a new API Token”). Confirm again by clicking “Utwórz nowy Token API” (“Create a new API Token”) in the pop-up window.
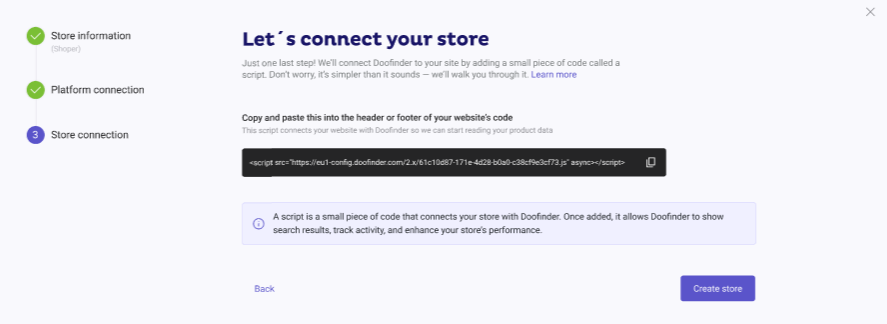
3. Store Connection
Add the Doofinder Installation Script in Shoper
To finish the integration, copy the Doofinder script shown in the pop-up.
If you leave the process at this point, you can later retrieve the script from the Doofinder Admin Panel, under Configuration > Store Settings > Installation Script.
You can also install the script via Google Tag Manager (GTM) if that is your preferred method. Check out this troubleshooting guide for a simple setup.
Go back to your Doofinder Admin Panel. Once indexation is completed, your store will be ready to use Doofinder.
3 (only if CSS is not detected): Manually Set Search Bar Location
Doofinder will detect the CSS selector of your search bar automatically.
If it can’t detect it, you’ll need to enter the selector manually before the Store connection step (the final step where your Store and Search Engine are created).
You can use an id, name, or class as the CSS selector. For example:
-
#search-box -
input[name="q"] -
.input-search
For more information, check our guide on CSS Selector.
The panel will look like this:
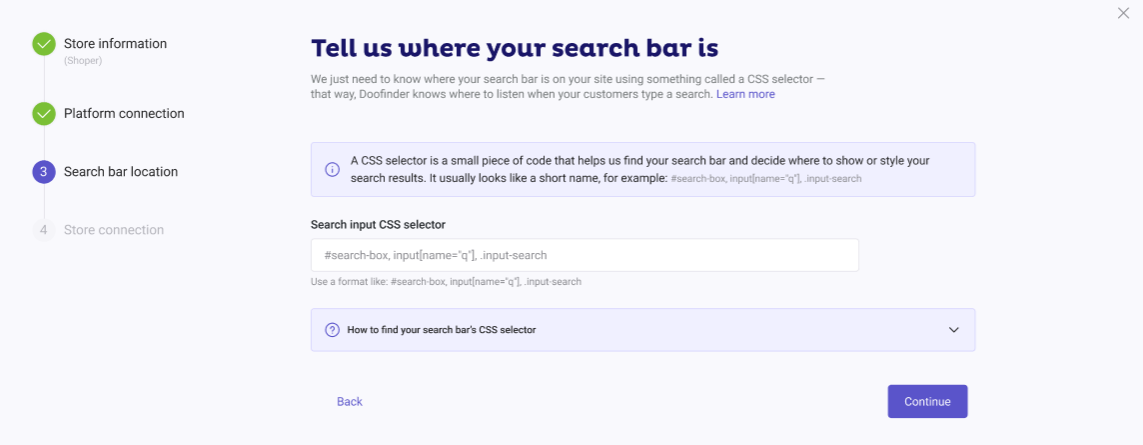
If you need to complete the Search Bar location step, indexation and the creation of the Store and Search Engine will begin only after this step is finished.
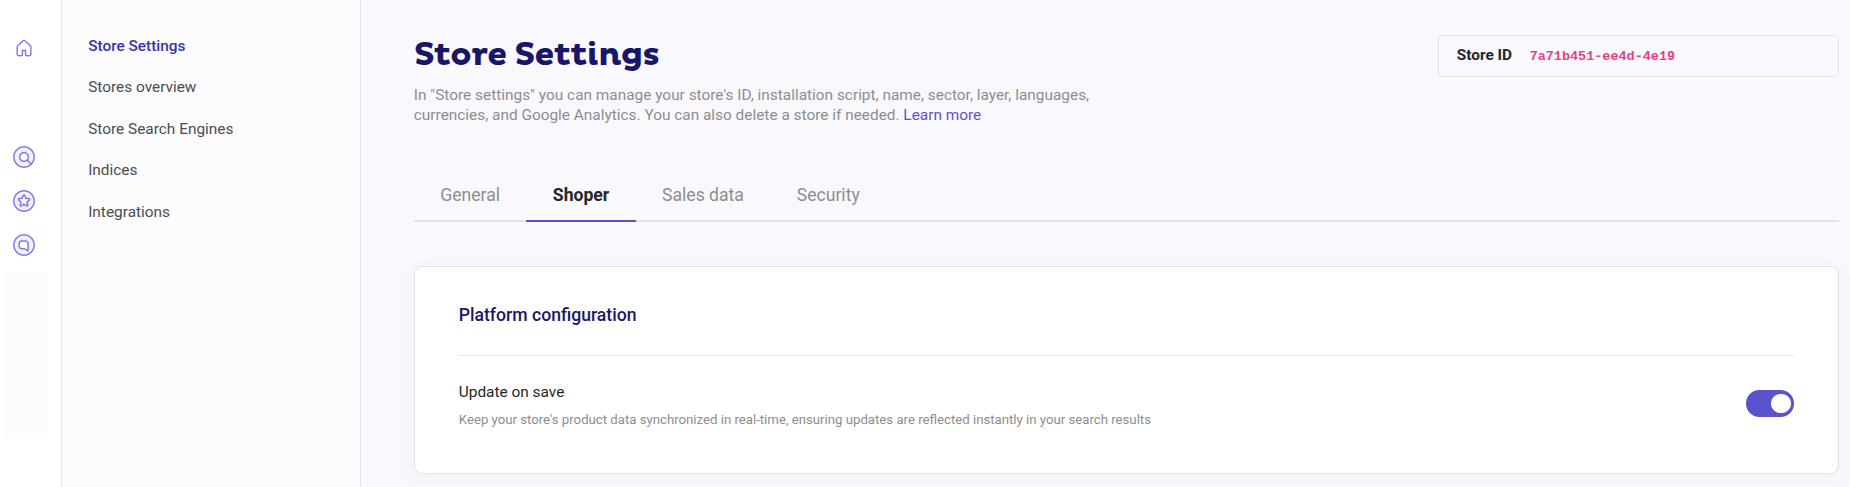
Update on Save
With our Shoper integration you can activate the Update on save feature. This functionality allows you to synchronize your store's product data in real time, ensuring that search results always reflect the latest product changes.
To enable it:
- Go to the Doofinder Admin Panel > Configuration > Store Settings
- Click on the Shoper tab.
- In the Platform configuration section > turn on the switch next to the Update on save.
Custom Fields
We fully index the Atrybuty (custom fields) section, which contains additional product attributes and technical information.