Follow this step by step guide to Install the Doofinder Bigcommerce through API.
- If you are a new user, check this article to create a new Doofinder account.
If you have an account already or just created one, follow these guidelines:
1. Log In and Create Store
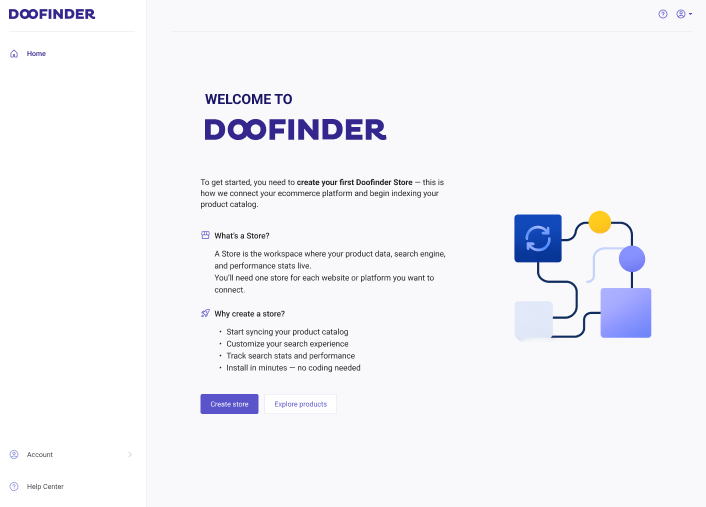
- Log in to your Doofinder Admin Panel.
- Click on "Create Store".
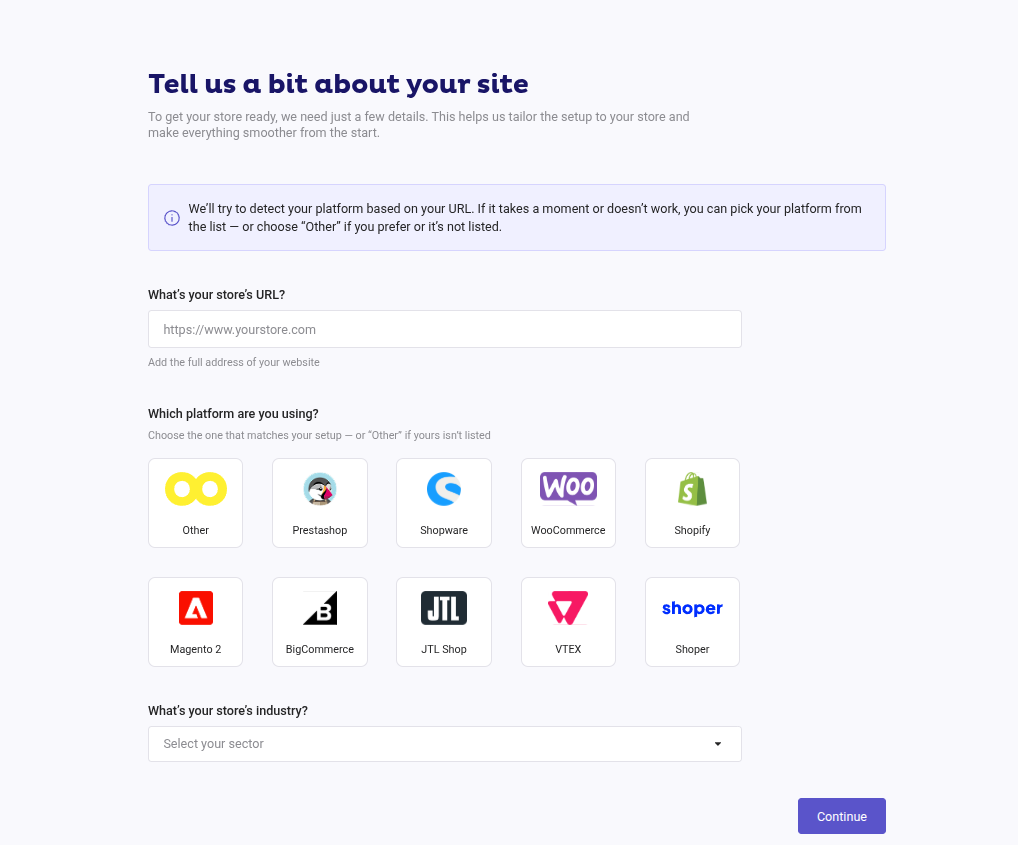
- Once clicked, a pop-up window will appear where you need to:
- Enter the URL of your website. Doofinder will detect your platform automatically. If not, select your platform in the following block.
- Select your store's industry.
- On the following panel, you’ll need to complete the API Path and the Client ID, Client secret and Access Token fields.
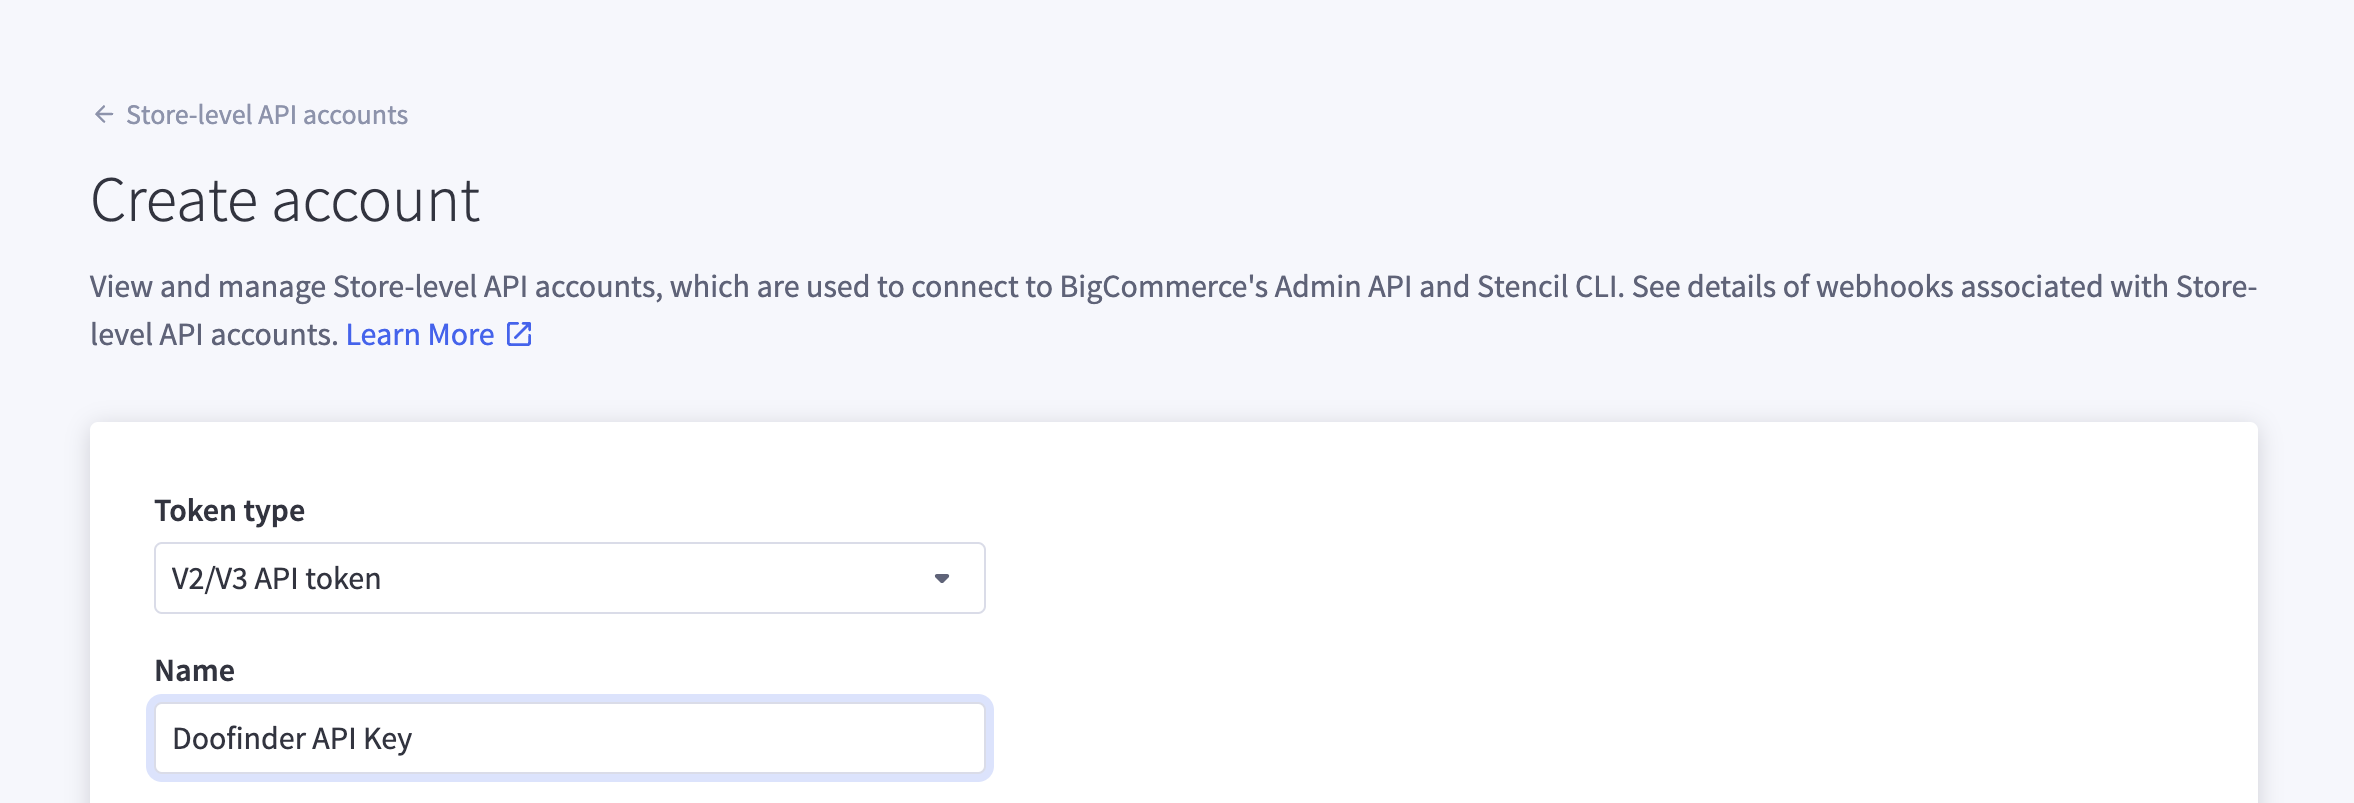
- Click on “Create API Account”.
- Once in the Create Account panel, name this account as “Doofinder API Key”.
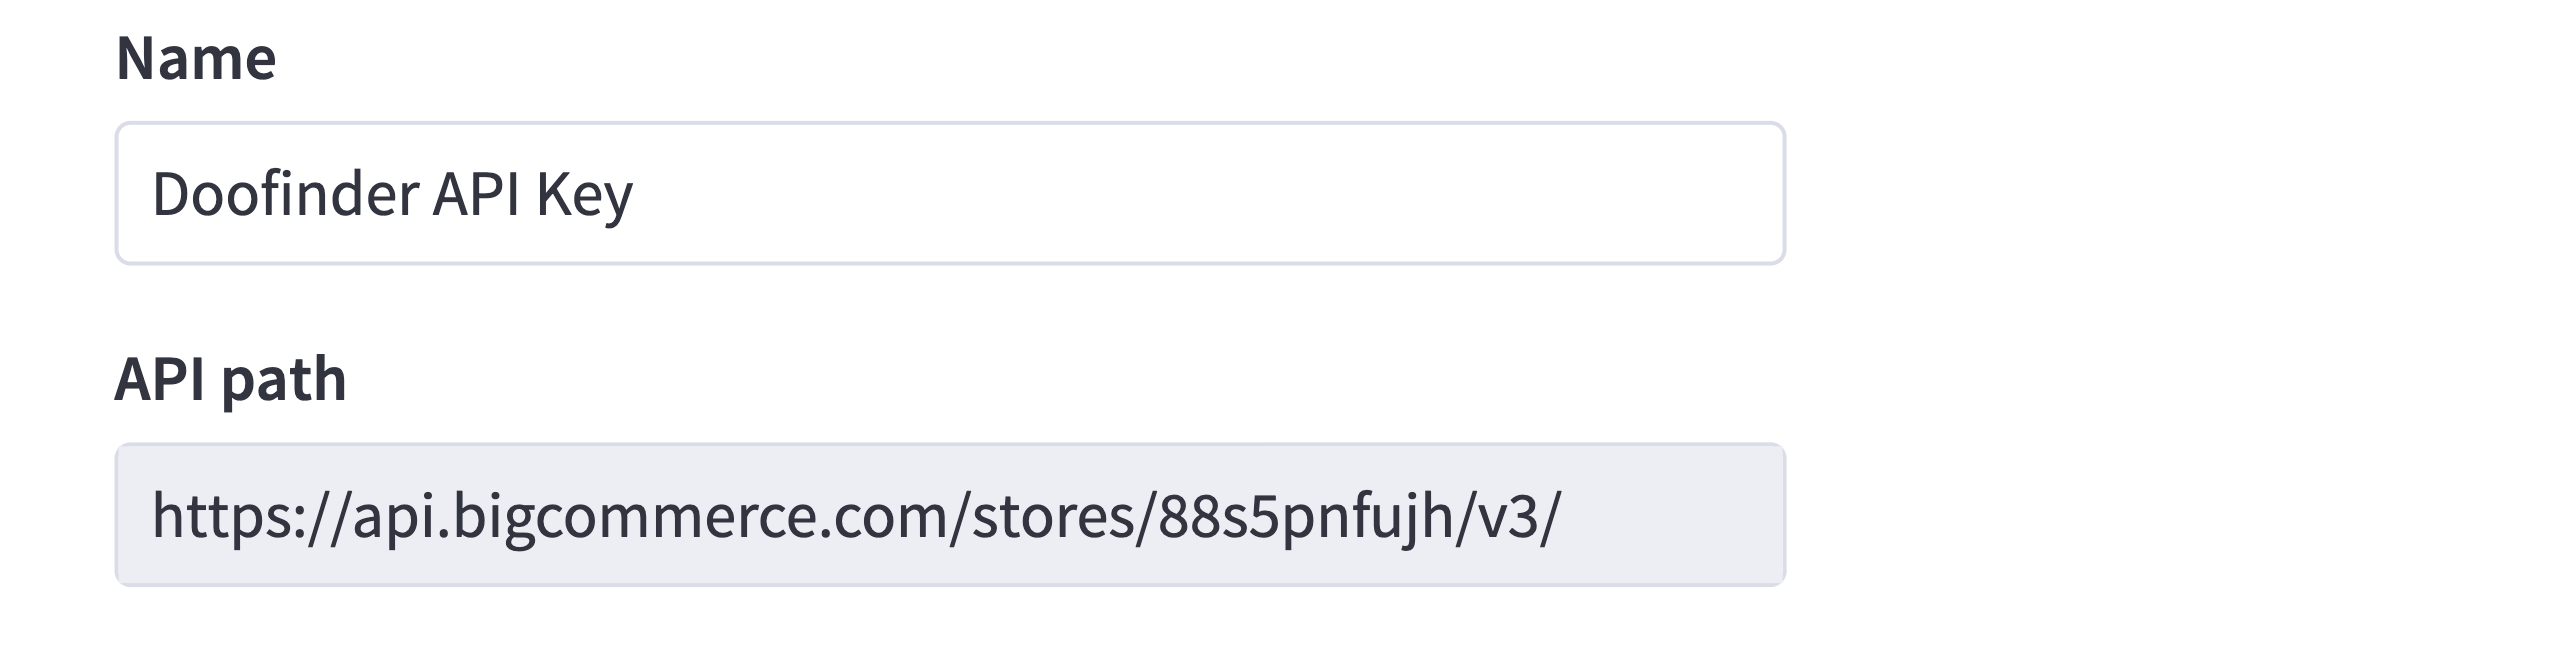
- Then, search for the API Path link, and paste it on the API Path field in the Platform Connection section in Doofinder.
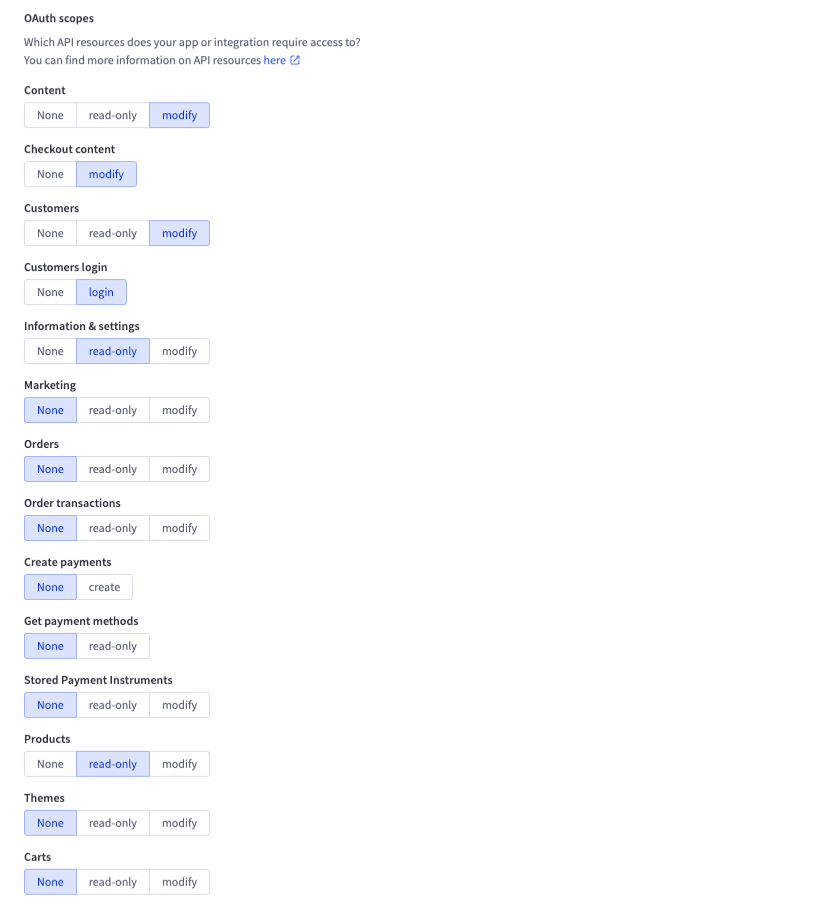
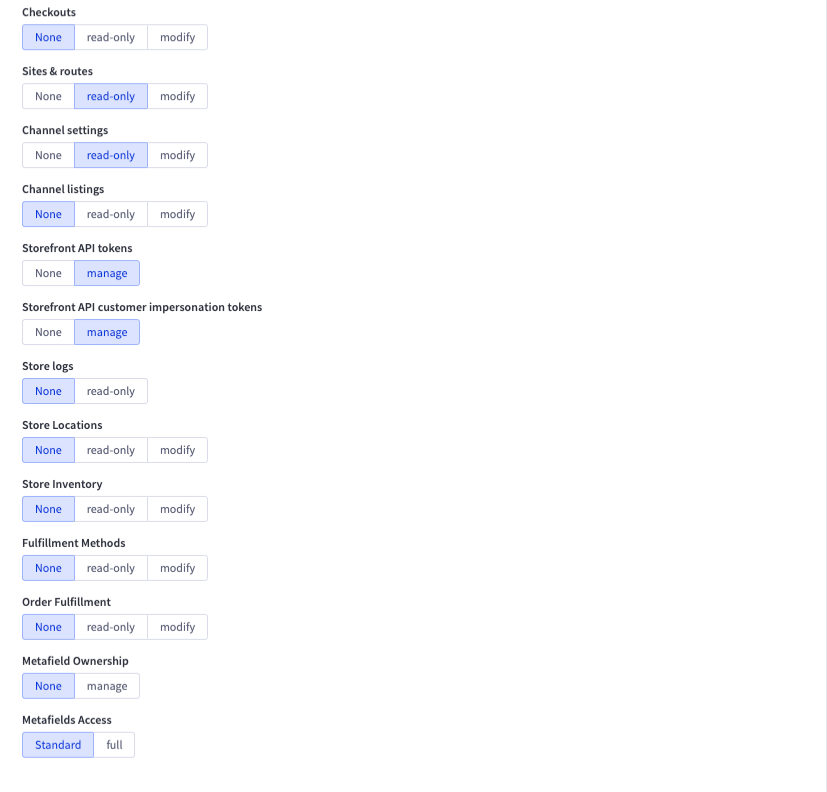
- Now, on the OAuth Scopes Panel, select the following options just as shown on the images:
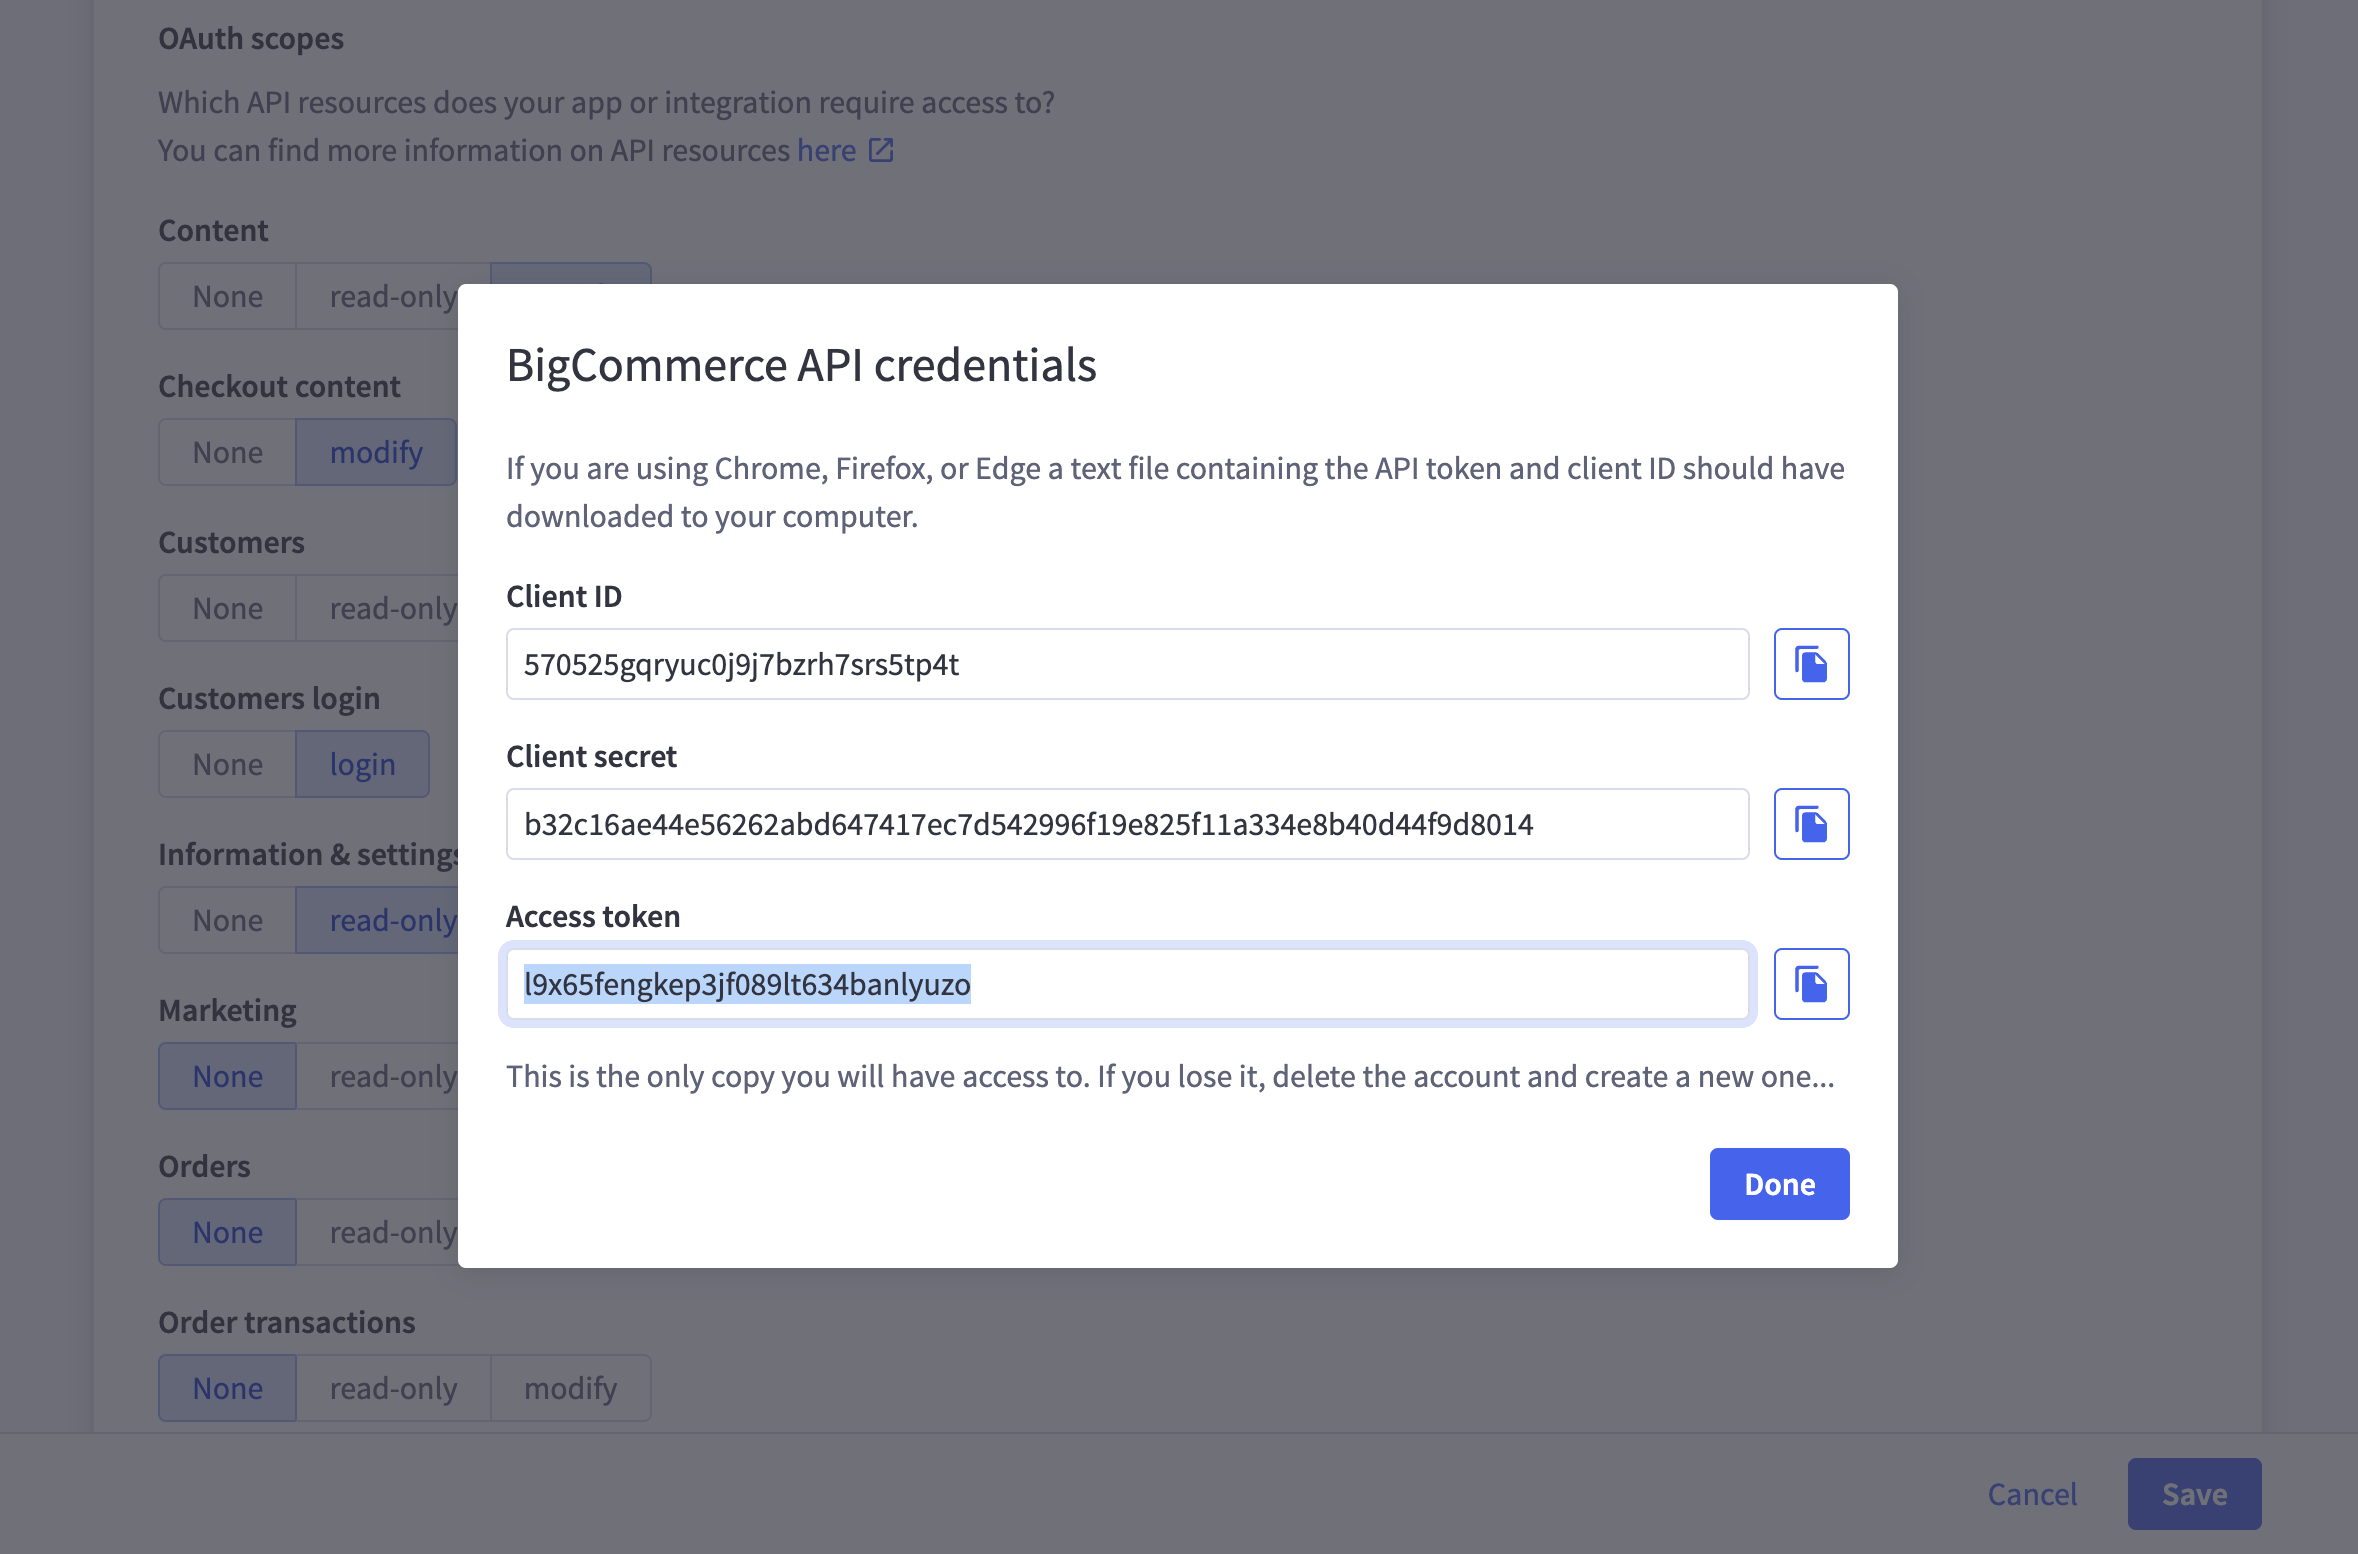
- Save the changes. Now, you will be able to copy the Client ID, Client secret and Access Token on the BigCommerce API credentials panel. Copy and paste it back on your Platform Connection section in Doofinder. Notice that this page will only show once!
- Once completed, click "Continue". The indexation process should start. You can now start using Doofinder on your Bigcommerce Store.
If you are new, a "Create store" button will appear on the front page.
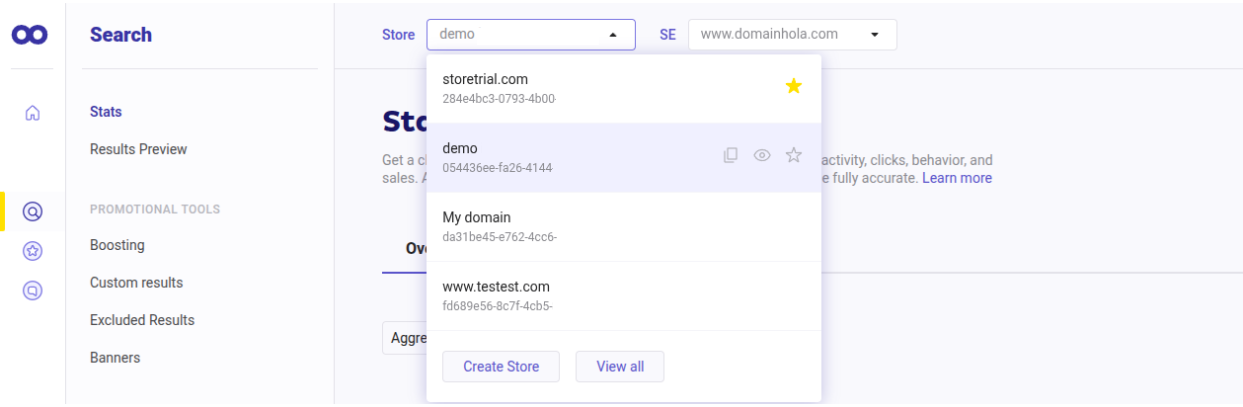
If you don't see it or prefer a different method, go to the top bar, click the "Store" dropdown menu, and select "Create Store".
Click "Continue".
2. Platform Connection
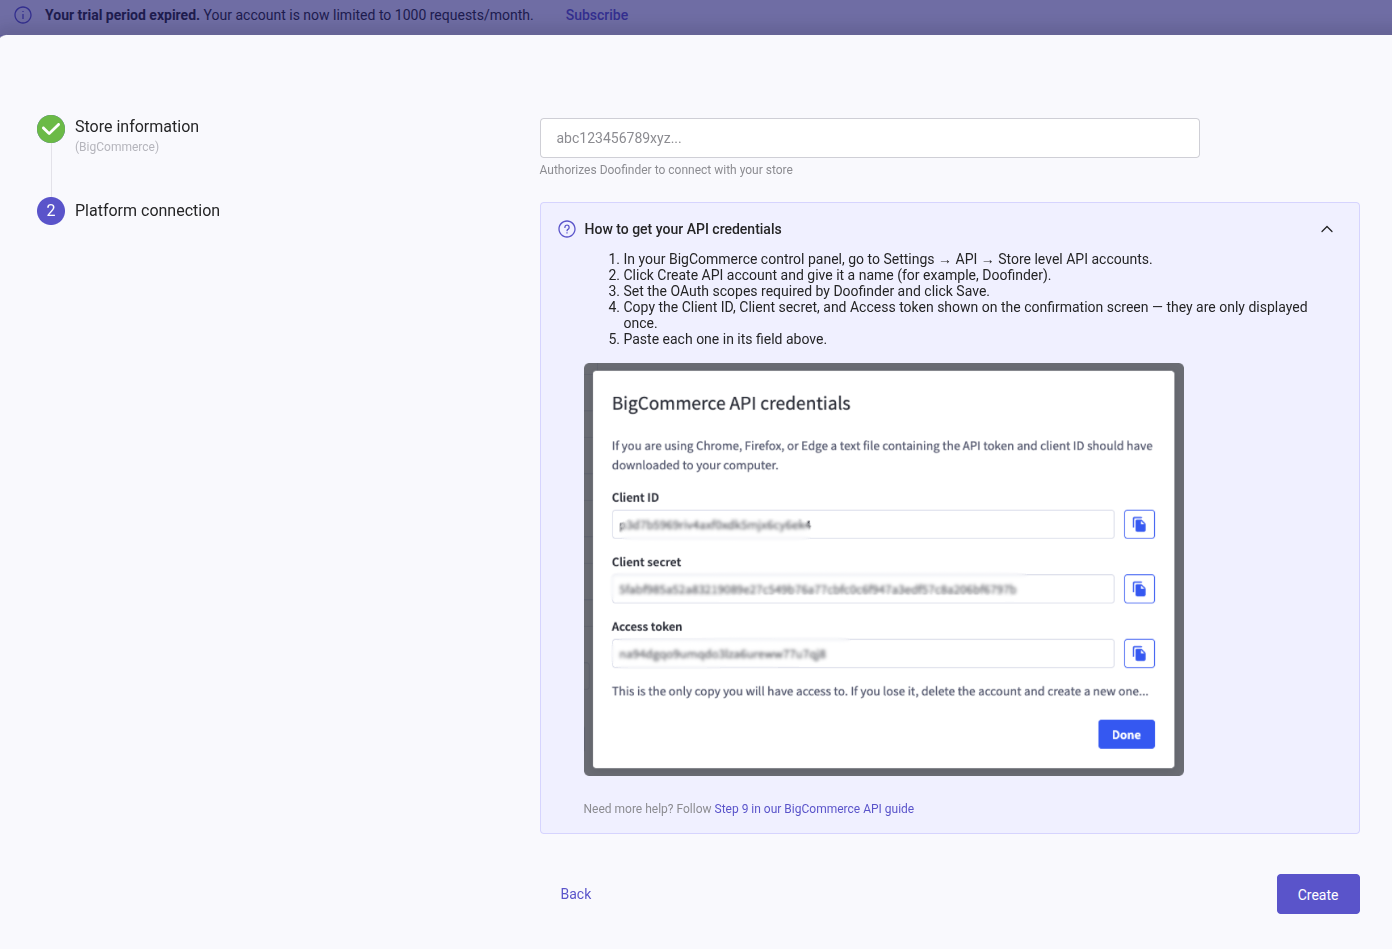
This information can be found in your Bigcommerce backend > Settings, scroll down to the API panel > click on Store-level API Accounts.

To create an API account on BigCommerce, you must have the appropriate role and permissions. The "Owner" role is required for the installation process. Learn more on BigCommerce User Roles and Permissions.
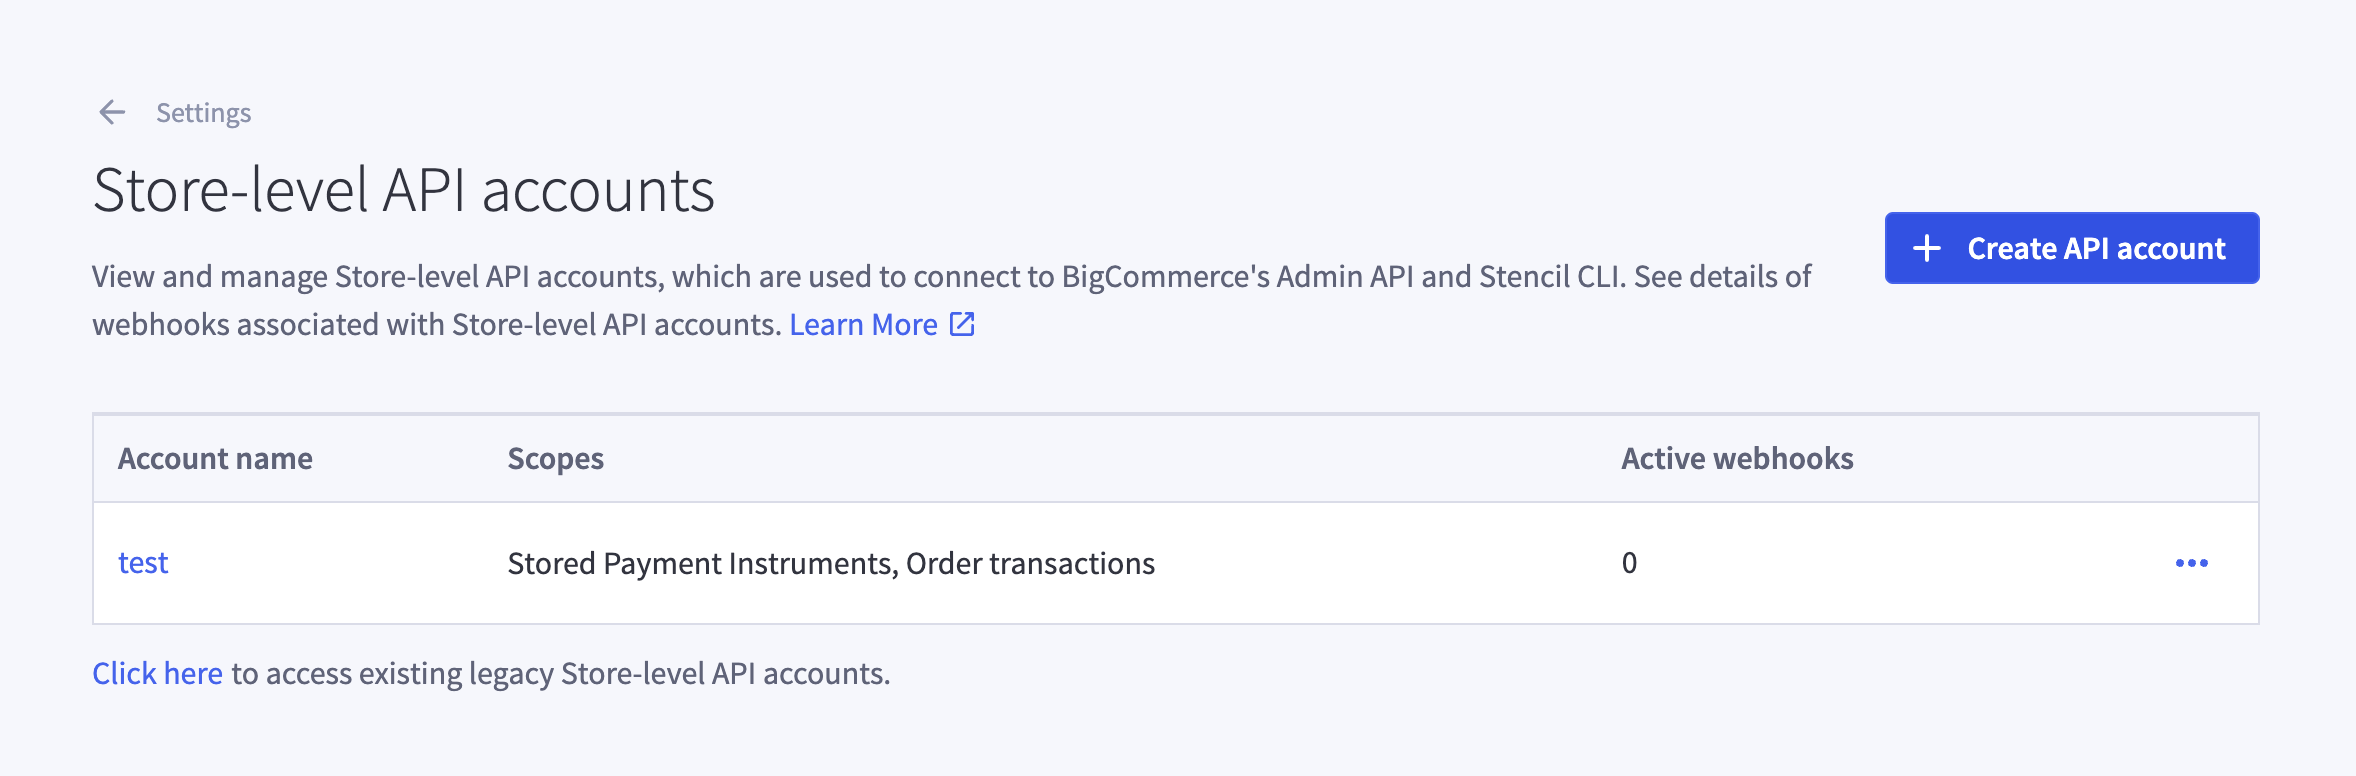
Make sure this is the unique account created under this name. Otherwise, an error could show when proceeding.
It is important to select the correct 10 options in the API Panel, as shown in the images. If you don't and something goes wrong after creation, you'll need to create a new API account on BigCommerce.
Doofinder Script
Once you complete the installation process in Doofinder, the script will be automatically added to your theme; no further action is required on your part.
Platform Configuration
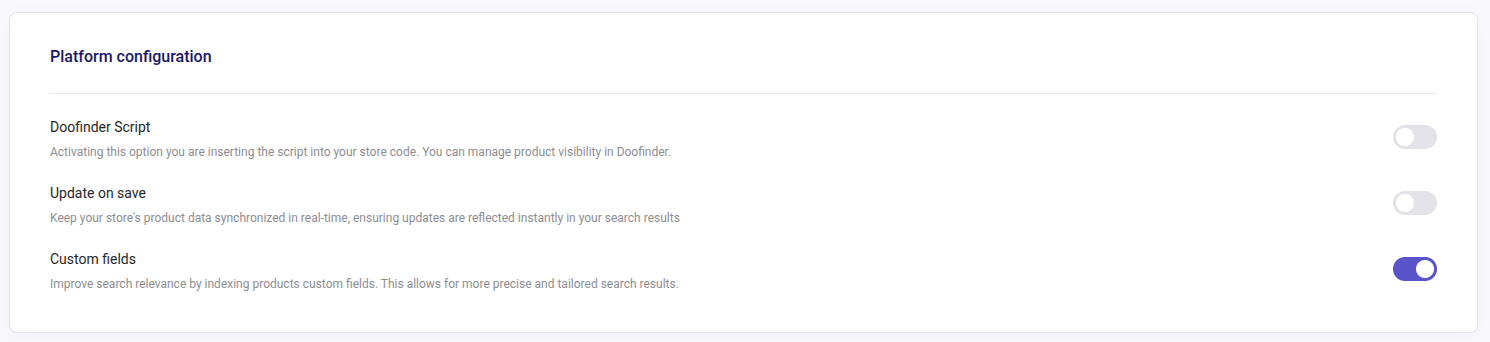
To access your platform configuration navigate to your Doofinder's Admin Panel, go to Configuration > Store Settings > Bigcommerce > Platform Configuration. You will find the following functionalities:
-
Doofinder Script: this option is activated by default. From here you can disable the script by switching it off.
-
Update on save: this functionality allows you to keep your store's product data synchronized in real time. You can enable it or disable it from the Platform Configuration section.
-
Custom fields: this feature improves search relevance and allows more precised search results. Enable it when you have indexed product custom fields.
API installation troubleshooting
As mentioned earlier, if the OAuth scopes are not selected correctly, the installation process will not function properly.
Make sure the following scopes are changed from "None" to their corresponding fields:
- Content: "modify"
- Checkout content: "modify"
- Customers: "modify"
- Customers login: "login"
- Information & settings: "read-only"
- Products: "read-only"
- Sites & routes: "read-only"
- Channel settings: "read-only"
- Storefront API tokens: "manage"
- Storefront API customer impersonation tokens: "manage"
Create Additional Indices
When using the Bigcommerce plugin you can automatically enable different Multi-Indices, such as:
- Blog and articles
- Categories
- Website pages
Refer here to learn how to create additional indices.
Module Update
Doofinder has its own Module for the majority of platforms, which must be regularly updated in order to keep the functionalities working properly, and latest updates pull through. Although not mandatory, we recommend always keeping the modules up-to-date.
How Do I Update The Module?
Updating the module may remove any previous customizations. If you suspect your script is customized, contact us before proceeding with the update. To detect customizations, read the following section.
To upgrade the module of Doofinder in BigCommerce:
- Go to your BigCommerce backend and update the Bigcommerce API to the latest version.
- In some cases, you may need to accept new permissions in the BigCommerce backend. You might see a message like this one: “Doofinder Search & Discovery is requesting to update its access to your BigCommerce store”.