Follow this step-by-step guide to install Doofinder in JTL.
- If you are a new user, check this article to create a new Doofinder account.
- If you have an account already or just created one, follow these guidelines:
1. Log In and Create Store in Doofinder
- Log in to your Doofinder Admin Panel.
- If you are new, a "Create store" button will appear on the front page, click on it.
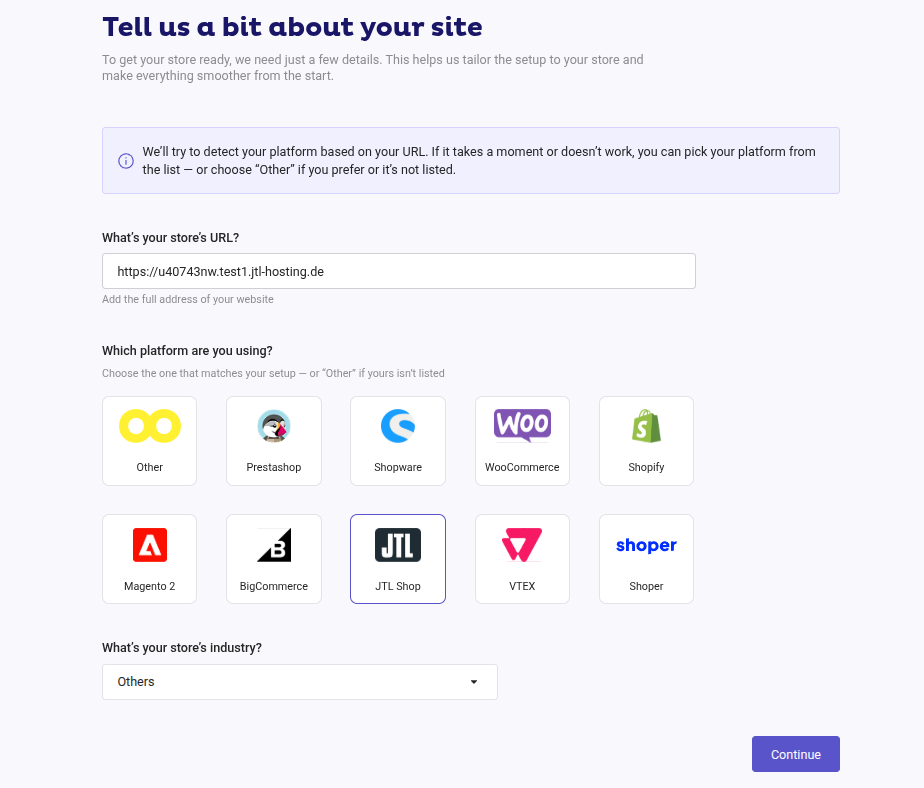
- Fill in the information of your Store URL > select JTL as the platform > add the industry:
- On the second screen, click on “Go to JTL”:
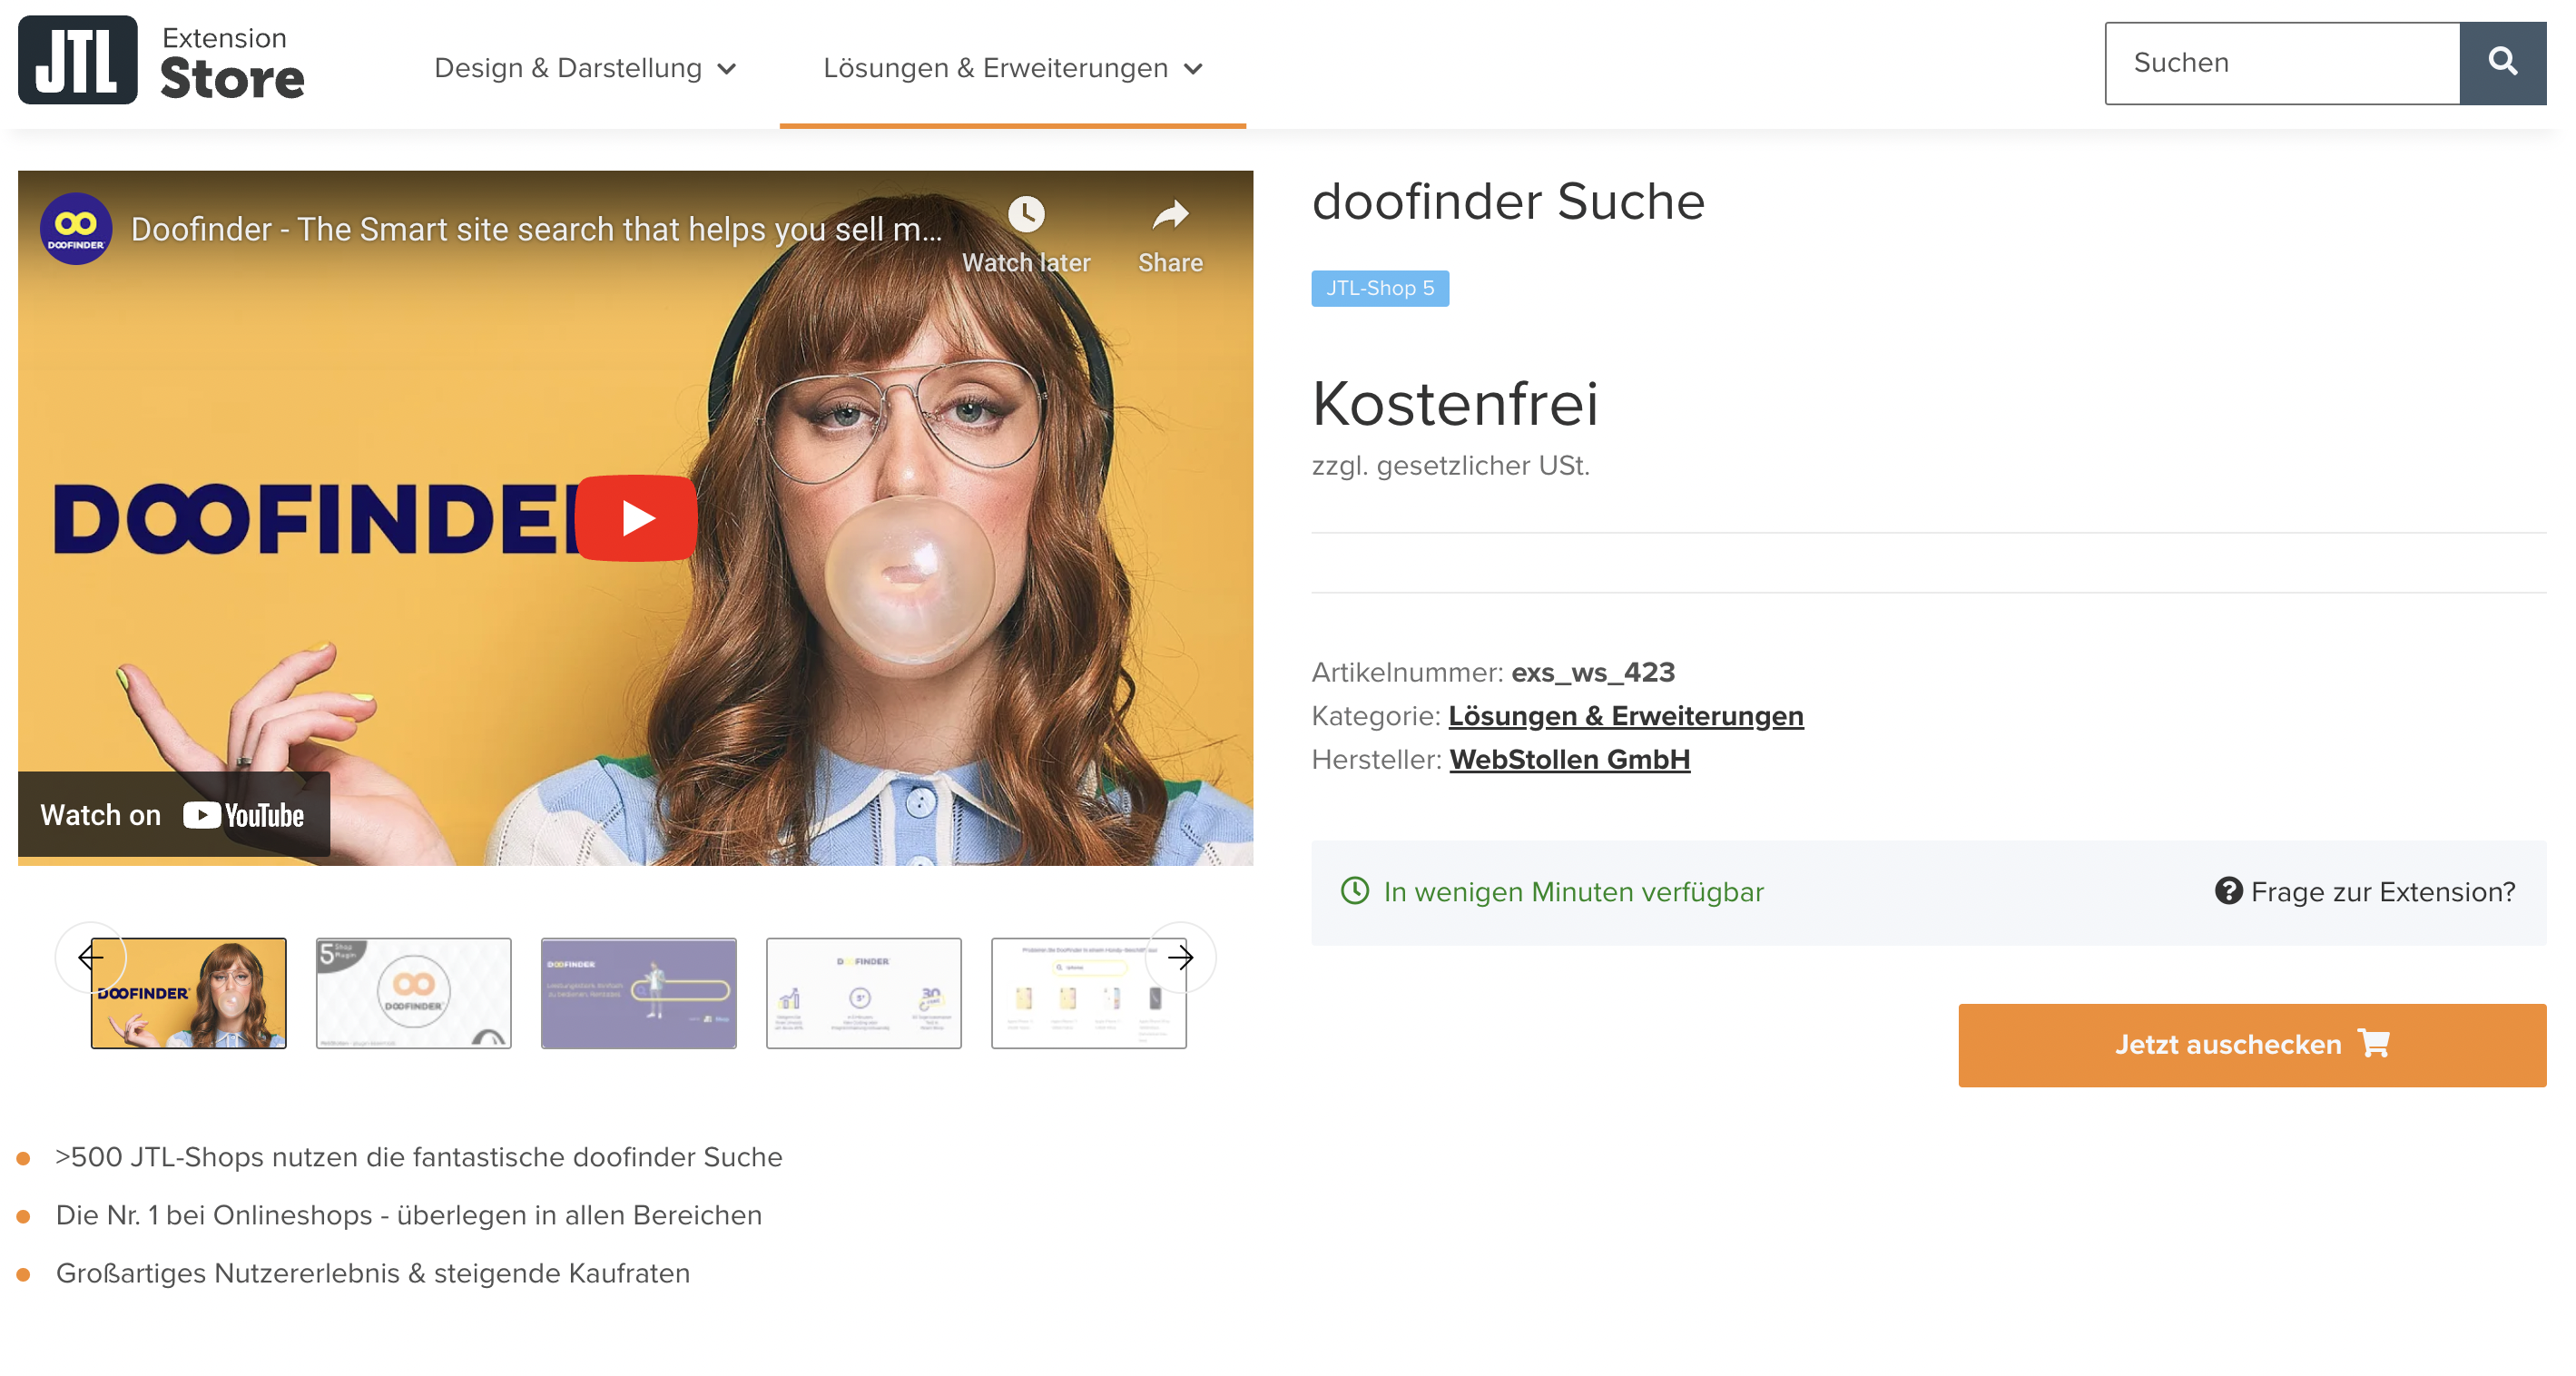
- To have it purchased, once in the JTL Extension Store, click on “Checkout now” (Jetzt auschecken):
- Then click on “Anmelden”.
- Login and click on “Jetzt bestellen”.
- Finally, click on “Zum ExtensionStore”.
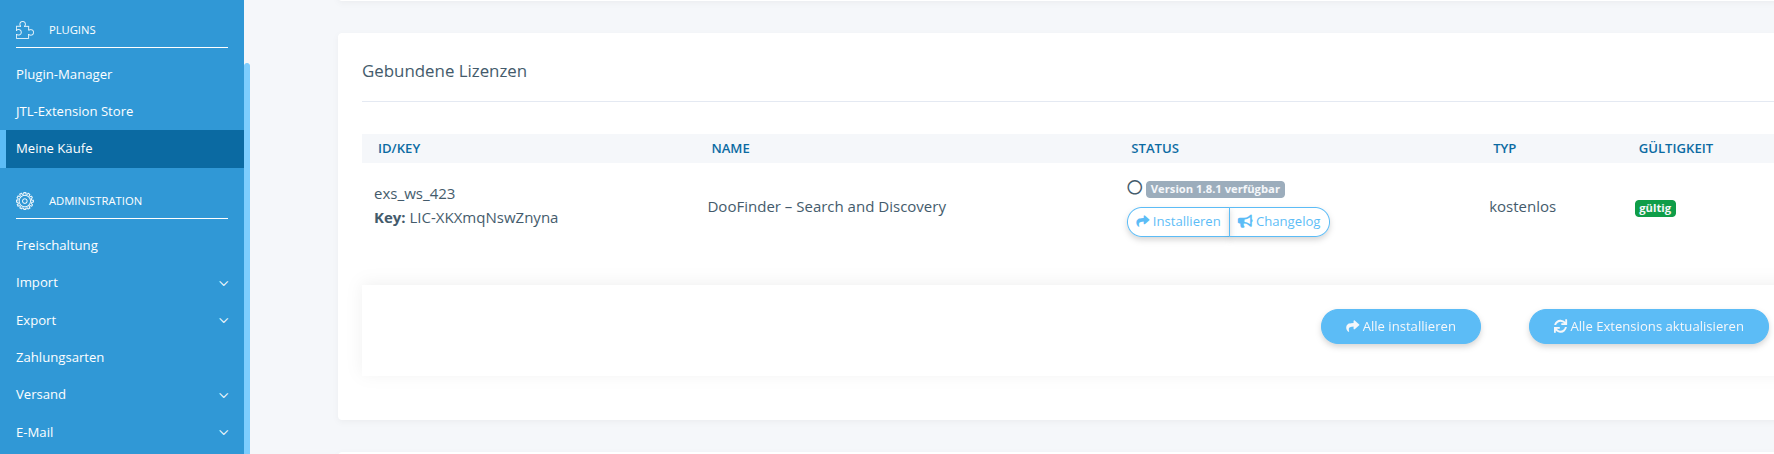
- Now, go to your JTL backend to install the plugin under My Purchases (Meine Käufe) > click on Install all (Alle installieren):
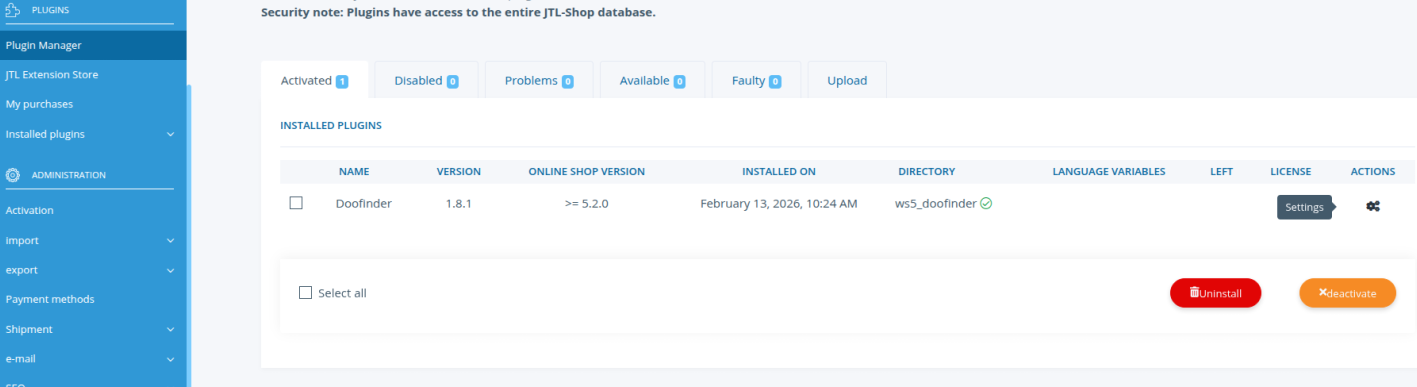
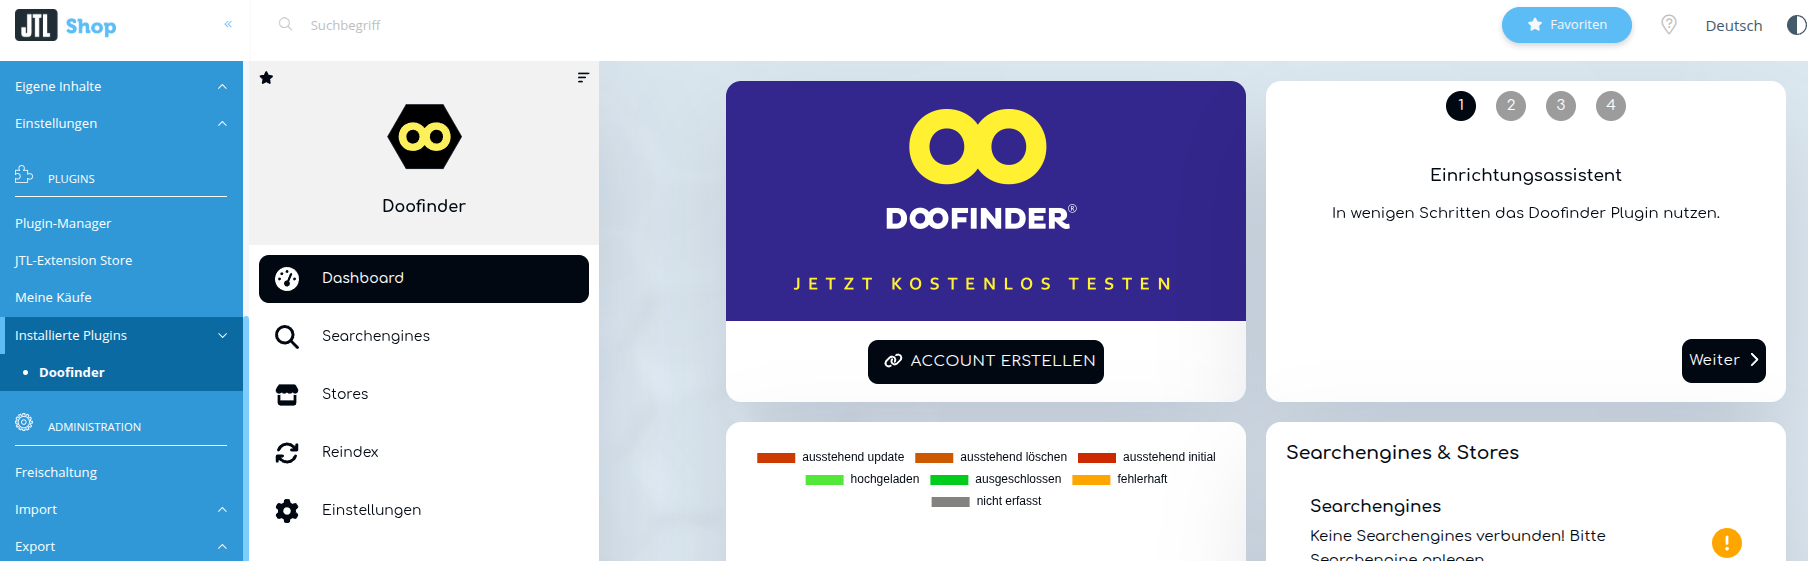
- Enable it under Plug-in Manager. Go to Activated (Aktiviert) > Doofinder > select the “Settings” (Einstellungen):.
- You then will see the Doofinder plugin configuration panel. If you do not have an account, click on “Create Account” (Account Erstellen) or if you already have it, click on “Further” (Weiter):
- With the store created, proceed with “Further”. You will need to enter the following information:
- API Key: your API key can be found in the Doofinder Admin Panel, on the Account section > API Keys.
- Doofinder User ID (User ID hinterlegen): can be found in the same panel as the API Keys. Go to your Doofinder Admin Panel > Account > API Keys > Find your User ID.
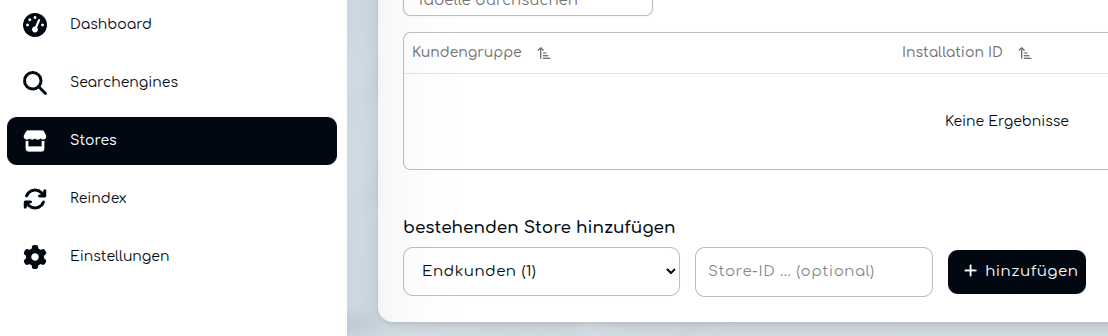
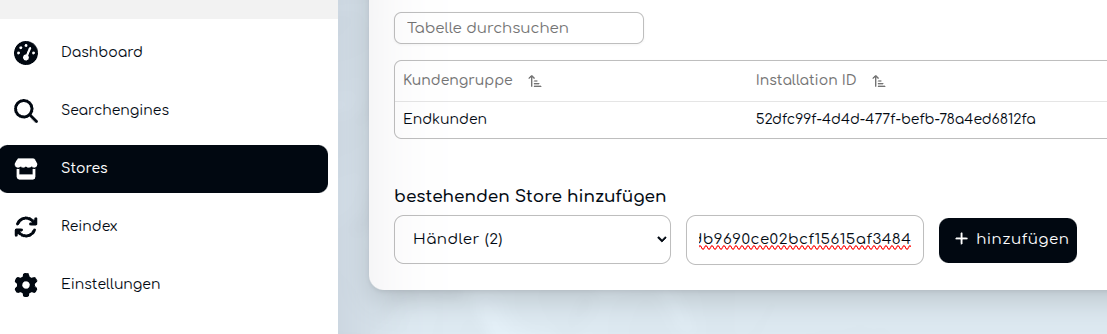
- Then you go to Stores > “Add existing store” (bestehenden Store hinzufügen) > select “End customers” (Endkunden) > click on “add” (hinzufügen):
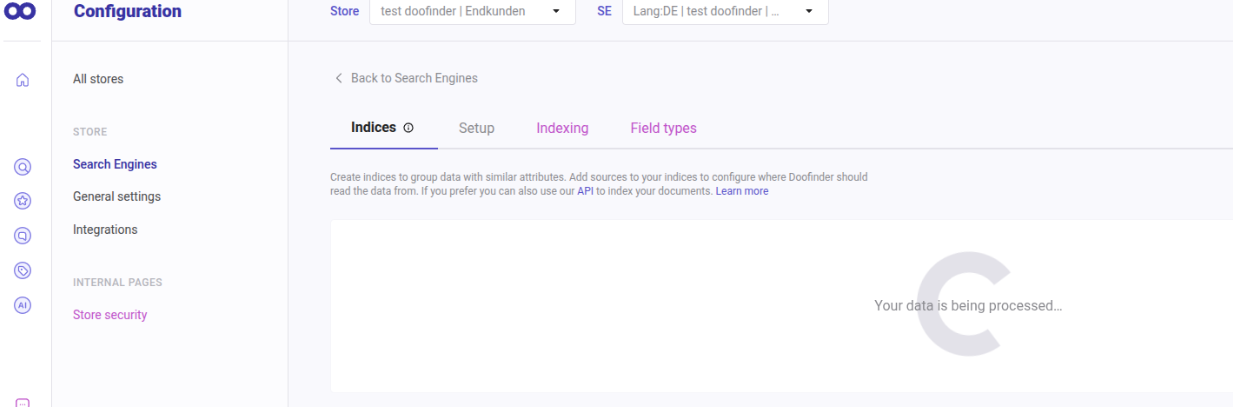
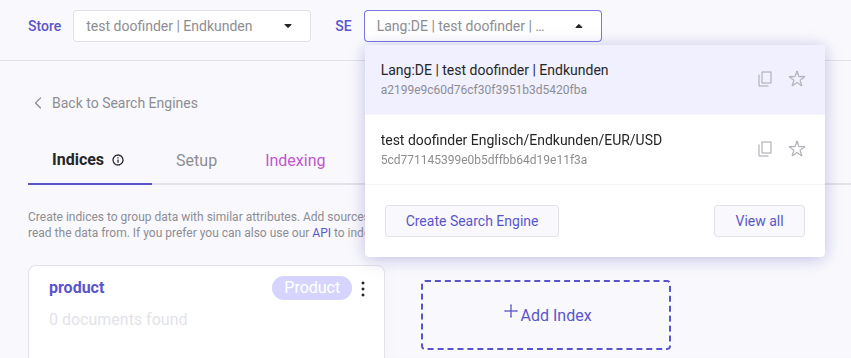
- Back on your Admin of Doofinder, refresh the navigator and you should see your store created and indexing:
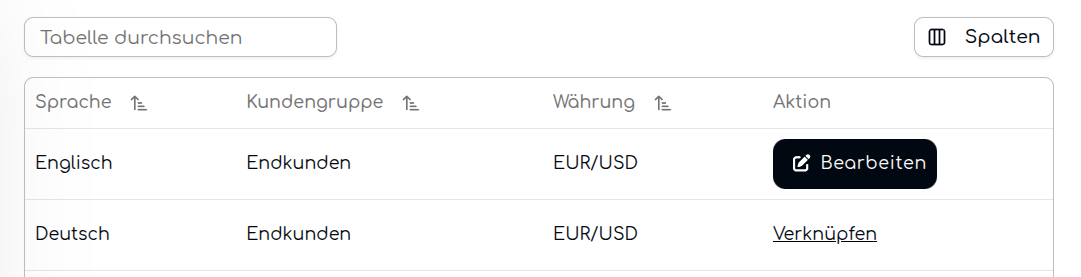
- Back in the JTL backend, under Searchengines you will see the automatically created search engines based on your web languages and currencies.
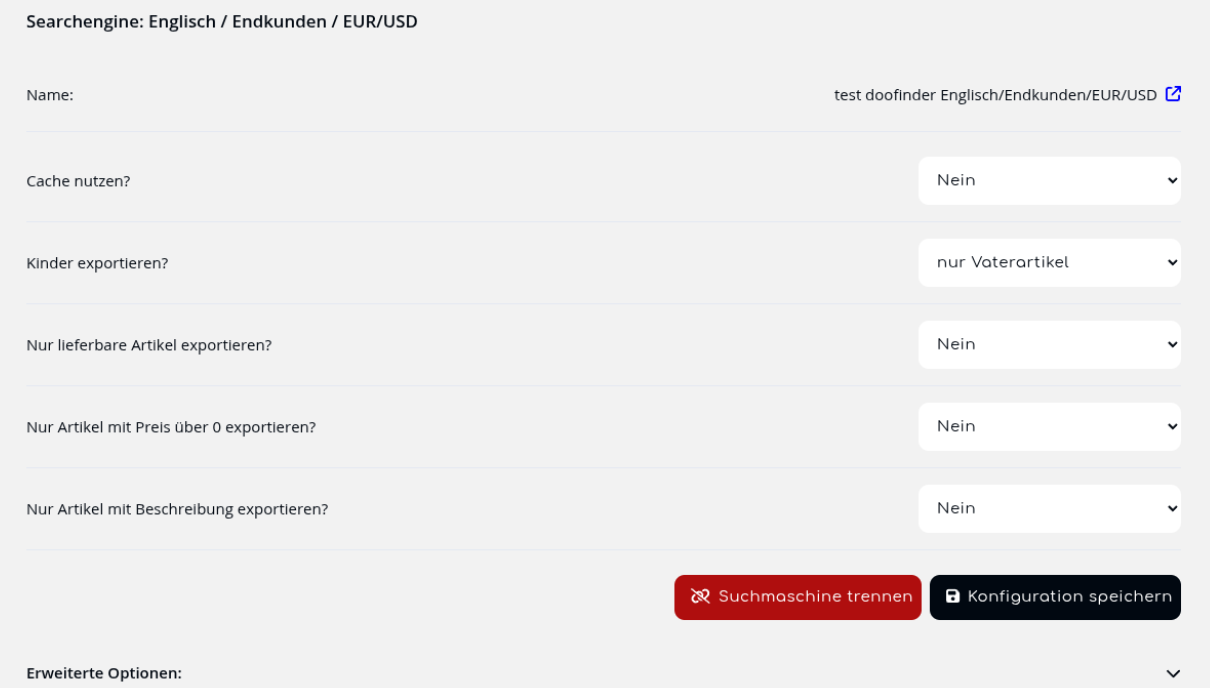
- If you click on “Edit” (Bearbeiten) you will be able to adjust a few settings for each engine, such as what types of articles you want to index:
- Now under “Settings” (Einstellungen), you must configure:
- Activate Doofinder search (Doofinder Suche aktivieren) > YES (JA) : this will ensure the layer is activated on your website’s frontend. Click on “Save” (Speichern).
- To connect them, in your JTL backend, navigate to Stores and input the again the Store ID from the Doofinder Admin Panel under the corresponding client group. Repeat the same steps you did for the first created store:
- Any errors within our admin or products you can contact with us in Doofinder.
- Any issues with the plugin of Doofinder in JTL, you must contact with the plugin manager, Webstollens here.

2. Plugin Installation
Next, you will be prompted to install Doofinder via JTL.
Notice that you can also follow the guidelines via the WebStollen video tutorial (in german): click here.
Before continuing, make sure your store is fully prepared for the installation from the JTL Extension Store. If the plugin is not yet installed, purchase it in the JTL Extension Store for free.
If you want to create different combinations of languages and currencies you can by clicking on “Link” (Verknüpfen):
And once again in Doofinder you will see the newly created search engine per each language & currency combination:
Connecting different Stores
Most likely, you have different customer groups in your JTL under Stores > bestehenden Store hinzufügen. To make sure Doofinder runs smoothly, create a separate store in Doofinder Admin Panel for each customer group in JTL. Then link them in the JTL backend.
3. Index your Data
By default, the catalogue indexing isn't automatic and must be triggered manually. For example, if you change prices on your products, this won’t automatically be sent over to the Doofinder layer, and you will have to follow with the manual steps below every time you need the updates to be transferred over.
To do so automatically, the reindex can be triggered by calling the reindex URL. A Cron job should be set up on the reindex URL to keep the articles up to date. In the WebStollen recommendations you can find more information about it:
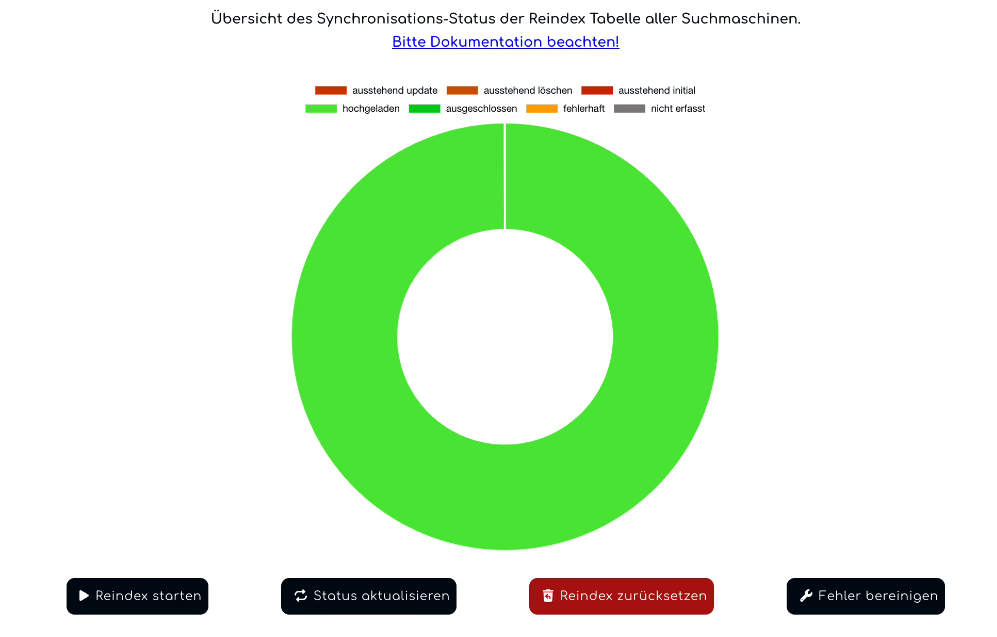
To index the feed manually please click on “Reindex starten” (to start the process) and “Status aktualisieren” (to see the status of the indexing, the goal is to see it all green!).
Click on the “Reindex starten” and “Status aktualisieren” button as many times as necessary until the circle turns completely green, as in the image below.
You should have Doofinder up and running now. If the layer isn’t displaying, make sure to check the CSS selectors!
4. Support of Doofinder/ Support of JTL
Module Update
Doofinder has its own Module for the majority of platforms, which must be regularly updated in order to keep the functionalities working properly, and latest updates pull through. Although not mandatory, we recommend always keeping the modules up-to-date.
How Do I Update The Module?
The JTL upgrade can be done by reinstalling the module. For reference, you can check the installation steps here!