Follow this step by step guide to Install the Doofinder Prestashop Plugin.
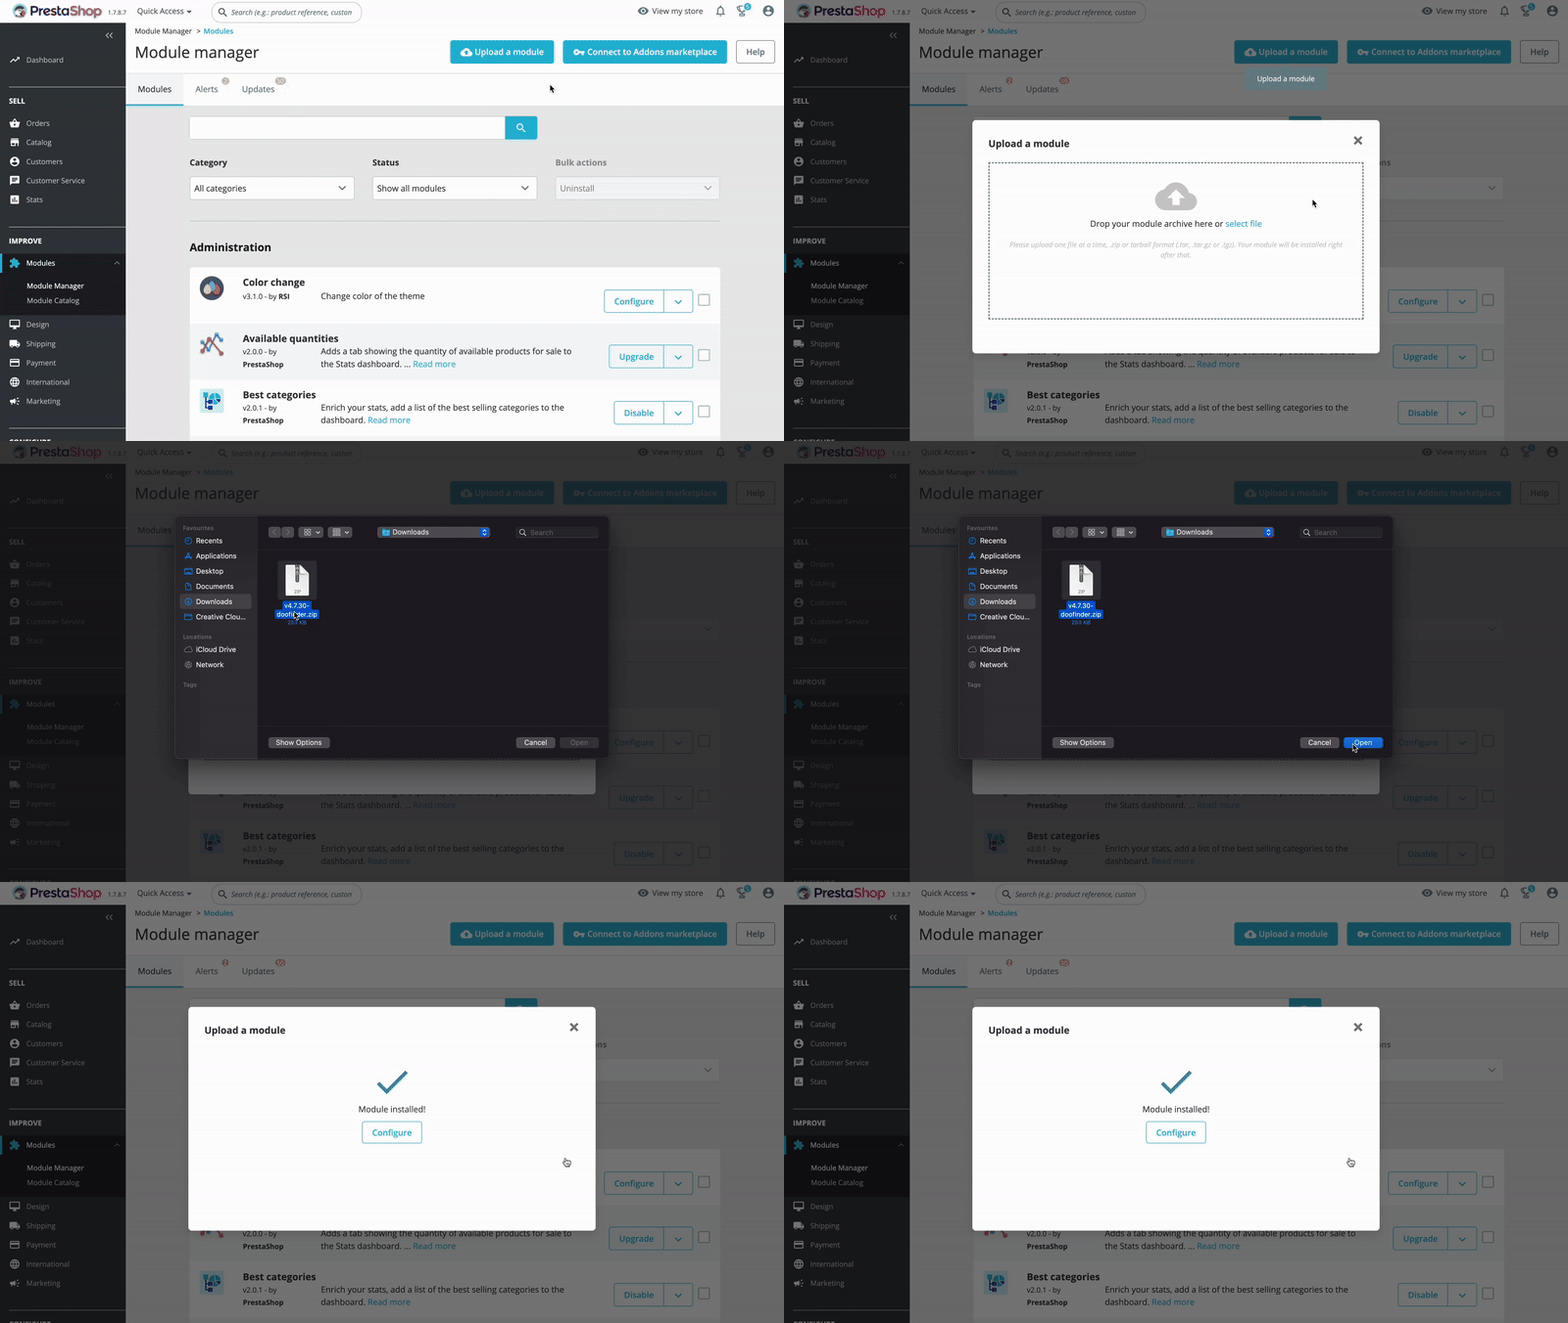
- To begin the installation process, login to your PrestaShop account.
- On the Dashboard, go to Modules and select the Modules Manager.
- In the top right corner, select the "Upload a Module" button, from which a pop-up page will appear, prompting you to drag the module file there or select the file.
- In the "select the file" option, find the .zip file you downloaded earlier on, select and upload it.
- You can click on the "Configure" button or close the pop-up window and go to the Module Manager to find the Doofinder module you just downloaded and click on "Configure". Both ways are valid.
Remember, you'll need to get the Doofinder plugin from PrestaShop's official Addons Marketplace or get the plugin from our Github repository. Download the .zip file and save it on your computer to be accessed later. You can also download the .zip file when creating a store for the first time in Doofinder, during the store setup process.
You will then be asked to log in to your existing Doofinder account or, if you do not have one, to sign up for one.
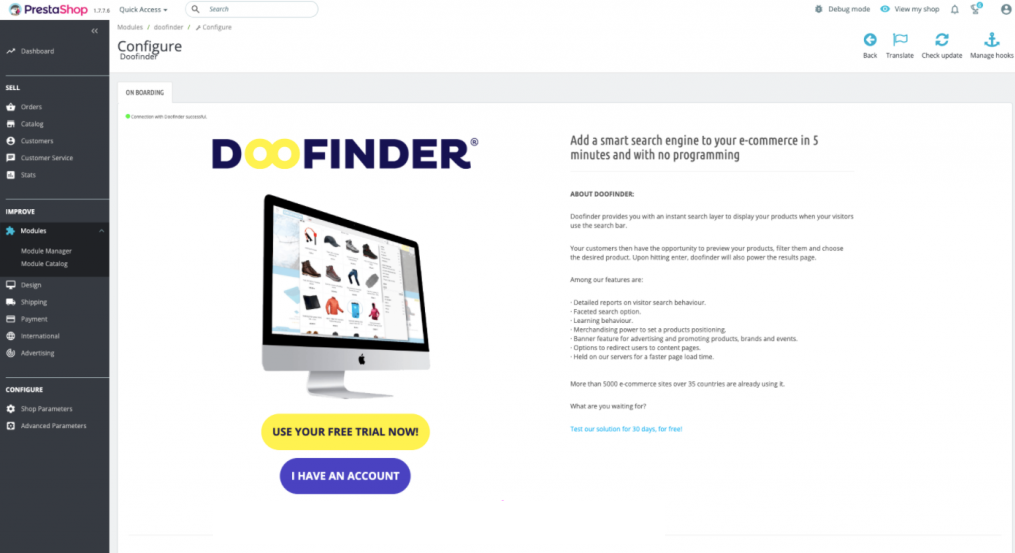
A setup wizard will appear and will run for some seconds, creating the Search Engines for all the languages and currencies you have set in your data feed.
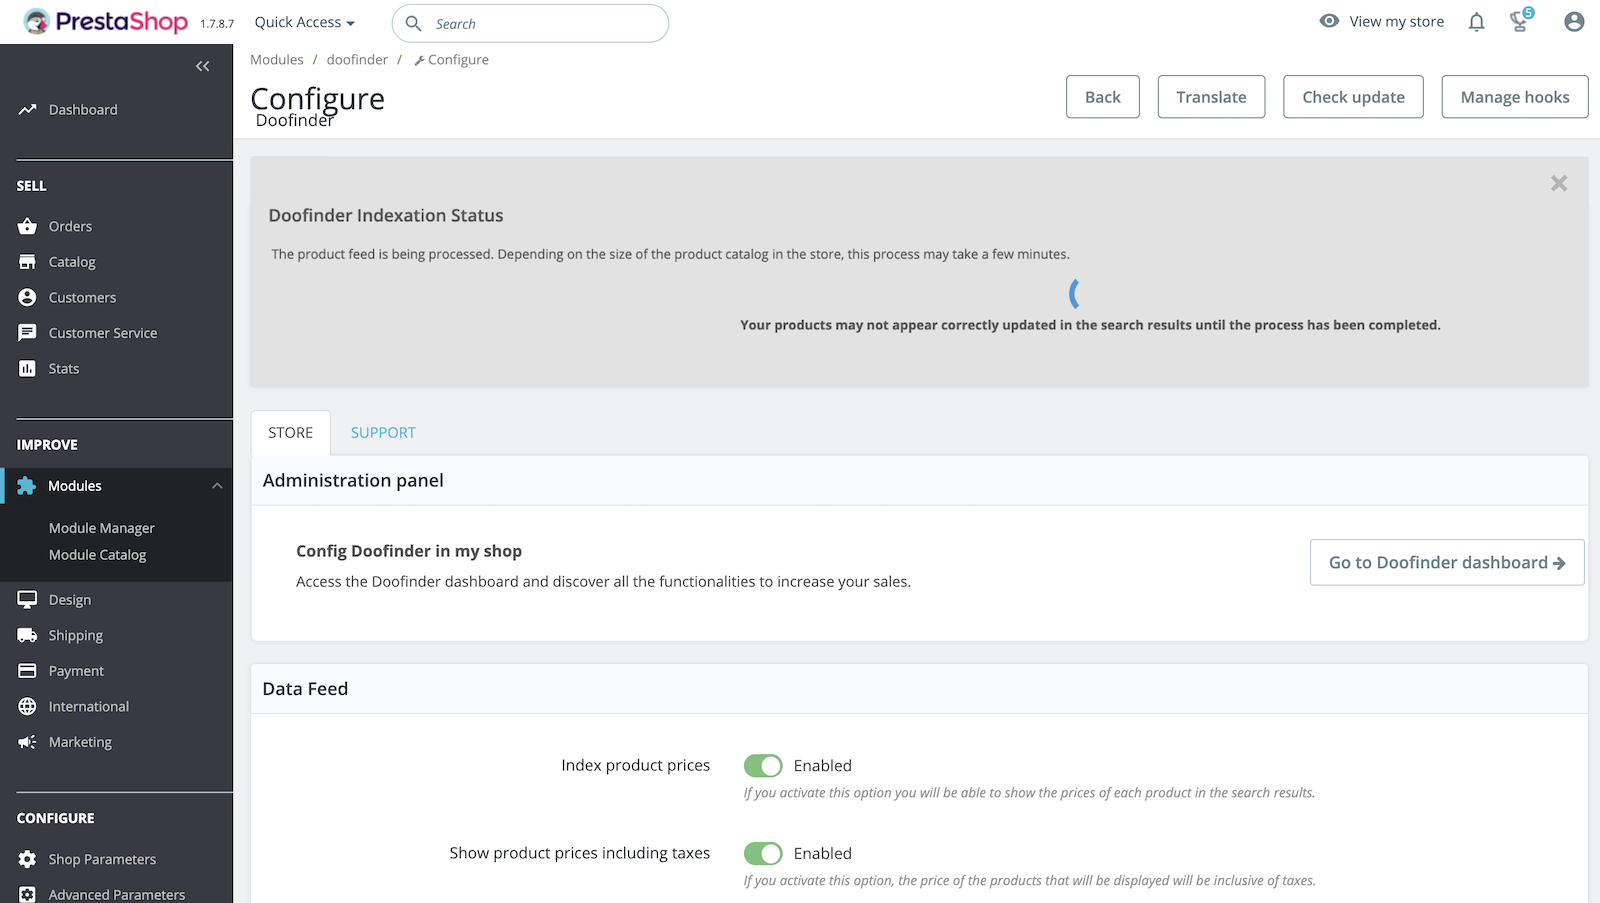
Post-Installation
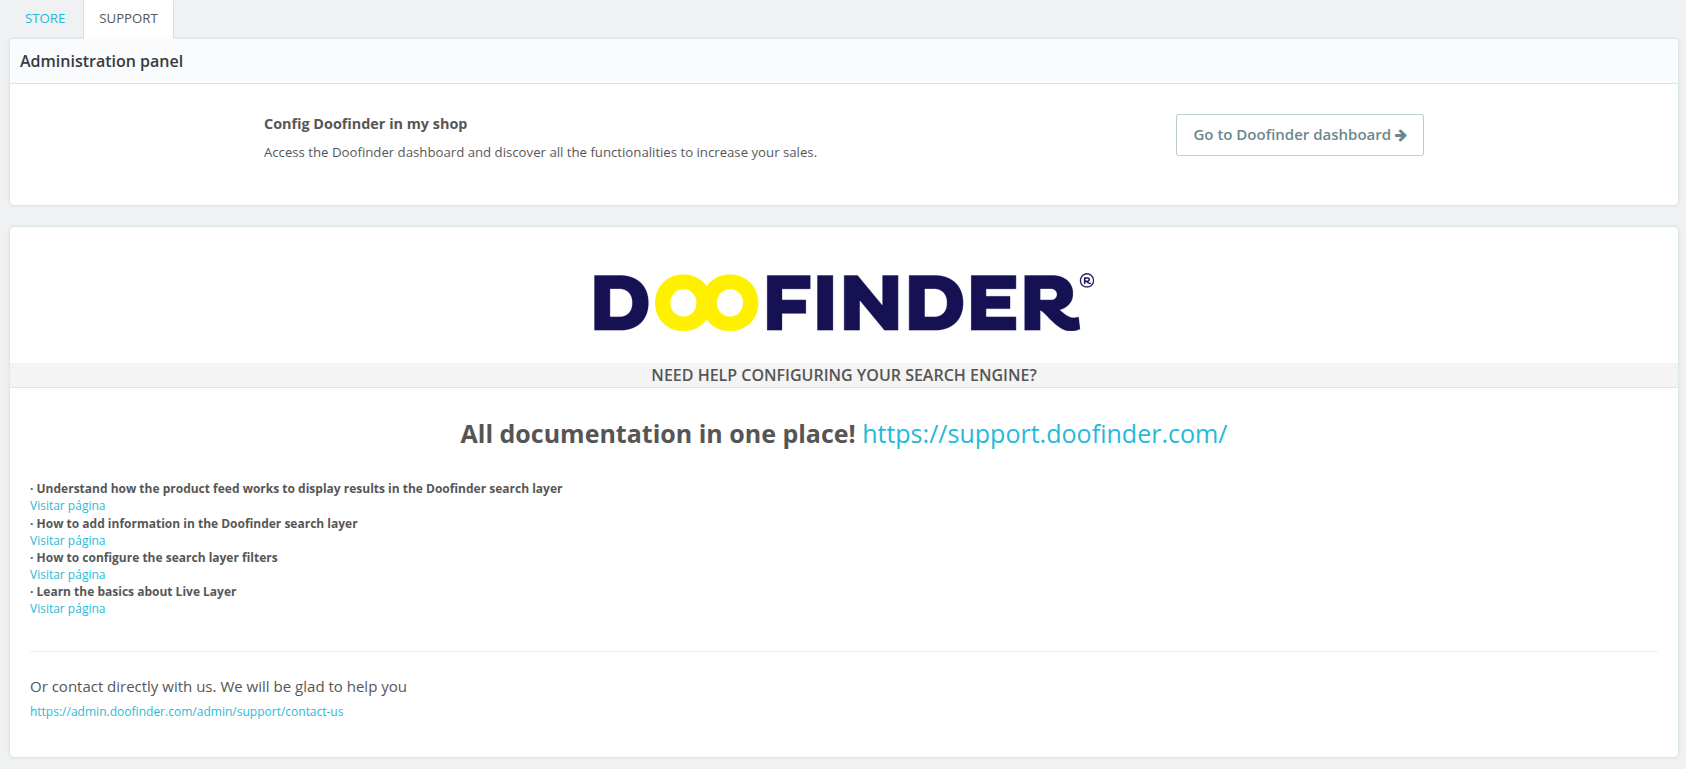
Once the plugin is installed, this is how the module screen will look like. You have two tabs: “Store” and “Support”.
Store
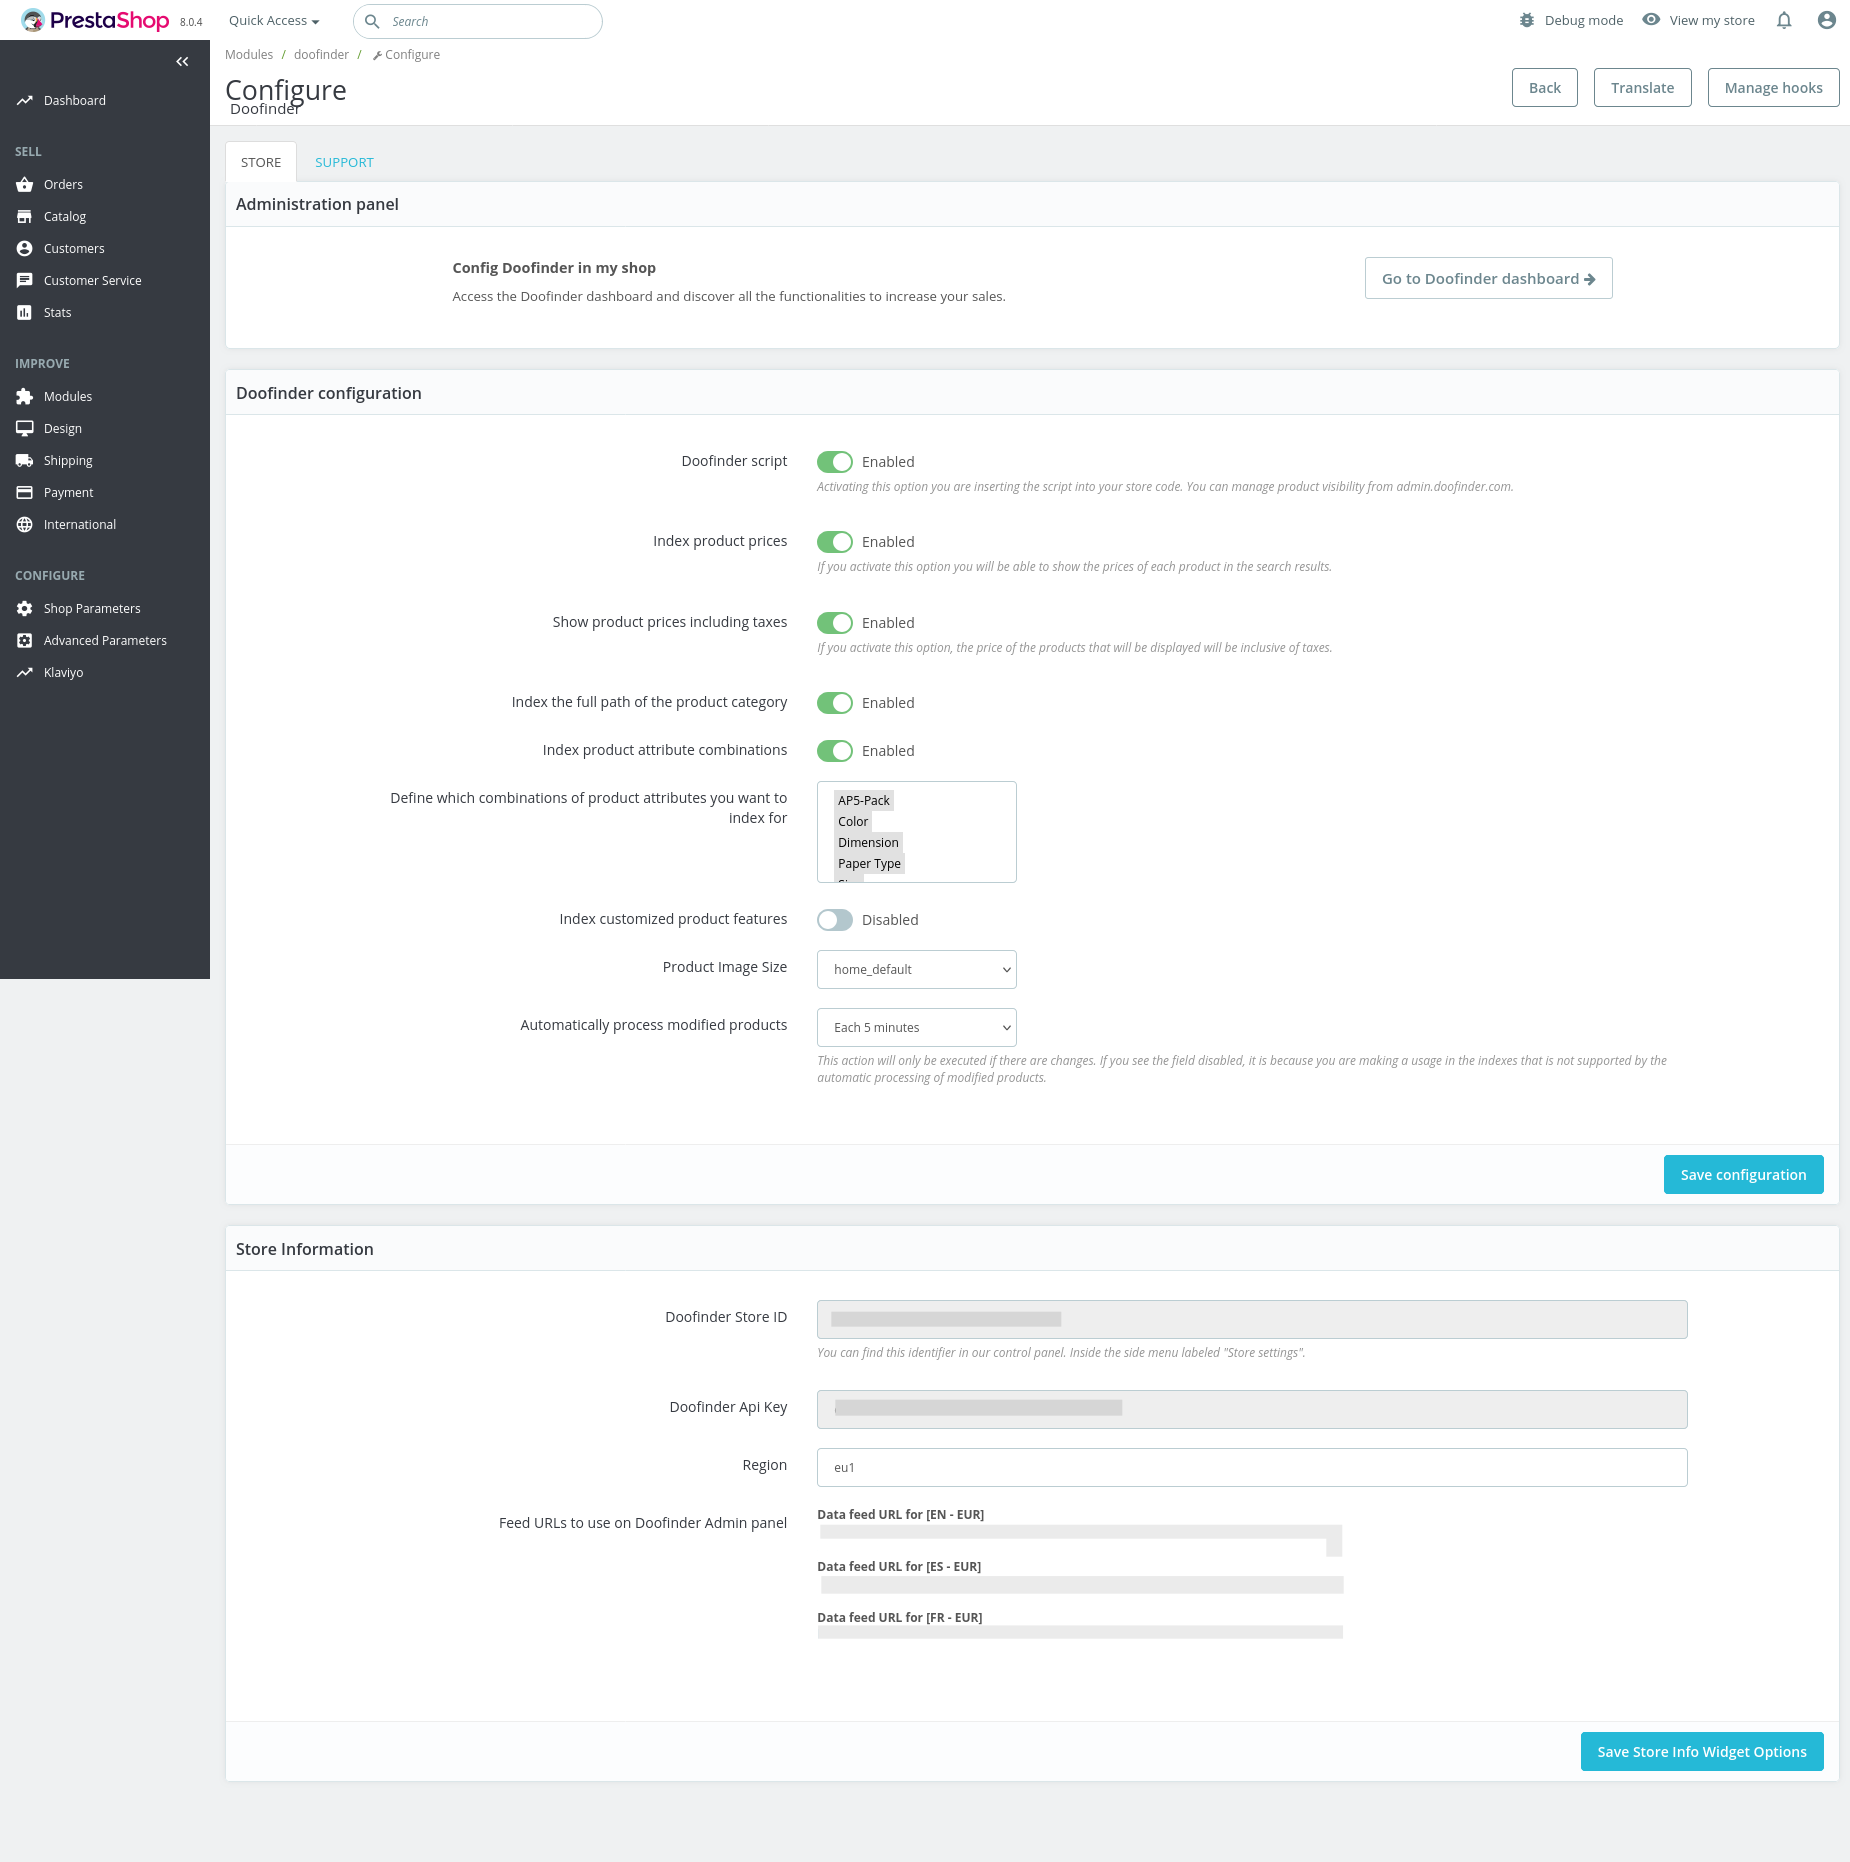
Let's take a look at the “Store” tab which is divided into three sections:
-
Administration Panel: You have direct access to the Doofinder Admin Panel so that you can explore all the functionalities that will help you to increase your sales.
-
Doofinder Configuration: From here you can configure the Doofinder Plugin. You'll find the following options:
- Doofinder script: Activating this option you are inserting the script into your store code. You can manage product visibility from admin.doofinder.com
- Index product prices: If you activate this option you will be able to show the prices of each product in the search results.
- Show product prices including taxes: If you activate this option, the price of the products that will be displayed will be inclusive of taxes. (Index Product Prices must be enabled to configure this option.)
- Index the full path of the product category option.
- Index product attribute combinations option.
- Define which combinations of product attributes you want to index for option.
- Index customized product features option.
- Product Image Size.
- Automatically process modified products option: This action will only be executed if there are changes. If you see the field disabled, it is because you are making a usage in the indexes that is not supported by the automatic processing of modified products.
-
Doofinder Store ID: You can find this identifier in our control panel. Inside the side menu labeled "Store settings".
-
Store Information: From here, you can find your Doofinder API Keys and other aspects of your Store.
Your Doofinder Store ID, your Doofinder Store API Key and your Region are Read Only fields, as they already are pre-filled with your Store information. To modify any of these, contact Support.
Support
Now, let's take a look at the “Support” tab. Again, you will be able to access the Doofinder Admin Panel, and you will find useful links from our Support Website that will help you to improve the tool.
Multicurrency In Prestashop
Starting from January 14, 2025, new stores created in Doofinder will take advantage of the new multipricing functionality, which simplifies the structure by creating a single Search Engine for each store. This allows seamless handling of multiple prices across currencies or customer groups without the need to create separate Search Engines for each currency.
For stores created prior to this date, the reinstallation is required to benefit from the multiprice attribute and its functionalities.
B2B Pricing - Activation
This section describes the process for managing multiple types of prices in Doofinder, based on your Prestashop configurations and on different criteria such as customers, customer groups, countries, and currencies. The objective is to enable the dynamic display of products and their corresponding prices across the platform.
For new installations
We will automatically index prices according to the customer groups defined in your Prestashop configuration.
For existing Doofinder stores
You will need to update your Doofinder module to the latest version in your Prestashop admin.
The version of the module of Doofinder must be from 6.2.1 onwards, you can access the module versions here!
Behavior For Reinstallations
If a store already exists in Doofinder and the plugin is reinstalled, a new store will be created. The previous store configuration will not be reused, marking a change from the current behavior.
Doofinder Script
The script is inserted automatically during the installation process.
Search Engine
It is automatically created for all the languages and currencies you have set in your data feed.
In Doofinder you can have multiple Search Engines for the same website, but each Search Engine can index its own language, so if your shop has two languages configured, and you want to use Doofinder in both languages you will have to create two Search Engines in the Admin Panel of the Doofinder site.
Layer
The fullscreen Live Layer will be enabled by default, on desktop and mobile. If you want to create a new Layer, see this document Create a Layer.

