- Step by Step Installation
- 1. Log in and Create Store in Doofinder
- 2. Platform Connection
- 3. Script and Stats Connection
- 3a (only if CSS is not detected): Manually Set Search Bar Location
- Activate Other Functionalities
- Attributes Included in The Feed
Step by Step Installation
To install an app on Shopify through the API, you must have the appropriate role and permissions. If you are not the store owner and have a staff or collaborator role, you must have the necessary permissions to access and create apps.
Follow this step by step guide to Install the Doofinder Shopify through API.
- If you are a new user, check this article to create a new Doofinder account.
If you have an account already or just created one, follow these guidelines:
1. Log in and Create Store in Doofinder
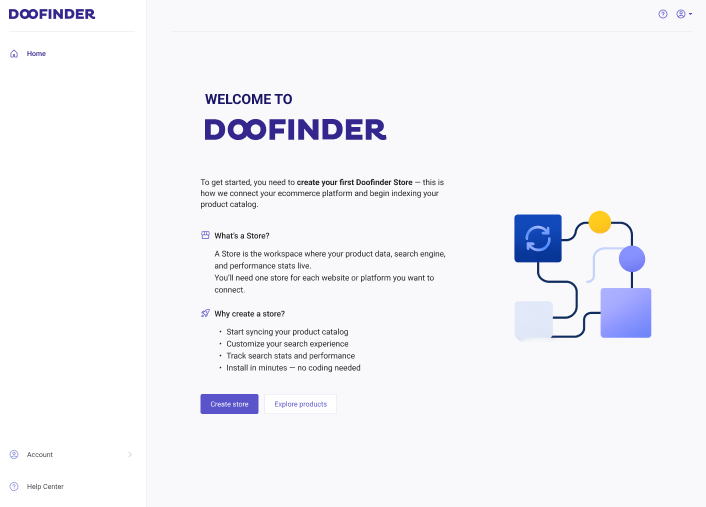
- Log in to your Doofinder Admin Panel.
- If you are new, a "Create store" button will appear on the front page. Click on "Create Store".
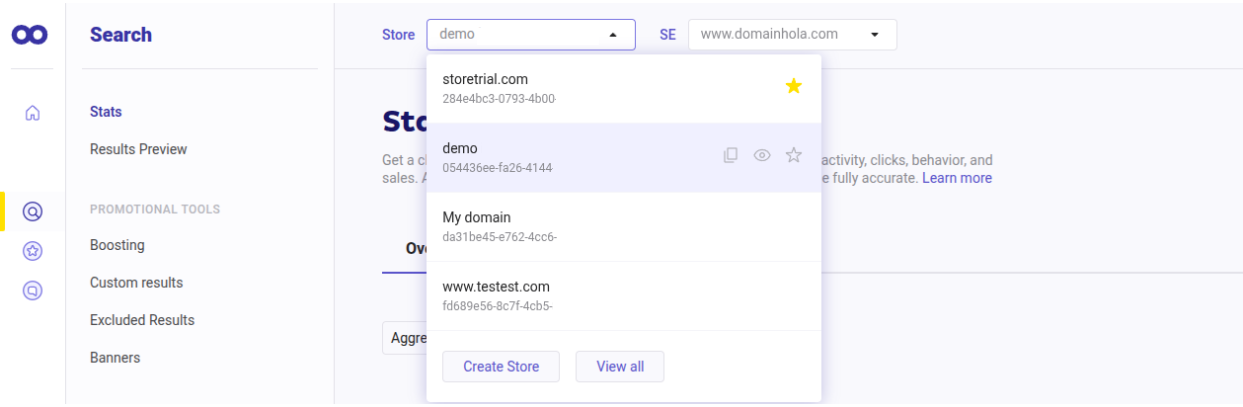
- If you prefer a different method, go to the top bar > click the "Store" dropdown menu > select "Create Store".
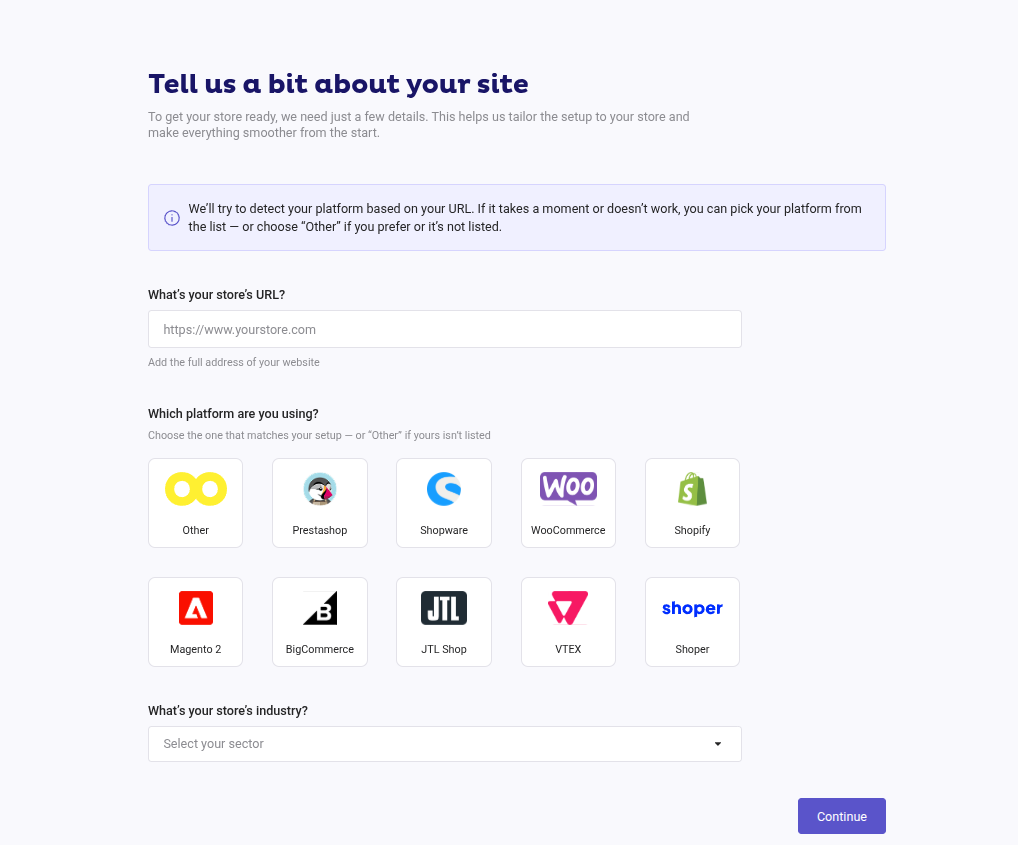
- Once clicked, a pop-up window will appear where you need to:
- You must add the Shopify URL, which is generated automatically and can be found in the admin panel under Settings > Domains.
- Select the Platform, Shopify in this case.
- Select your store’s industry.
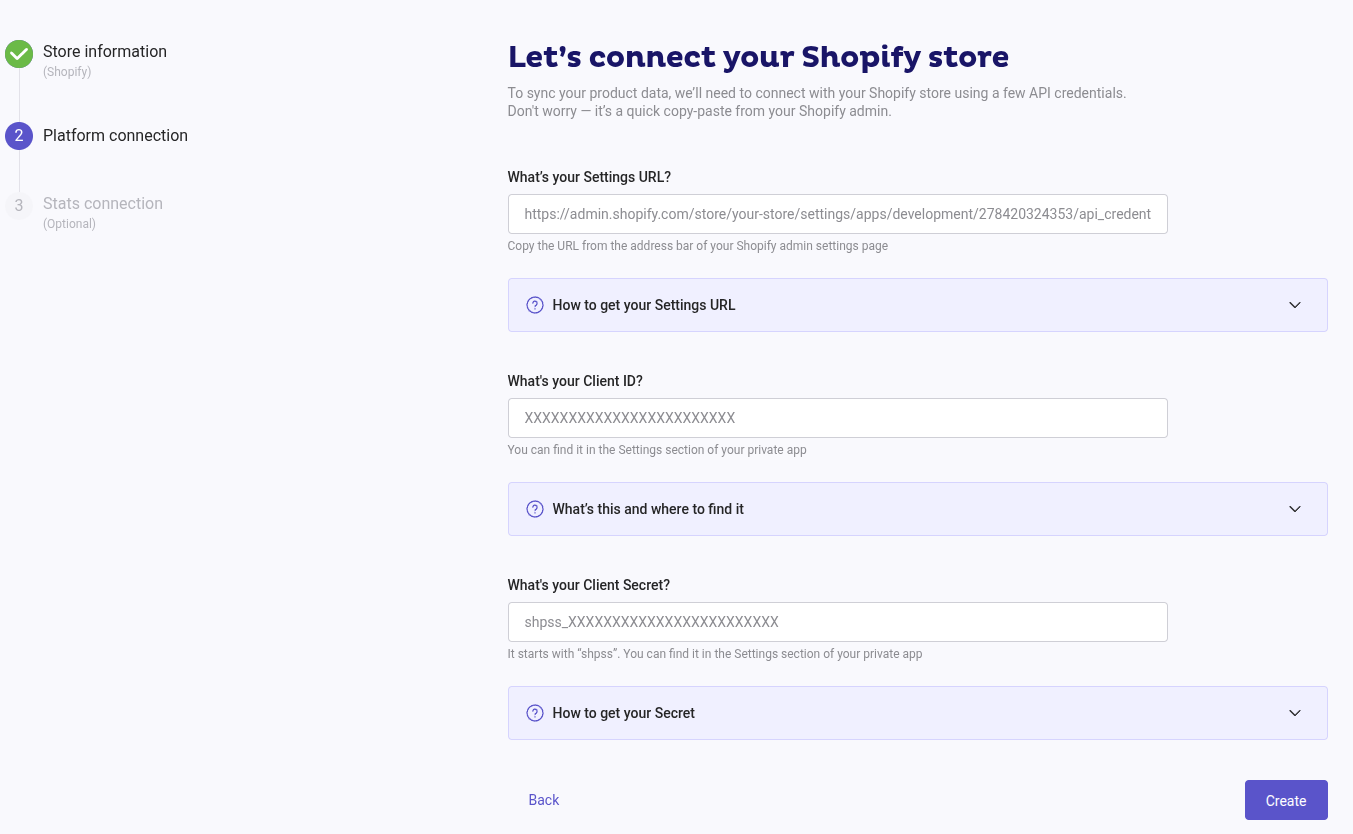
- Once you press continue, you will be asked to complete the Settings URL, Client ID, and API Secret field. To do this, you will need to enter your Shopify admin. Do not close Doofinder’s Admin Panel, leave the pop-up open, as you will be filling in each box in the following steps.
- read_content
- read_locales
- read_products
- read_translations
- read_inventory
- read_markets
- read_companies
- read_publications
- read_themes
- write_themes
- read_metaobjects
- read_audit_events
- write_app_proxy
- In "Subpath prefix" choose: apps
- In the "Subpath" box add: b2b-contextual-prices
- Paste into "Proxy URL" the following code:
-
What’s the Doofinder script and how to set it up? The Installation Script is the JavaScript code Doofinder provides with your account. You can always find the Doofinder Script on your Admin Panel > Configuration > General Settings > Overview. To set it up:
- Log in to your Shopify admin.
- Go to Online Store > Themes.
- Click “Edit code” in your current theme.
- Find the file “theme.liquid”.
- Paste the code provided above before the closing
</head>tag. - Click on Save.
-
Create the Webpixel to track your conversion rate and other stats. Follow these instructions for a smooth configuration:
-
Copy the code appearing in Stats connection:

- Access your Shopify Admin > Settings > Customer Events > click on “Add custom pixel”.
- Create a custom name and paste the code.
-
Click on “save” and “connect”, so you are all set to monitor your conversion.
-
Copy the code appearing in Stats connection:
#search-boxinput[name="q"].input-search
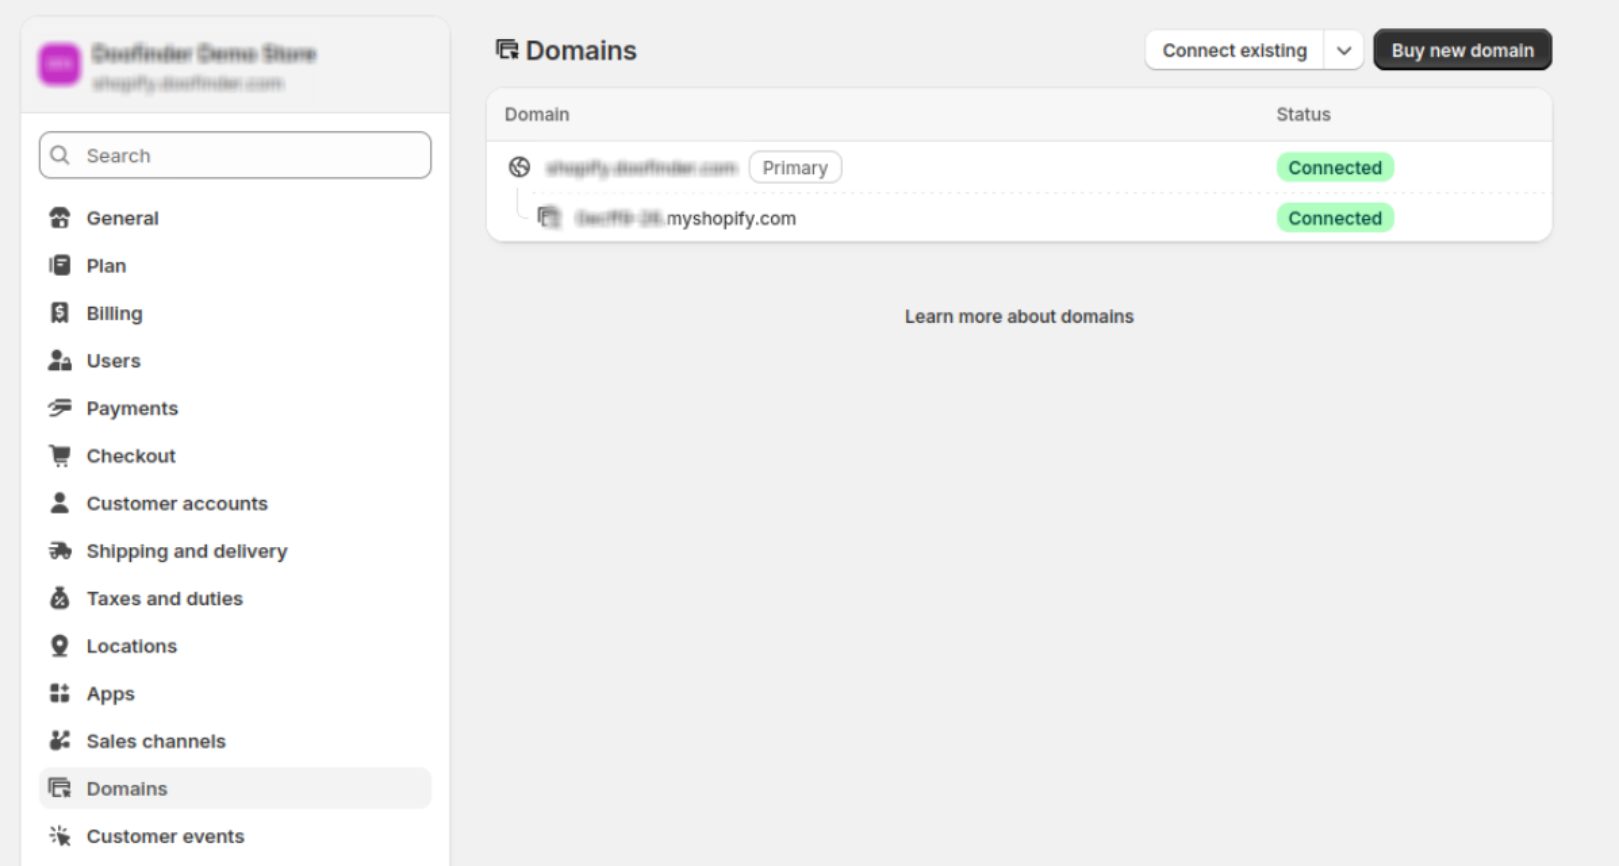
Do not enter the public Shopify URL, but rather the alternative URL that as shown above, which will be under the Primary, e.g.: ec435dfd.myshopify.com (in the case of seeing just one URL, use the one given).
Click "Continue".
2. Platform Connection
Accessing Shopify API for Integration
Next, open the Shopify admin in a new tab to find the Settings URL, the Client ID and the API Secret.
The Settings URL can be found from accessing the settings on your Shopify account, the path will look like this:
https://admin.shopify.com/store/YOUR-STORE/settings/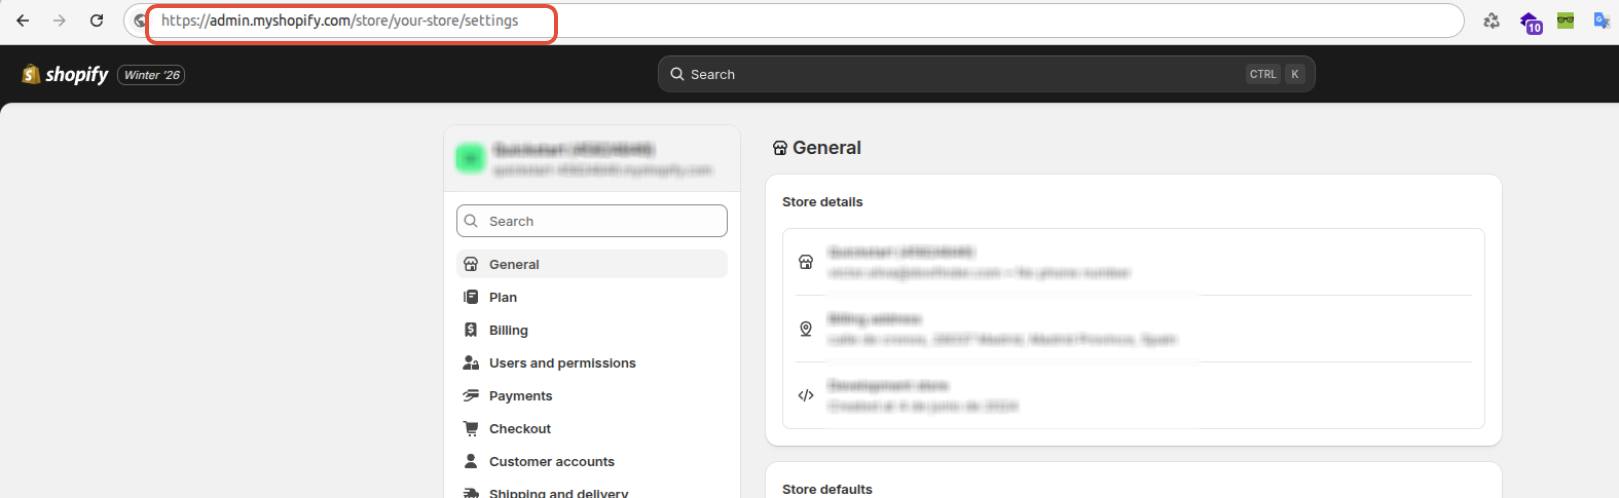
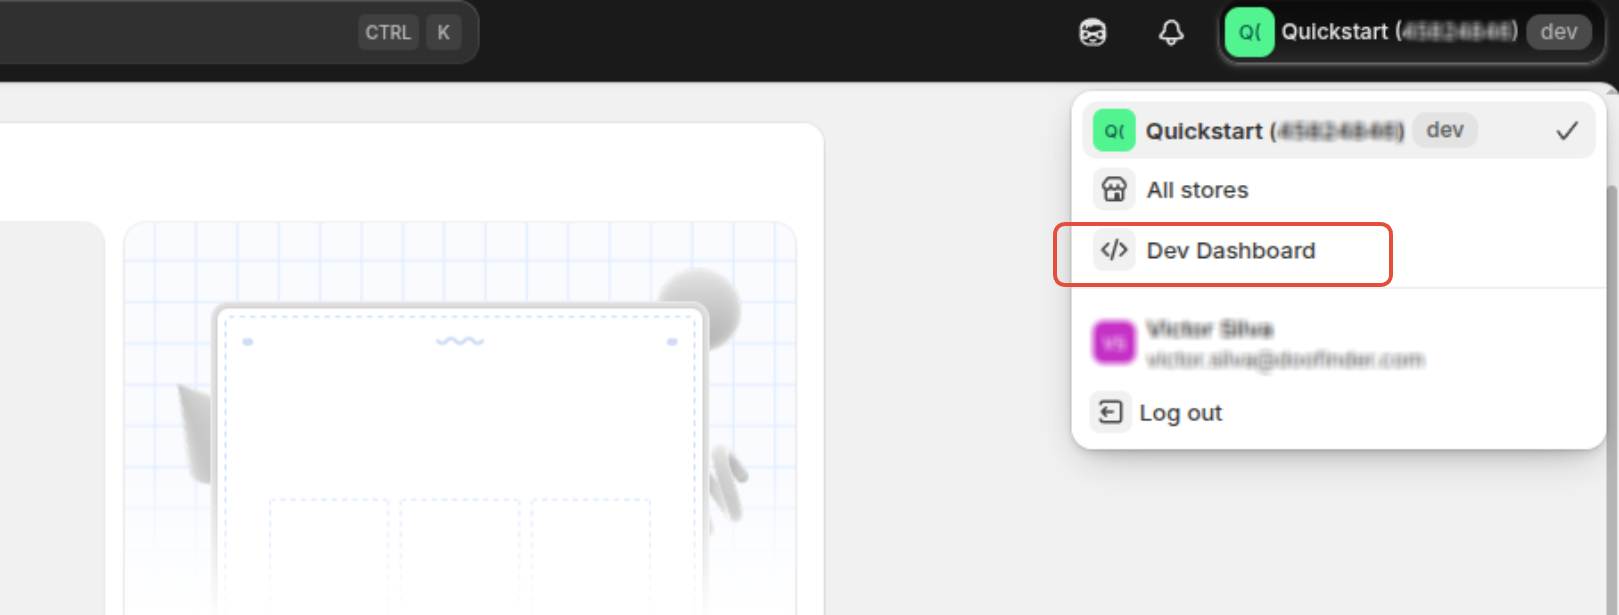
Next, go to Dev Dashboard under your profile:
Click on “Create an app”:
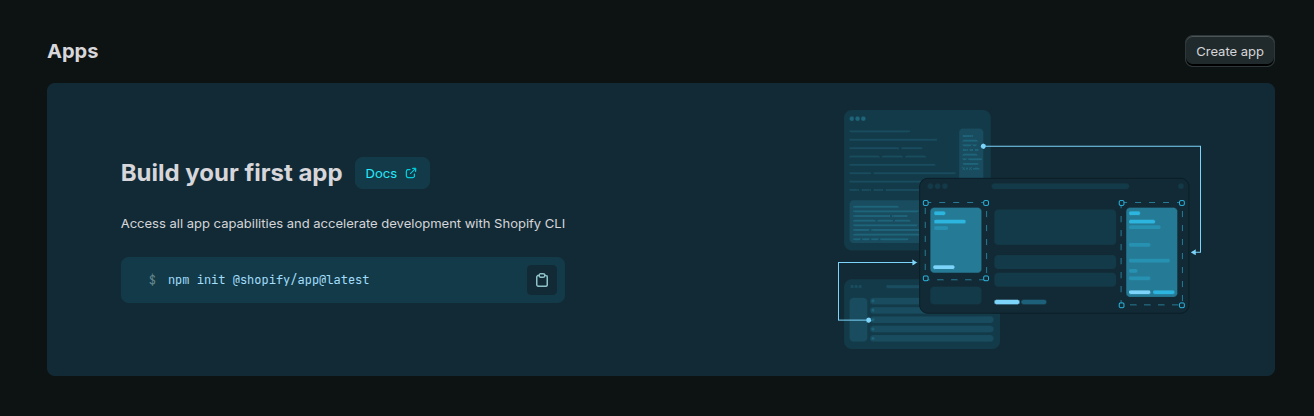
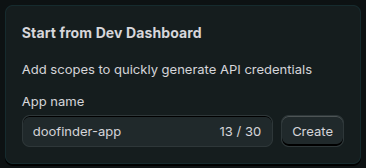
Add app name “doofinder-app” and lick on “Create”:
On the following page configure the “App URL” and leave unchecked “Embed app in Shopify admin” as it follows:
https://plugins.doofinder.com/shopify/app_external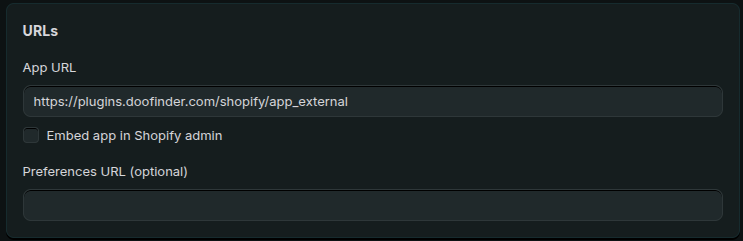
In the “Access” section, you will need to configure the “Scopes” and the “Redirect URLs”:
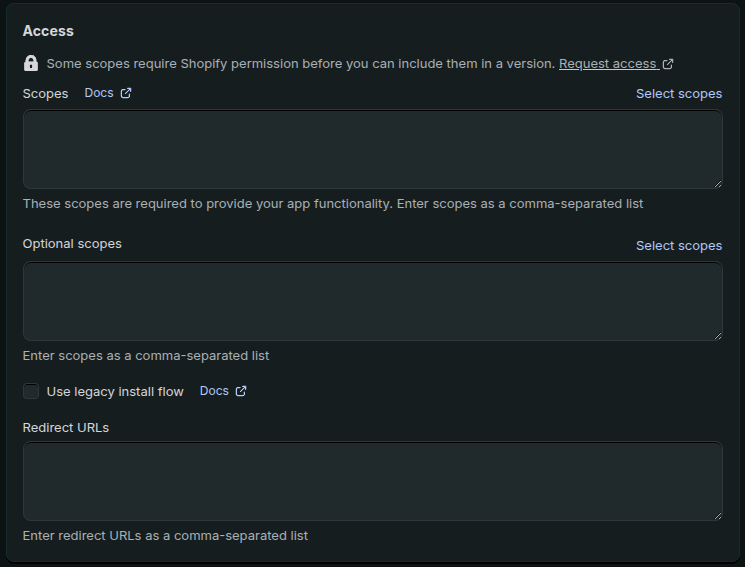
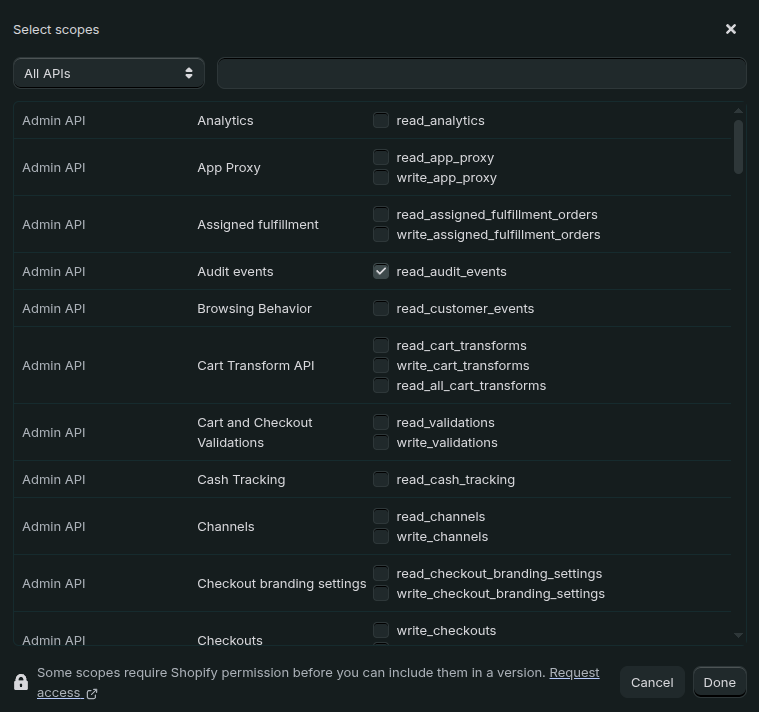
Add the scopes below, in the “Scopes” first box, by clicking on “Select Scopes” or alternatively, you may copy and paste the list of permissions separated by commas:
In “Redirect URLs” you will add the following URL:
https://plugins.doofinder.com/shopify/install?external=trueCreate “App Proxy”, with the following settings:
https://plugins.doofinder.com/shopify/app/b2b-contextual-prices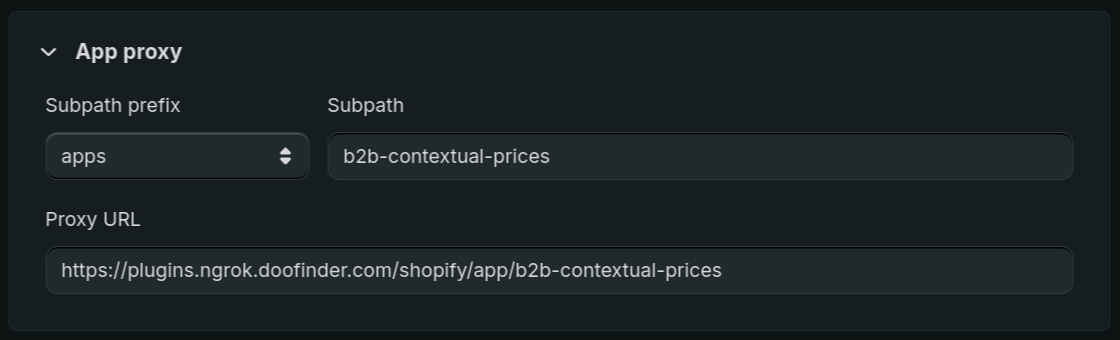
Verify that you have chosen all the scopes from the list above. Selecting the wrong scopes will result in errors after integration.
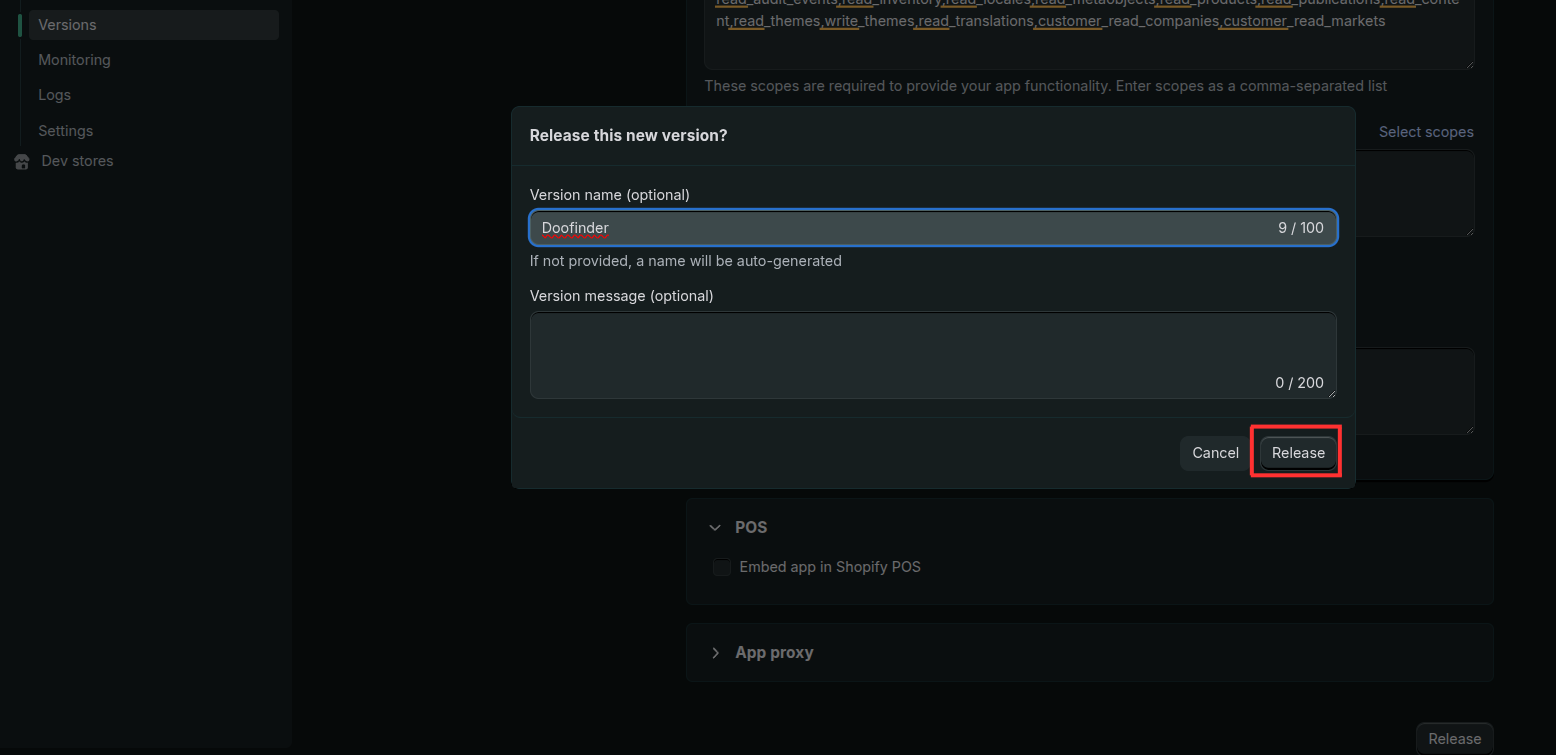
Finally, click on “Release”. Look at the example below:
After clicking on “Release”, go to “Settings” and copy Client ID, and place it in the Doofinder Admin page from step 1, in the box designated for Client ID:
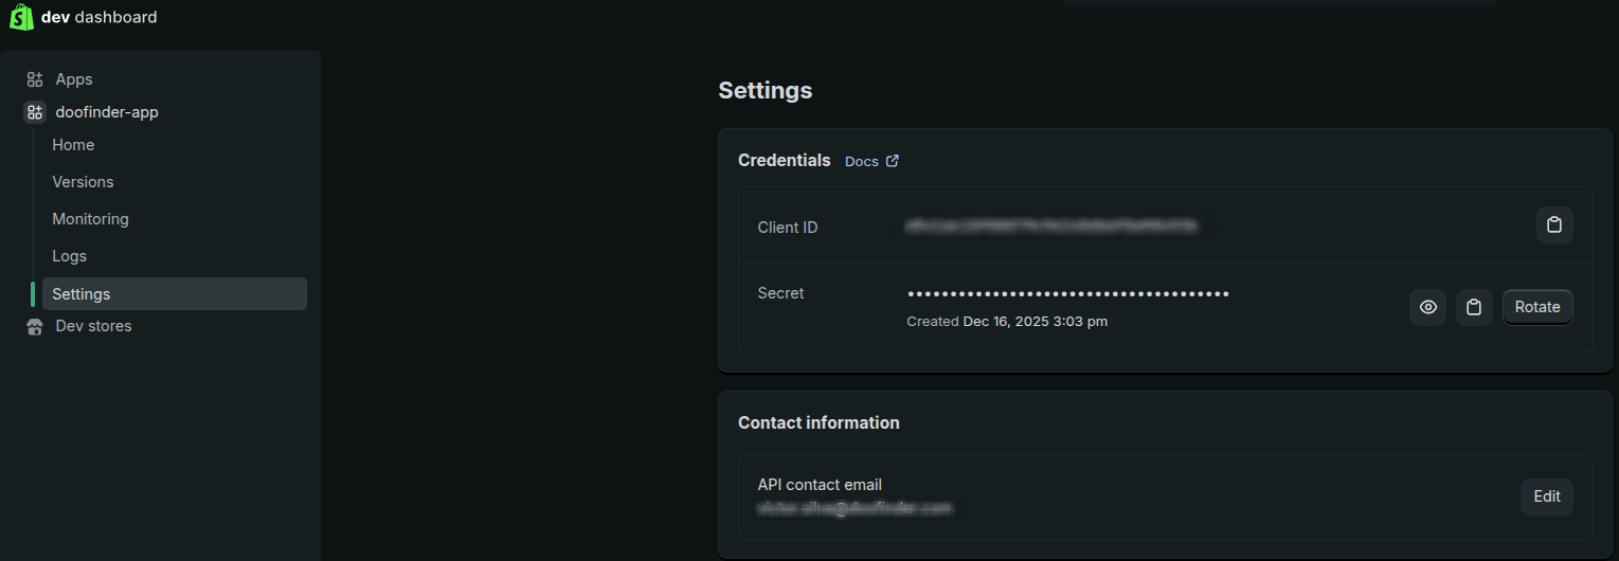
Repeat the process for Secret!
The content should follow the format of the examples inside each box:
With all the completed fields, click “Create”.
If any modifications are required after completion, you will need to “Create new version”, under your APP “Versions” in your backend, followed by “Release” to update changes.
3. Script and Stats Connection:
Steps 6 and 7 will require the codes shown in the example below of your admin, in this final step: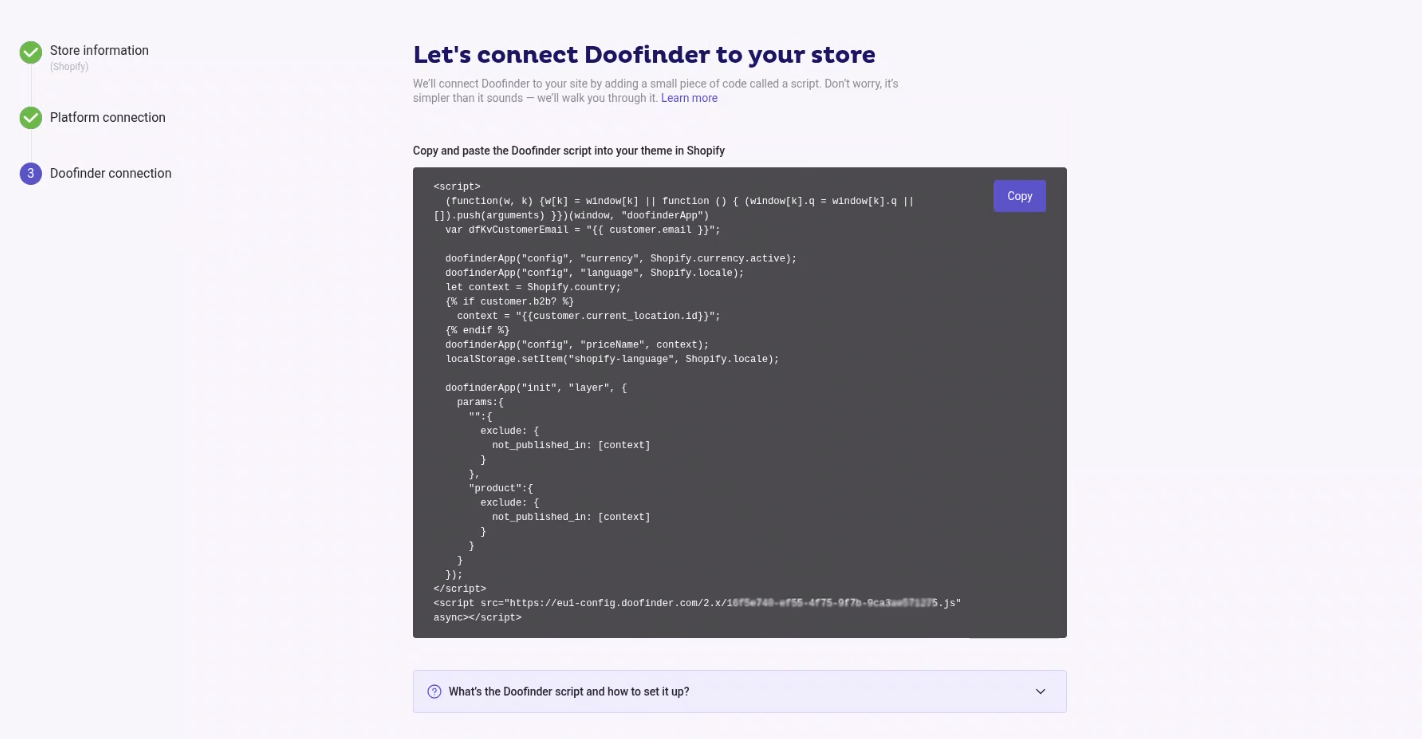
Add the Doofinder script to Shopify’s Theme Liquid
Create a New WebPixel
If you want to track your conversion rate and other statistics later, you can copy and paste the following code. Make sure to replace the placeholders with your installation ID and zone.
import('https://cdn.doofinder.com/shopify/checkout.js').then(
        (doofinder) => { doofinder.load("#{installation_id}", "#{zone}", analytics, browser) }
      );
You can find your Installation ID under General settings > Store ID. The zone refers to where your Doofinder admin is located, usually eu1 (Europe), us1 (USA) or ap1 (Asia). To make sure, check the Installation script under the General Settings, it's at the beginning of your script.
Example: Store ID: 123-456-789 / Region: eu1
import('https://cdn.doofinder.com/shopify/checkout.js').then(
        (doofinder) => { doofinder.load("123-456-789", "eu1", analytics, browser) }
        );
WebPixel Update
In some cases, the WebPixel may become outdated and will need to be reactivated. To do that, disable and re-enable the Doofinder script from the Doofinder Store Settings.
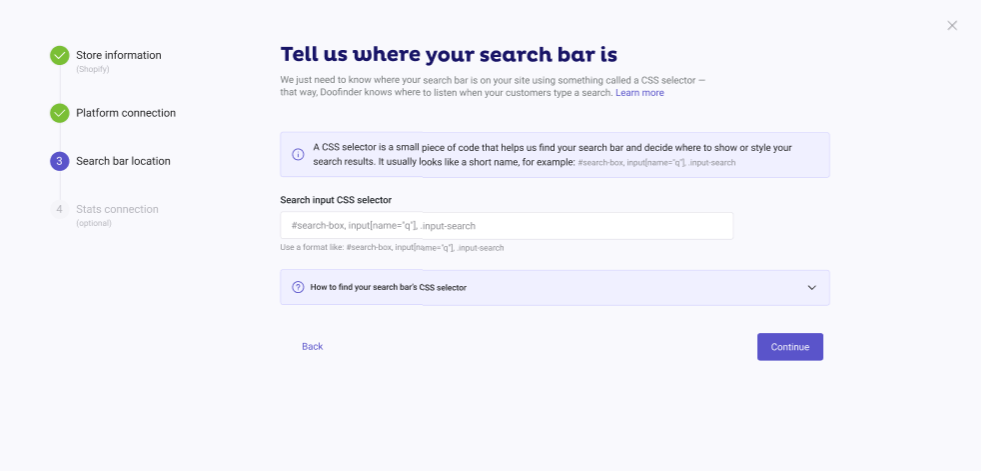
3a (only if CSS is not detected): Manually Set Search Bar Location
Doofinder will detect the CSS selector of your search bar automatically.
If it can’t detect it, you’ll need to enter the selector manually before the Store connection step (the final step where your Store and Search Engine are created).
You can use an id, name, or class as the CSS selector. For example:
For more information, check our guide on CSS Selector.
The panel will look like this:
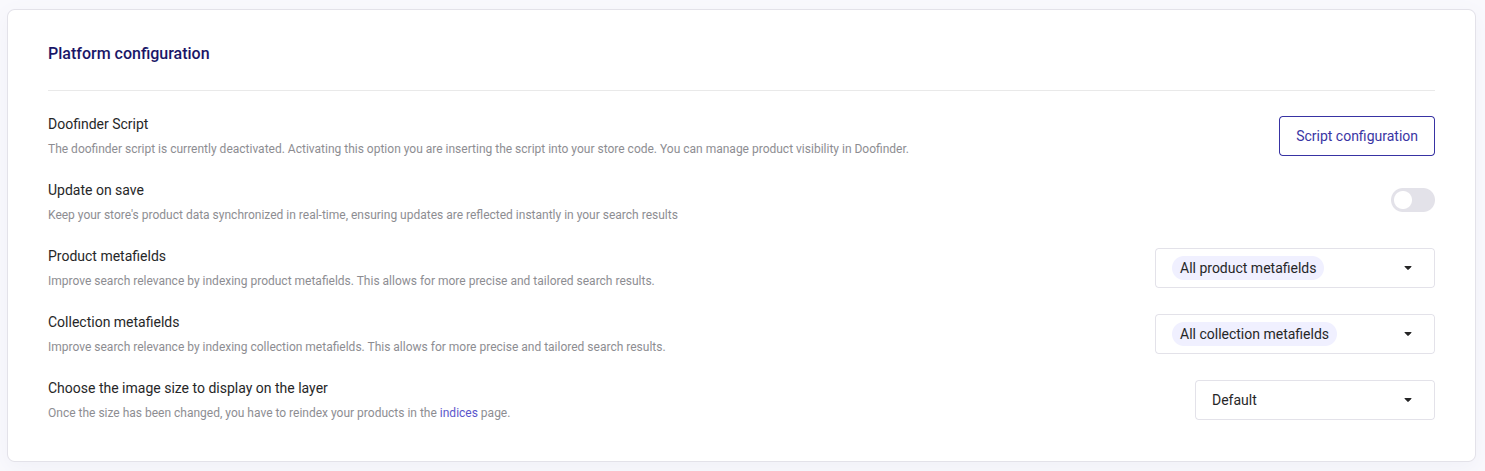
Activate Other Functionalities
From the Admin Panel > Configuration > General Settings > Shopify you will be able to: access your Script configuration, activate or deactivate the Update on Save option, activate or deactivate Metafields indexing, and select the size of the images to display.
Shopify allows selecting metafields. When accessing this feature, you will be asked to accept the required permissions. If the permissions are accepted, metafields work normally; if not, the warning message “The Doofinder app has been updated. To continue using all features, please grant the following permissions: read_metaobject_definitions.” appears and the functionality is limited.
Notice that the script is generated and activated automatically during the installation process.
Please notice that the update on save can consume high leves of API requests, and in order to reduce API calls, you migh want to keep it deactivated.
Attributes Included in The Feed
Product Profit Margin
Doofinder indexes the Product Profit Margin, the attribute responsible for showing product profitability. This mimics the process of physical retail stores, allowing you to manage profit margins at the product or brand level when deciding how and which products to promote or offer.
How is it done?We calculate both percentage margin (df_calculated_margin_percentage) and absolute profit per unit
(df_calculated_profit_per_unit).
How can you use it? Configure boosting rules to prioritize higher-margin products in the search results.
Stock Quantity
Doofinder indexes the product stock quantity apart from the availability information. This means that we’re indexing the numerical value of the available stock of your products, at both variant and parent product levels, allowing you to use this information in the store.
How to use it? The stock quantity can be used in boosting rules, relevance criteria, or any other merchandising configuration.
Update on Save: When stock changes and the platform uses Update on Save, only the affected products are indexed. This avoids a full reindex, reduces system load, and makes the new stock levels visible almost instantly.
Plugin update might be required to use this feature.
B2B Integration for Existing Shopify Markets
If you’re using Shopify Markets and want to have a B2B integration, in order to have it transferred over to your Doofinder setup, you will have to change the script. If you do not want B2B integration, no need to proceed with the update below.
For having the B2B integration with your Shopify Markets via API, you need to update the script of Doofinder, it would look like this:
<script>
  (function(w, k) {w[k] = window[k] || function () { (window[k].q = window[k].q || []).push(arguments) }})(window, "doofinderApp")
  var dfKvCustomerEmail = "{{ customer.email }}";
  var dfPageType = "{{ request.page_type }}";
  var dfProductId = "{{ product.id }}";
  var dfCategoryName = "{{ collection.title }}";
  var dfB2BCustomer = {% if customer.b2b? %}true{% else %}false{% endif %};
  var dfB2BLocationId = "{{ customer.current_location.id }}";
</script>
<script src="https://XXX-config.doofinder.com/2.x/XXXXXXXXXXXXXXXXXXXX.js" async></script>
How to update it?
- You can find your script under Configurations > General settings > scroll down to Installation script. Copy it and replace it in Shopify.
- To access the script in Shopify go again into Configuration > General settings > Shopify and click on the Script configuration button to edit your script.
Notice that this is only for API Integrations, out of Shopify market integrations. If you have installed Doofinder via the market, the update of the script is automatic.