Getting Doofinder up and running on your custom website is a breeze whether you are integrating via API or a data feed.
This quick guide walks you through the first steps of the installation process: from creating your Store to configuring your Search Engine, indexing your product feed, and finally deploying the single-line installation script.
Let’s make your eCommerce search and discovery solutions smarter and more efficient in just a few clicks.
Pre-requisites to Install Doofinder
If you are using a CMS, visit our plugins section to install Doofinder in your site. In the top-bar, select the plugin you are using and read the Installation Guide.
Installation Steps
Doofinder can be installed in four easy steps.
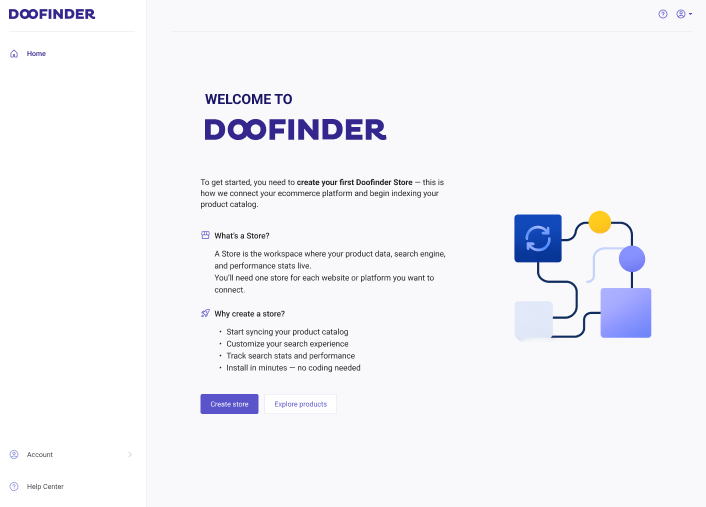
Prior to begin the installation, log in to your Admin Panel. If you don’t have an account yet, read Sign Up for an Account. Then, click "Create store" to begin the installation process:
1. Create a Store
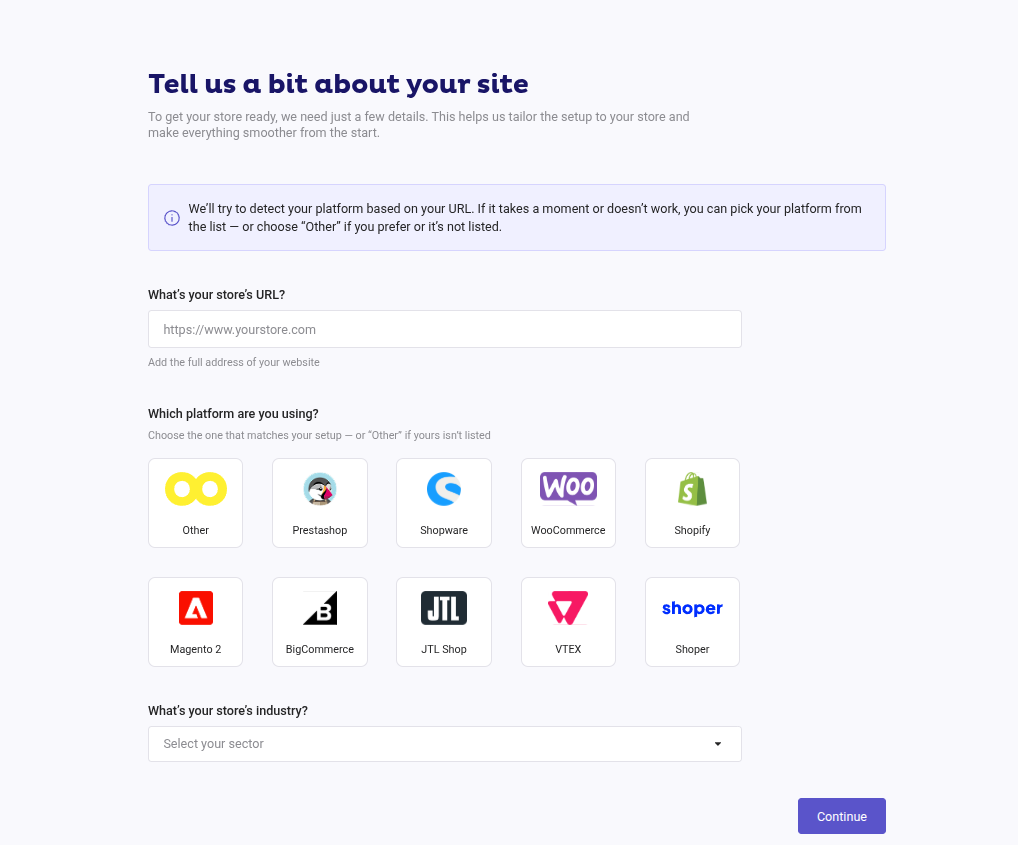
After clicking “Create store”, a pop-up will appear:
- Enter the complete URL of your website. When not using a plugin, your platform will be automatically detected as "Other" in the platform field.
- Select your store’s industry.
- Click "Continue".
2. Create a Search Engine
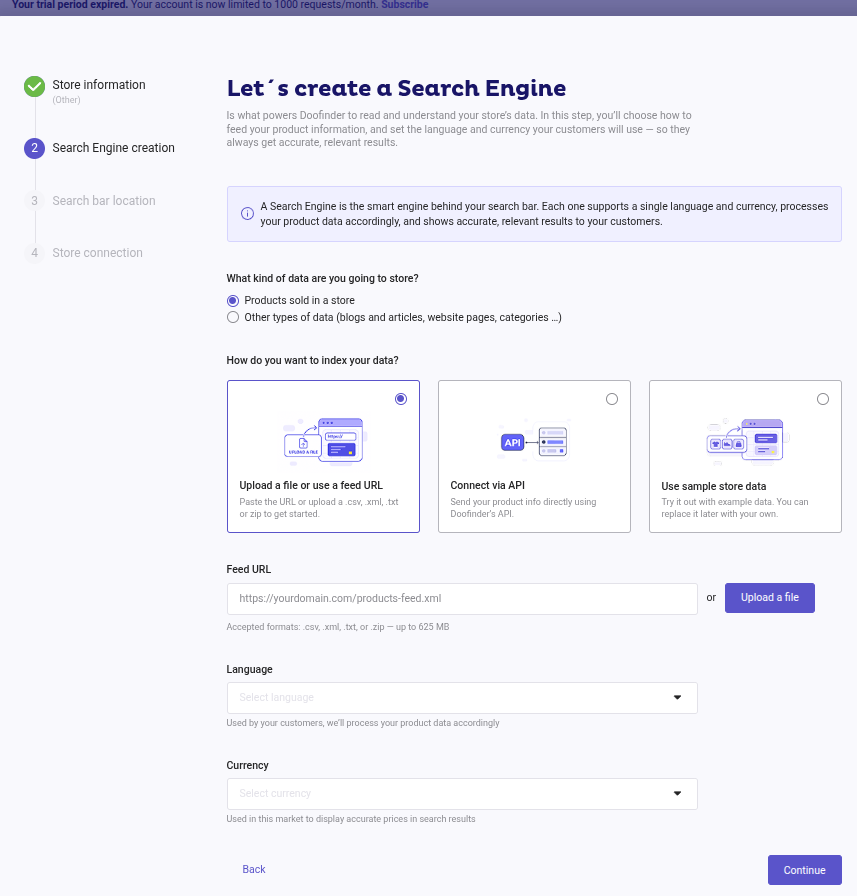
In this step, you will define the configuration of your Search Engine. You will choose how to feed your product information, the language, and currency.
What kind of data are you going to store?
Choose a data type:
-
Product
-
Other type of data (such as blog posts, categories, or web pages).
For Other type of data, the currency option is disabled, you can only select the language. If you add a Product data feed later, you will need to select a currency.
How do you want to index your data?
Choose your indexing option:
-
File or Feed URL: enter your feed URL or drop the CSV, XML or TXT file. With this option, a feed URL box will appear to add a URL or to upload a file.
-
Connect via API: use our API to index data. With this option, a feed URL box will appear to add a URL or to upload a file.
-
“Use sample store data” to explore Doofinder with demo content. You can replace it with your own store data whenever you’re ready. The sample data is in English and uses EUR as the currency by default.
Language
Select a language from the dropdown menu to display results on your SE.
Currency
Select the currency you want to use to show and process prices clearly in your store.
Click "Create Search Engine", indexation will begin, and your Store and Search Engine will be created.
3. Connect Your Store
Add the Doofinder script to your site to connect your store with Doofinder. Copy the script and paste it in the header or footer of your website.
Click "Connect" to finish installation.
For proper functionality, ensure the script is placed in either the header or footer. If the script is not placed in its designated location within the HTML, Doofinder may not function correctly, as it depends on the full website context to track data, such as conversions and user interactions.

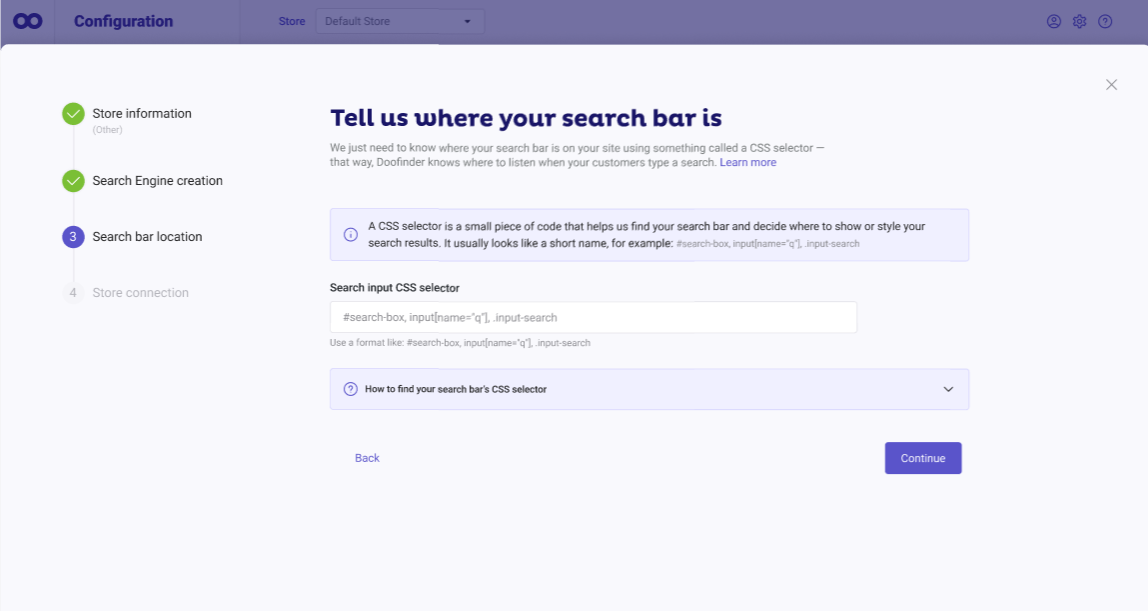
3a (only if CSS is not detected): Manually Set Search Bar Location
Doofinder will detect the CSS selector of your search bar automatically.
If it can’t detect it, you’ll need to enter the selector manually before the Store connection step (the final step where your Store and Search Engine are created).
You can use an id, name, or class as the CSS selector. For example:
#search-boxinput[name="q"].input-search
For more information, check our guide on CSS Selector.
If you need to complete the Search Bar location step, indexation and the creation of the Store and Search Engine will begin only after this step is finished.
The panel will look like this:
Layer States
When first indexing your products in Doofinder, the Layer will go through predefined states before being automatically published on your website. Check below the different layer states:
-
Initial indexing process: the layer will remain inactive until indexing has been successfully completed.
-
Initial indexing process error: if the initial indexing results in error or returns zero indexed products, the layer will remain inactive.
-
Indexing completed successfully: the layer will be activated automatically, and a "Deactivate layer" button will be available at the layer level.
The states were designed to prevent the layer from being exposed on your website without any indexed content after installation.
This behavior applies only to integrations using URLs, Data Feeds or via Plugin API (automatic connections), excluding the Plugins manual integrations.
The layer can’t be activated/deactivated while the first indexing is in progress or has failed. After indexing has been finalized successfully, you can keep the layer deactivated by clicking on the button "Deactivate layer".
Default Script
This is the single script with minimum configuration (store and zone):
<script src="https://eu1-config.doofinder.com/2.x/store_id_here.js" async></script>
This script contains:
- Zone “eu1-config.doofinder.com”
Zone must be configured depending on the EU zone, US zone or AP Zone (your online store zone). “eu1” if your zone is Europe, “us1” if your zone is America, "ap1" if your zone is Asia.
- Store ID: is your Store ID code followed by “.js”.
The Doofinder script is the javascript code Doofinder will provide once you’ve created an account while signing in as a new user.
This unified installation script allows you to manage all Doofinder products through a single line of code. This streamlined setup ensures faster deployment of new features, updates, and services as they become available.
You can always find the Doofinder Script on your Admin Panel > Configuration > Store Settings. Scroll down to Installation Script and you’ll find it displayed.

How to Update Your Script
If you are using the old script, you may need to update your script to enjoy new features, functionalities, and plans. Read the Update Script documentation for a full step-by-step guide.
If you are using one of our plugins, in the same documentation you will find direct links to the instructions for each platform.
Integrate Doofinder Using GTM
Integrating Doofinder using the Google Tag Manager (GTM) allows you to manage your script without touching your site's HTML code.
To integrate it this way, follow these steps:
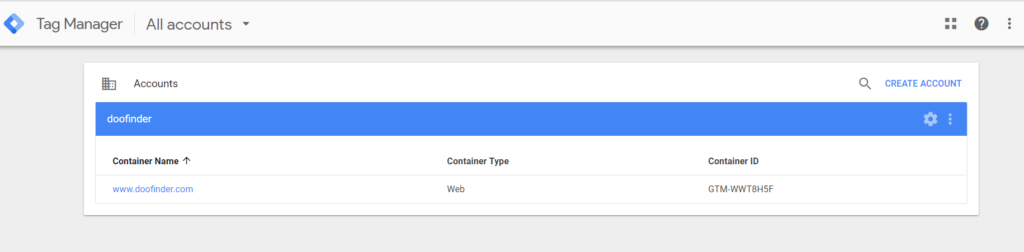
- Create your GTM account or log in if you already have one.
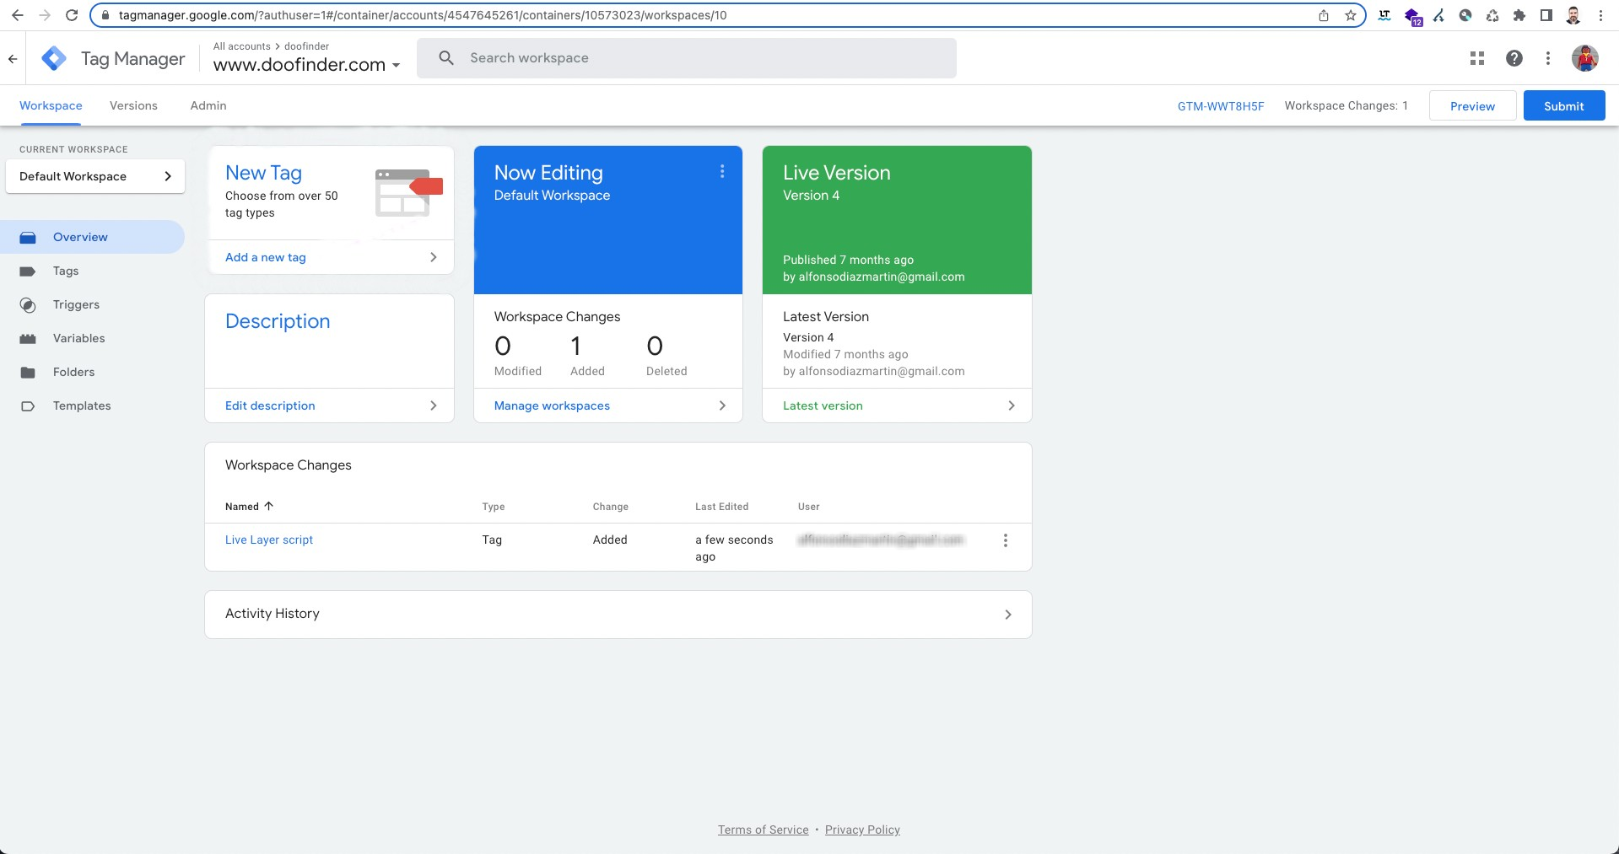
- Select the workspace where you're going to add the new script.
- Select "Add a new tag" to configure Doofinder's script.
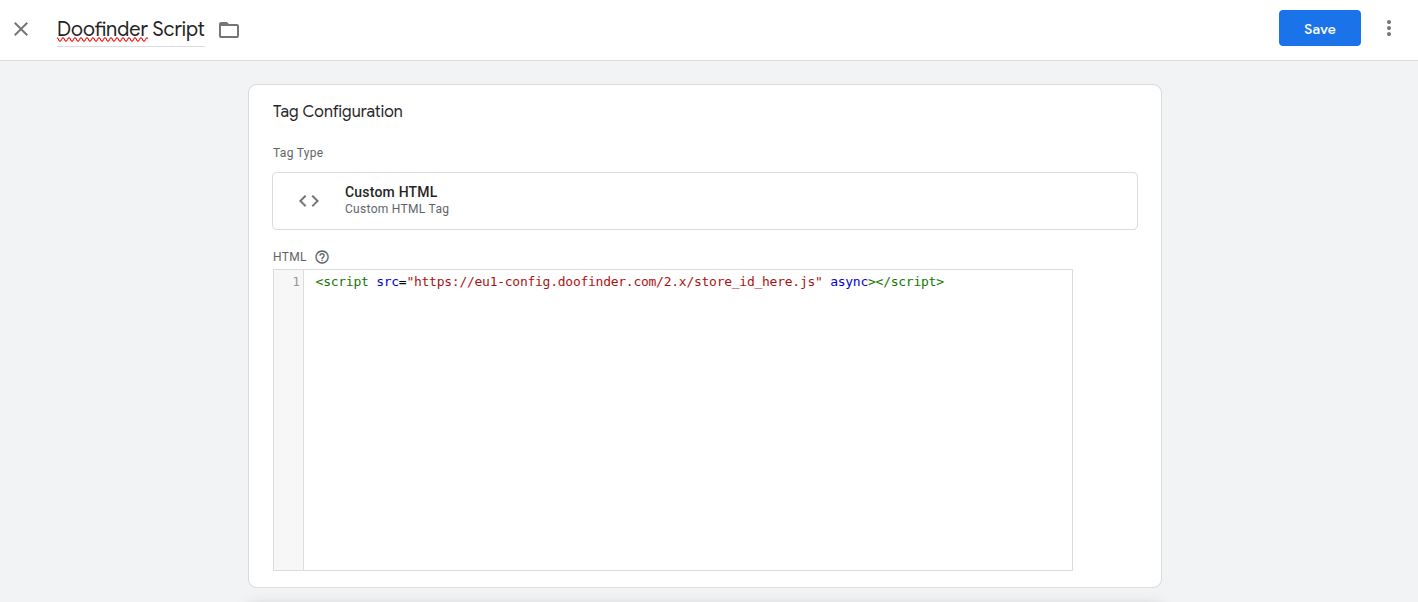
- On the next screen, provide the following:
- Once done, press "Save" and your HTML tag will be created.
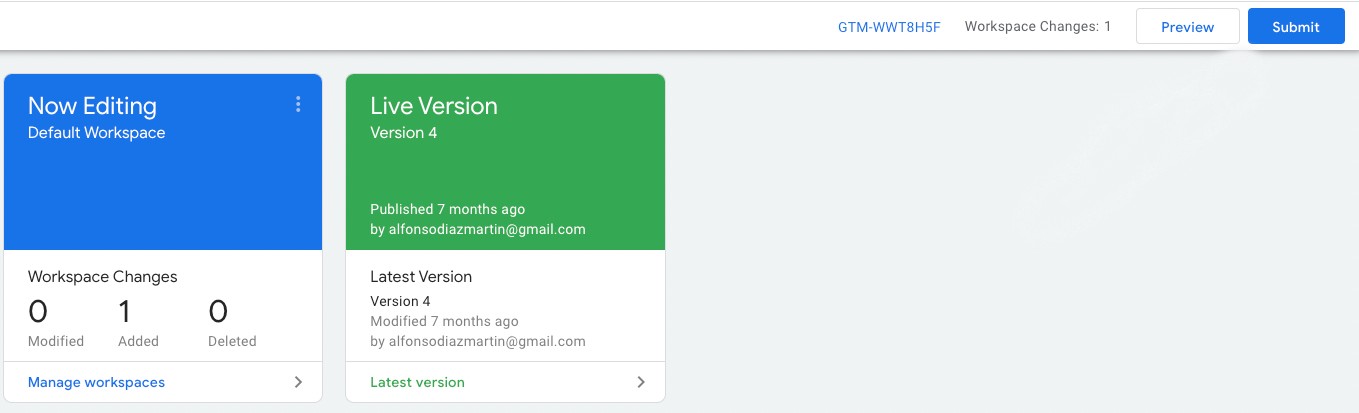
- Back in your GTM dashboard, press the "Submit" button in the top right corner.
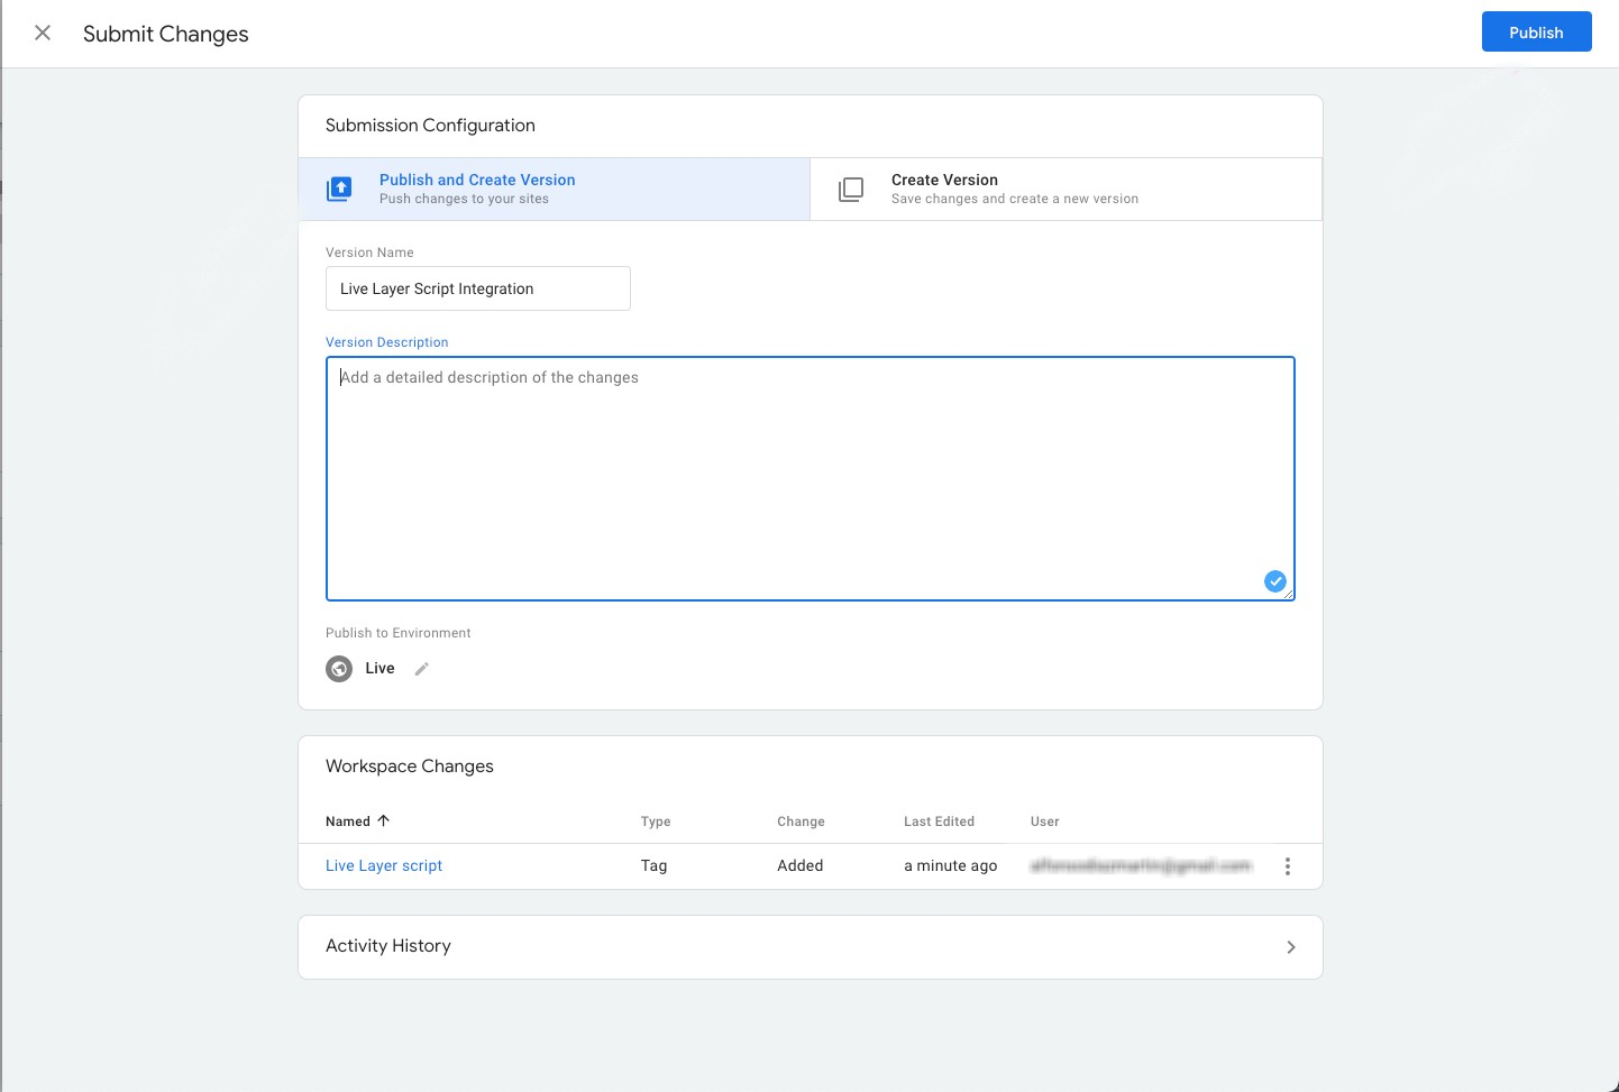
- Select "Publish and Create Version", then provide a relevant version name and description for the records, choose the environment where you want to publish the changes and press the "Publish" button in the top right corner.
- You will be able to see the details of the latest published version from the dashboard. The Doofinder Layer should be working as soon as the information reflects the latest version.
– A name for the new tag, for instance: "Live Layer Script".
– Inside the tag configuration, ensure that the tag type is Custom HTML and paste your script for Doofinder inside the HTML editor, including the surrounding script tags.
The term 'const' does not work in GTM, so it is necessary to modify the beginning of the Live Layer script as follows:
const dfLayerOptions => var dfLayerOptions
See the image below.
– Then under Triggering, choose when the script must be activated. Note that the recommended option is All Pages. This way, Doofinder will be available on all pages.

Testing Doofinder on a Staging Website
Although Doofinder does not have a sandbox, you can safely test our products or changes on a staging website by creating a separate store in the Doofinder Admin Panel and installing its unique script on your staging store. This keeps your production setup completely untouched.
How to Set It Up
1. Create a new store in Doofinder: In the Doofinder Admin Panel, click on Create Store for your staging website. This will generate a new single script. Full steps to create a store here.
2. Copy the new single script: Once the new store is created, navigate to Admin Panel > Configuration > General settings > Installation Script and copy the single script code. It will look like the example below:
<script src="https://eu1-config.doofinder.com/2.x/YOUR_SINGLE_SCRIPT.js" async></script>
Each search engine has a unique Store ID. Make sure you use the script from the staging search engine, not the production one.

3. Add the script to your staging site: Paste the script in the HTML code source of your web, this can be the header or footer of your staging website.
Now you're ready to test Doofinder safely on your staging environment.