What you can expect from this article: Familiarize yourself with the Recommendations Panel and the Recommendations concepts, before jumping to Recommendations Setup.
What is Recommendations?
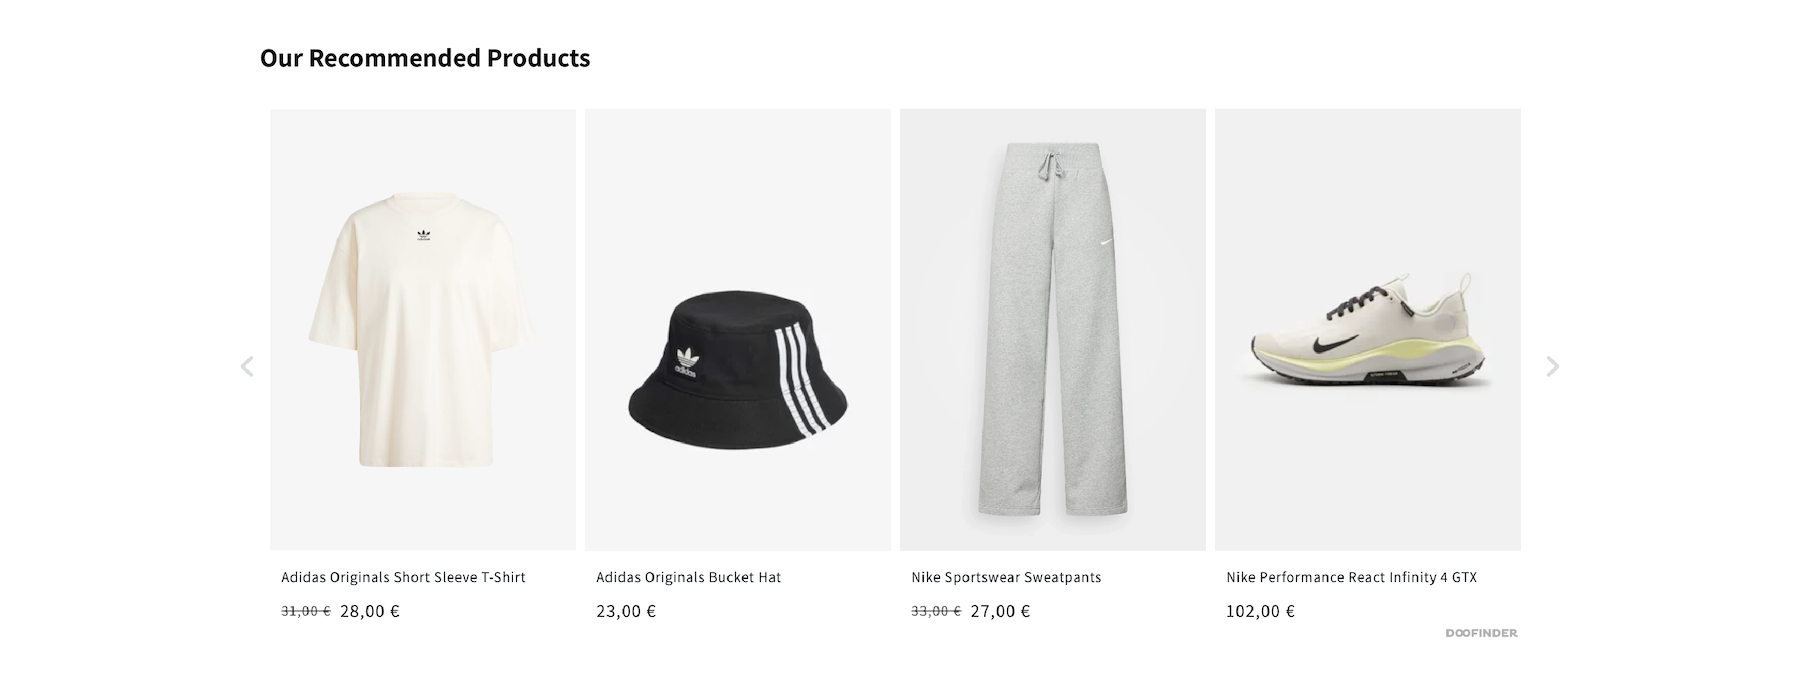
Recommendations is a product created to encourage cross-selling and upselling within your store with personalized product carousels. Leverage logic to deliver tailored recommendations to your customers and scale your sales effortlessly.
This product brings new functionalities for upgraded recommendations carousel display. From the carousels on different pages to the Logics and filters to apply.
All these features are active and working during the trial period in order to test them. Once the trial expires, choose your desired features by selecting one of our plans: Basic, Pro or Advanced Plan for Recommendations, and customize the recommendations experience.
Find all about the Recommendations features here.
Recommendations Configuration Path
Follow this Recommendations path to learn about each aspect and configure your carousel step by step. Follow this order and don’t miss any of them for a smooth and easy setup.
- Recommendations Setup
- CSS Selector for Recommendations Carousels
- Carousel Logics
- Filters and Fallback
Recommendations Panel - First Steps
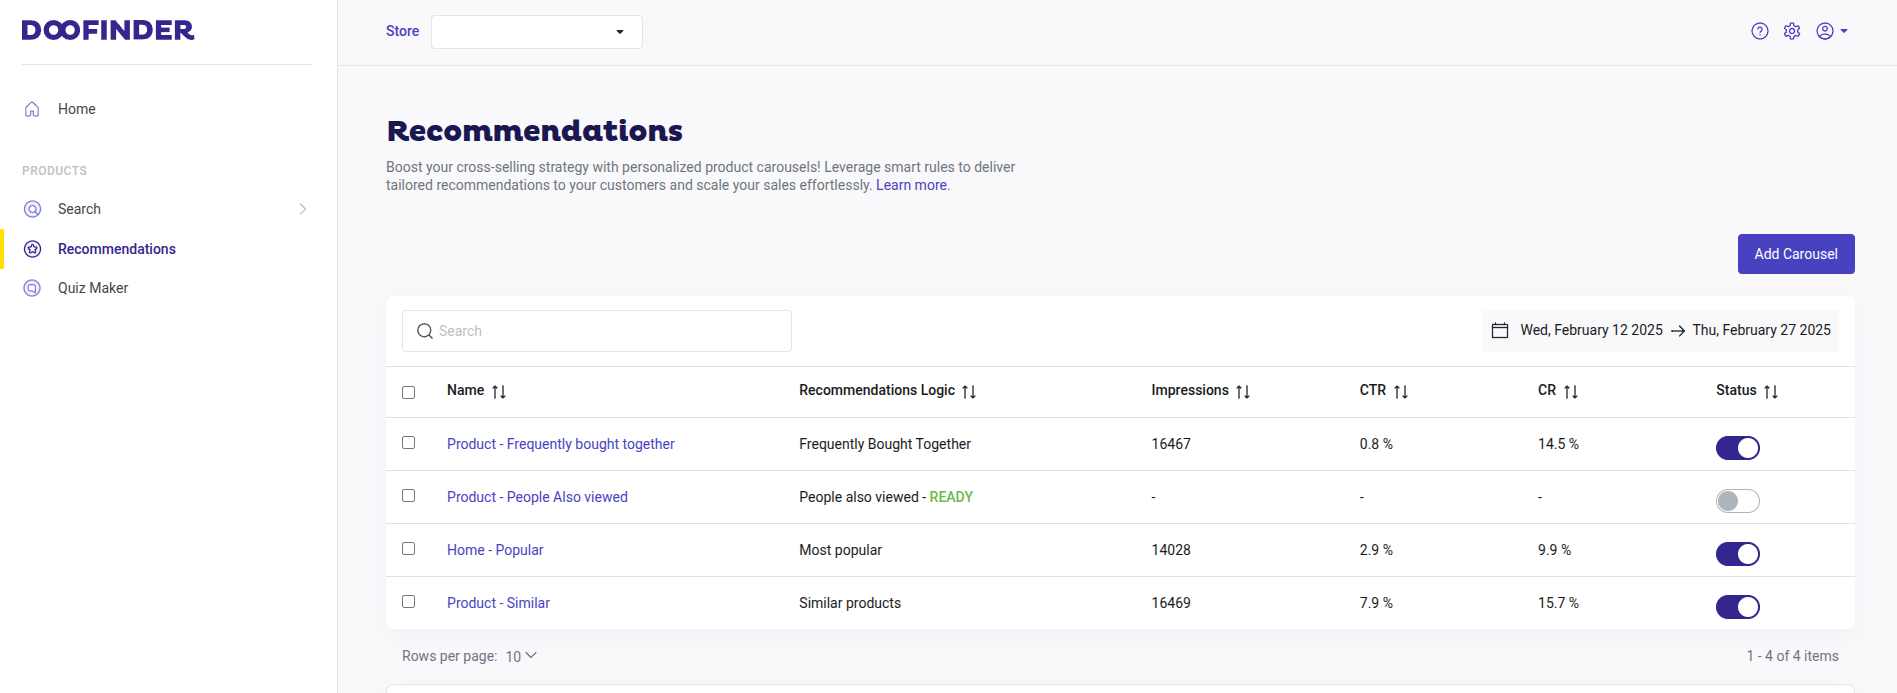
To find Recommendations on your Admin Panel, go to “Recommendations” on the left-side menu. The following sections and functions will be visible on the board:
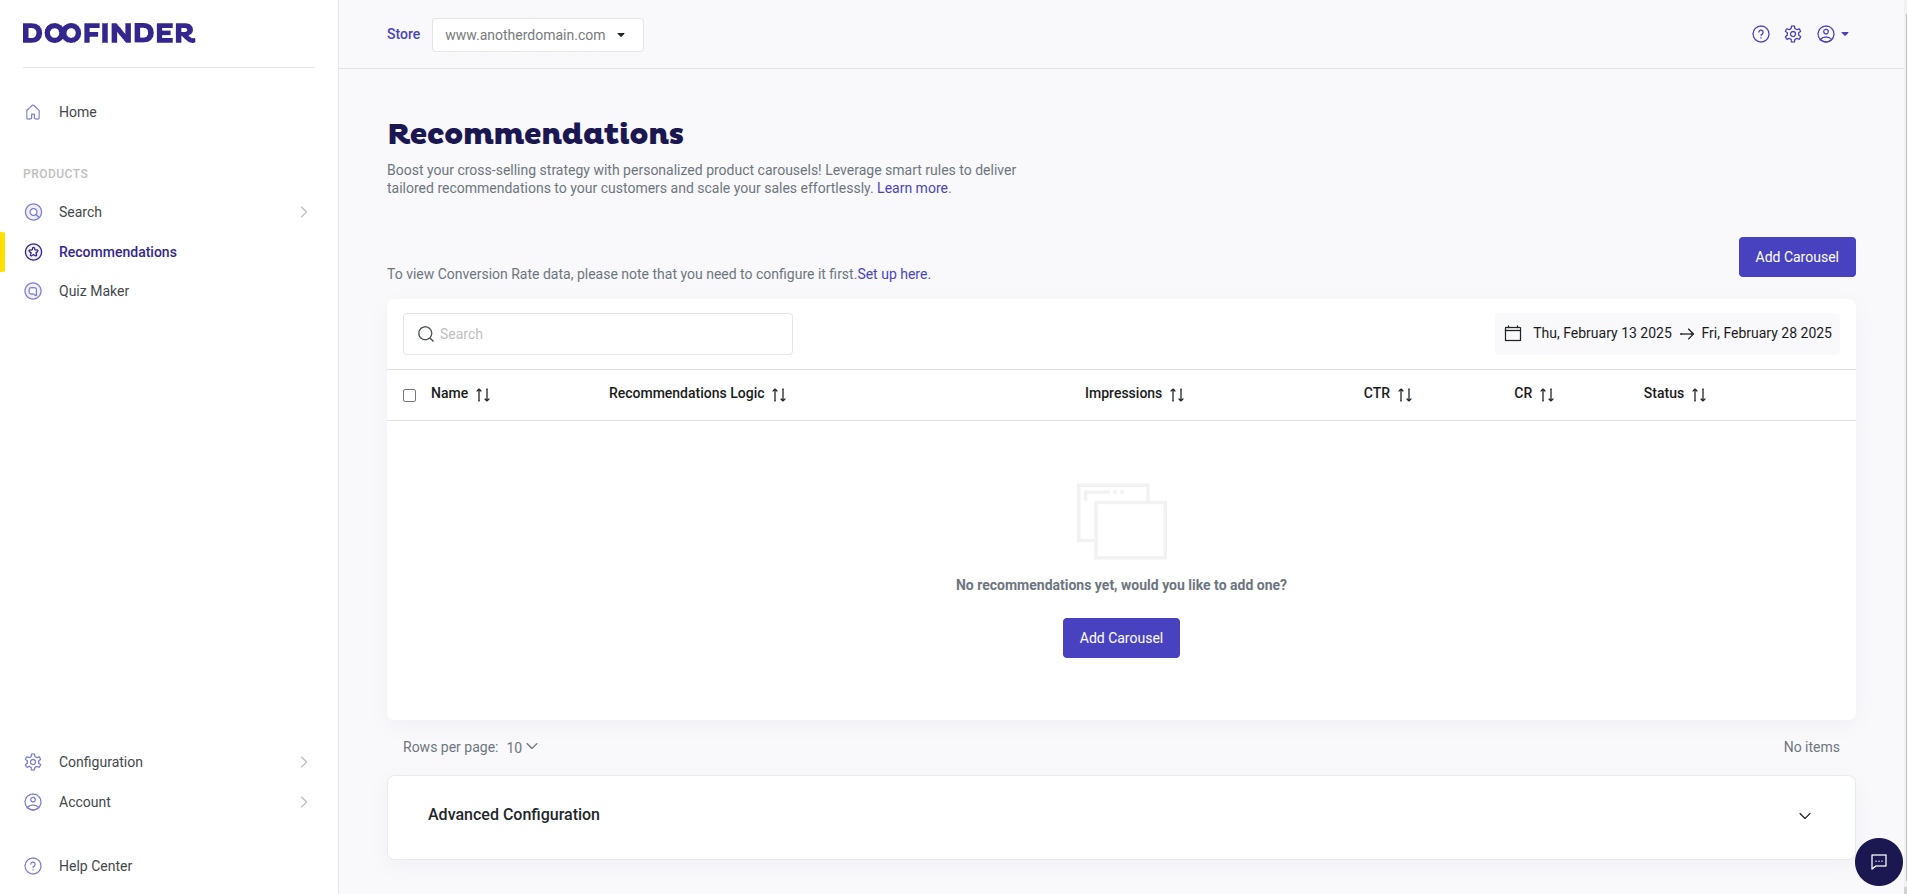
- “Add Carousel” button to configure a new carousel.
- Calendar: define dates on the calendar to see carousels within a specific time-frame.
- Search: write the name of a carousel to display just that one on the panel.
- Recommendations carousels summary with:
- “Name” button: here, you’ll be able to add and configure a new carousel or edit an existing one. Once saved, you’ll have the option to edit it at any moment. If you have previously added a recommendation, the panel will show all the recommendations that have been configured previously.
- Recommendation Logic: the logic the carousel is displaying.
- Impressions: Impressions is when a carousel is loaded, then an impression is registered. The stats represent the total for the widget across all active Search Engines.
- CTR: The Click-through rate is the proportion between the number of clicks on the results and the number of impressions performed. The stats represent the total for the widget across all active Search Engines.
-
CR: The Conversion Rate is calculated when a customer clicks on an item in the carousel and completes a checkout within the same session. If multiple carousels are clicked in the same session, the conversion is attributed to the last carousel clicked before checkout. Once the checkout process is completed, a new session starts, regardless of its previous duration. The stats represent the widget's total performance across all configured Search Engines.
If the conversion rate is not configured, the CR data will appear blurred until it is set up. You can configure it by clicking the "Set up here" link. Learn more about the conversion rate, or go directly to Sales Data configuration documentation for a detailed explanation.
-
Status: allows you to know which carousels are enabled in your website.
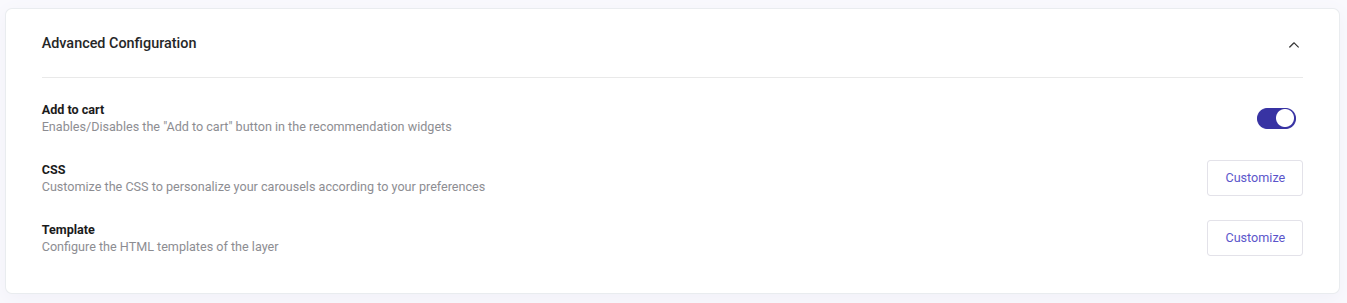
- Advanced Configuration section:
- Enable the "Add to cart" button for all your carousels.
- Customize the appearance of the carousel: customize the CSS to personalize your carousels according to your preferences, or configure the HTML Templates.
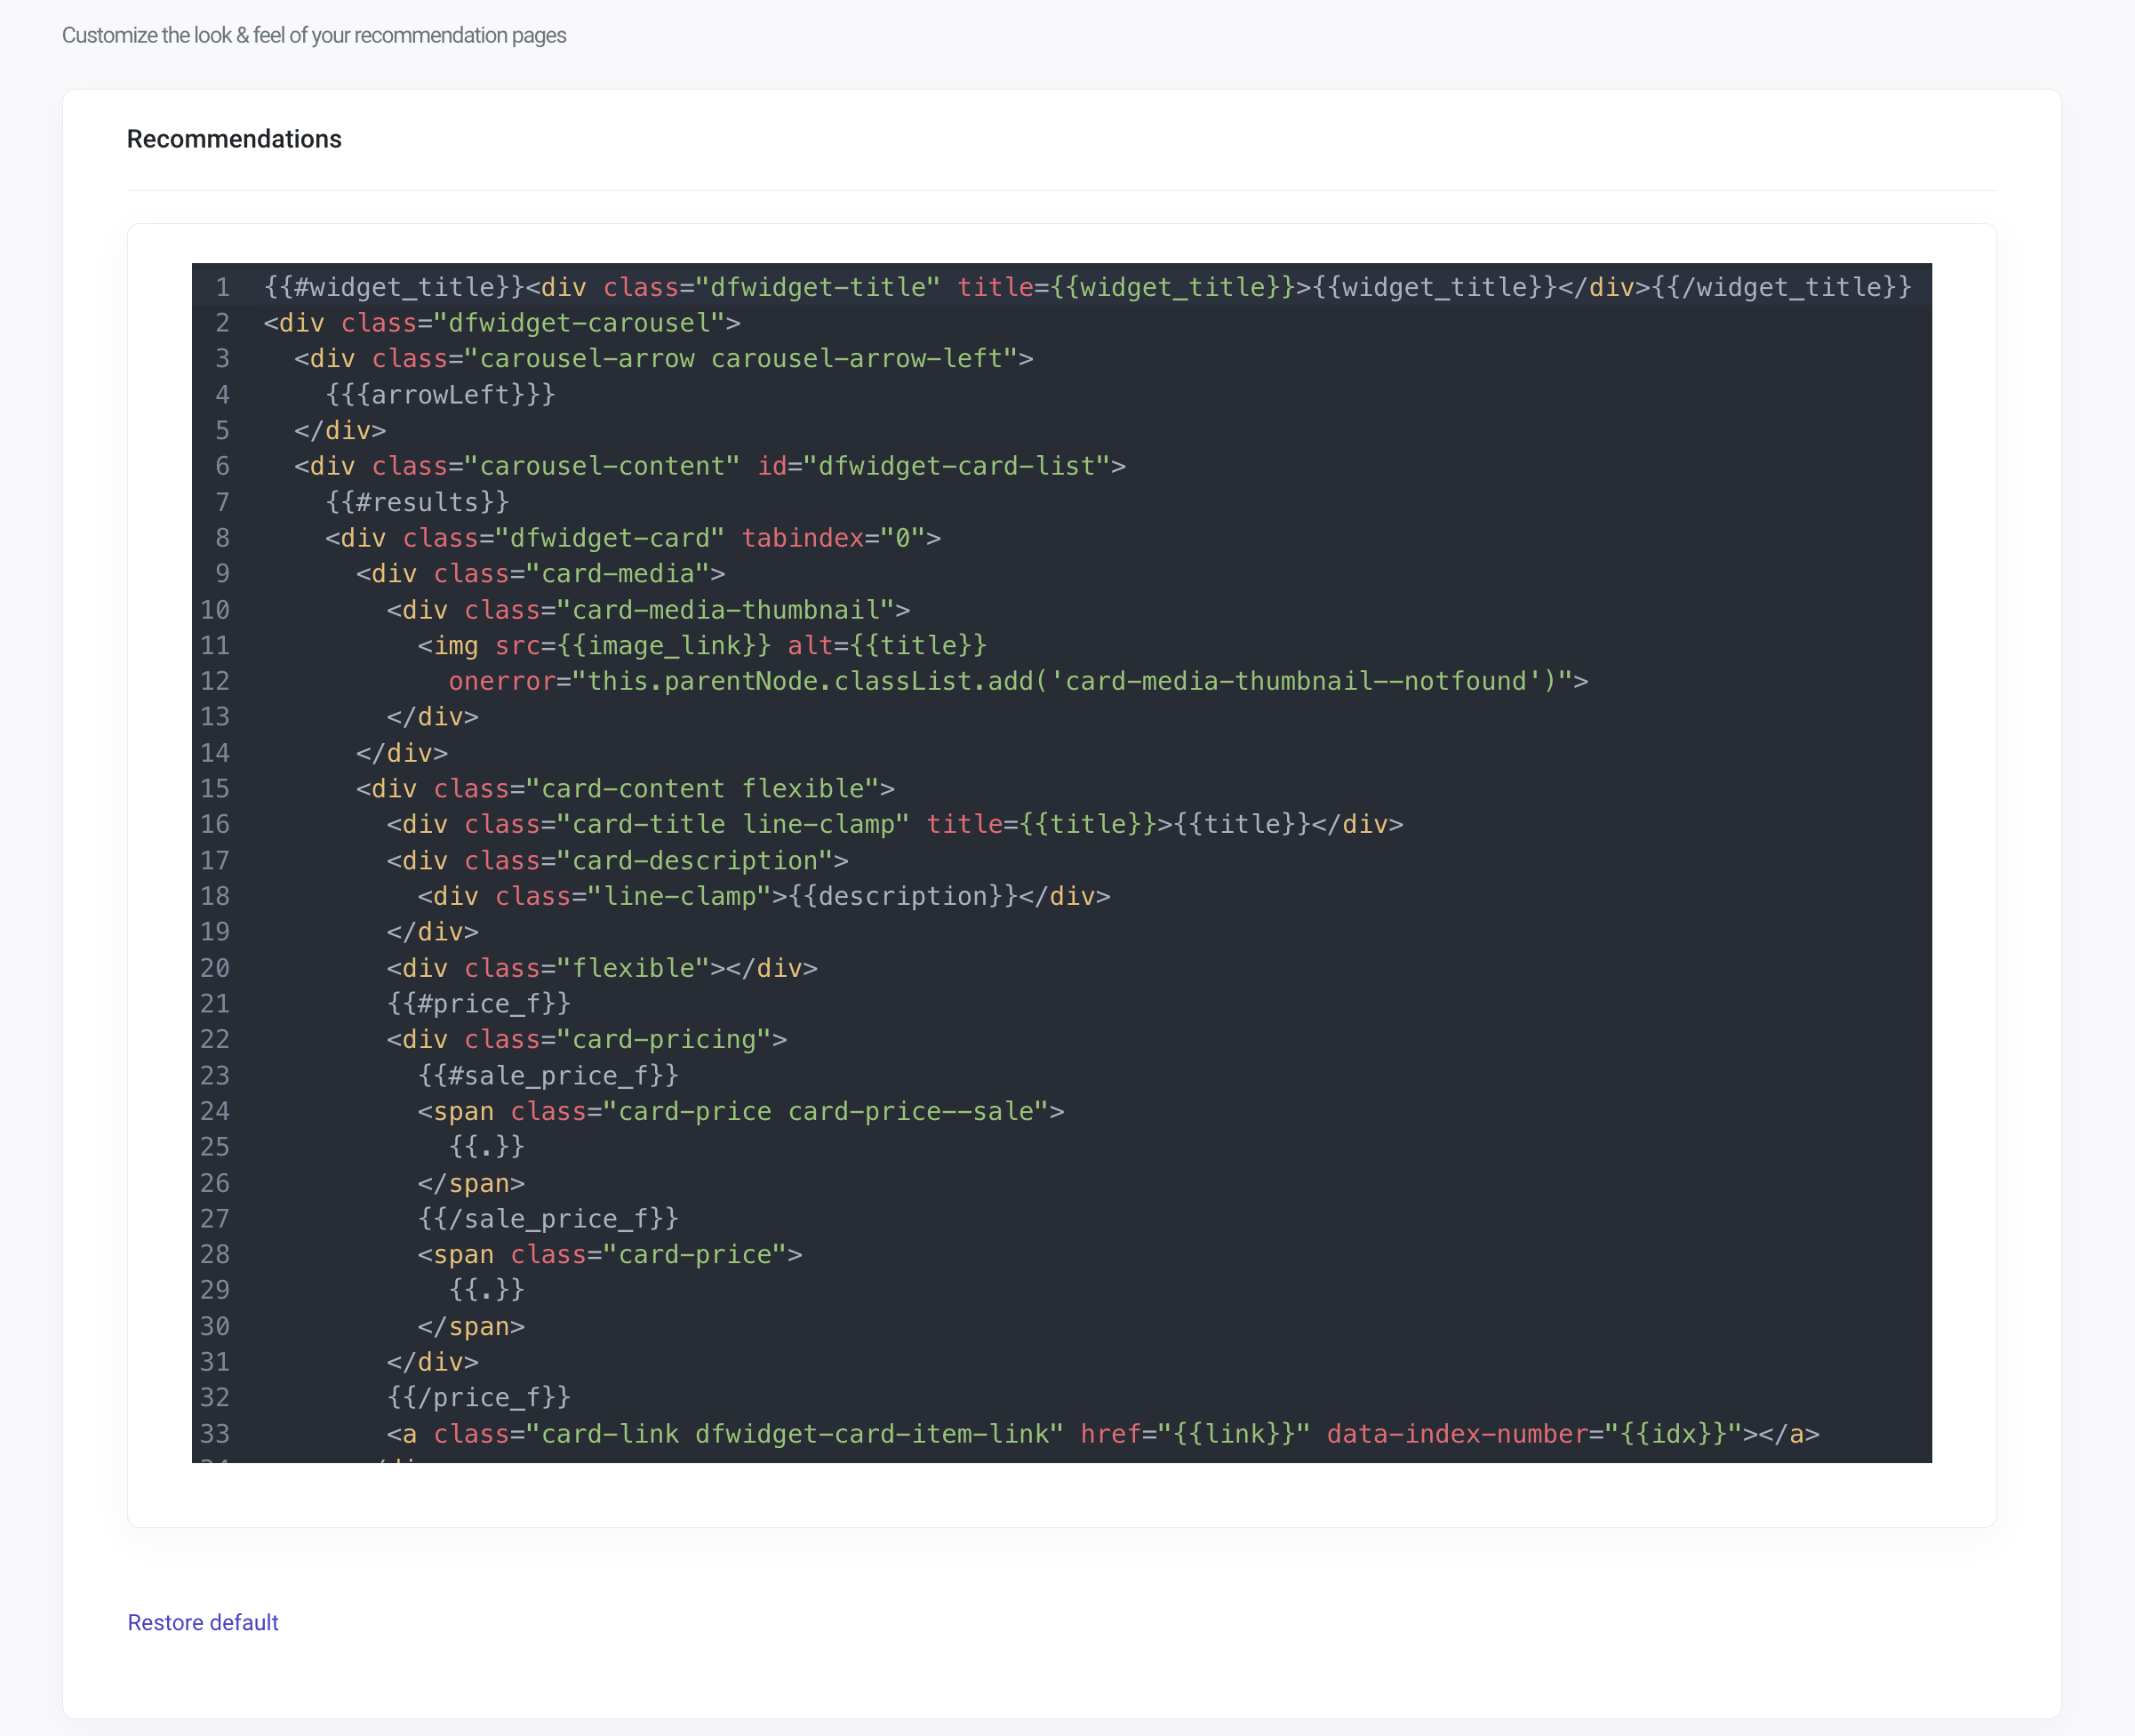
Edit existing templates to adapt the carousel to your needs. Changing default templates may break your widget's visualizations entirely. Use with care.
- Template Code: remember to hit the “Save” button every time you change the code so that the changes save correctly. You can always restore to default and revert the code configuration changes every time you need just by clicking the “Restore Default” option below the code.
Recommendations Panel - Carousel Details
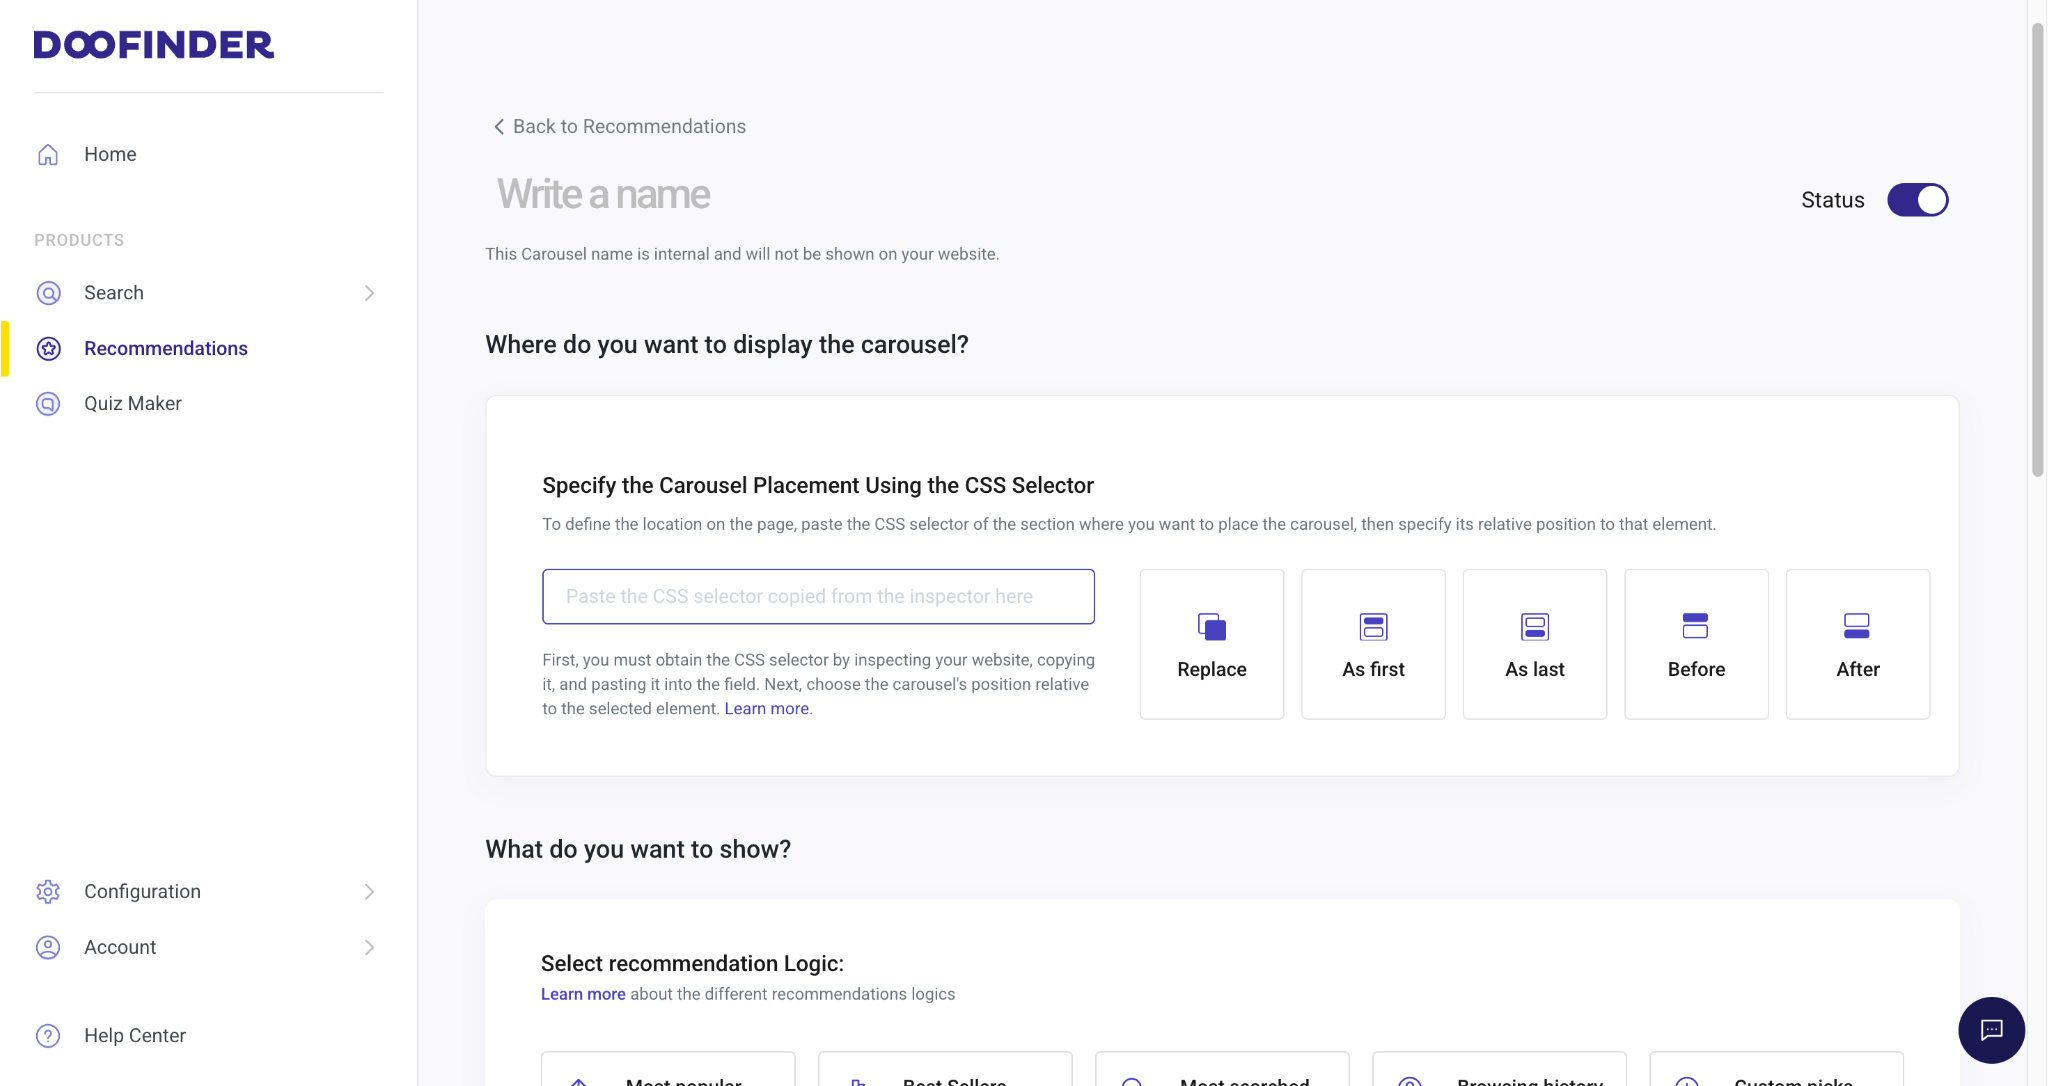
On Recommendations, click on the “Add Carousel” button on the top-right side.
After clicking on “Add Carousel” button. The following items will appear:
- On the top left side of the panel Write a name for the internal name of the carousel.
-
On the top right the Status appears as enabled. If you wish to disable it, click on the button and it will turn off.
-
Where do you want to display the carousel? section:
- Specify the Carousel Placement Using the CSS Selector: To define the location of the carousel on your page. Choose a CSS selector inspecting your webpage, and decide a relative position according to that CSS; either Replace, As first, As last, Before, or After. Find out how to identify the CSS selector.
-
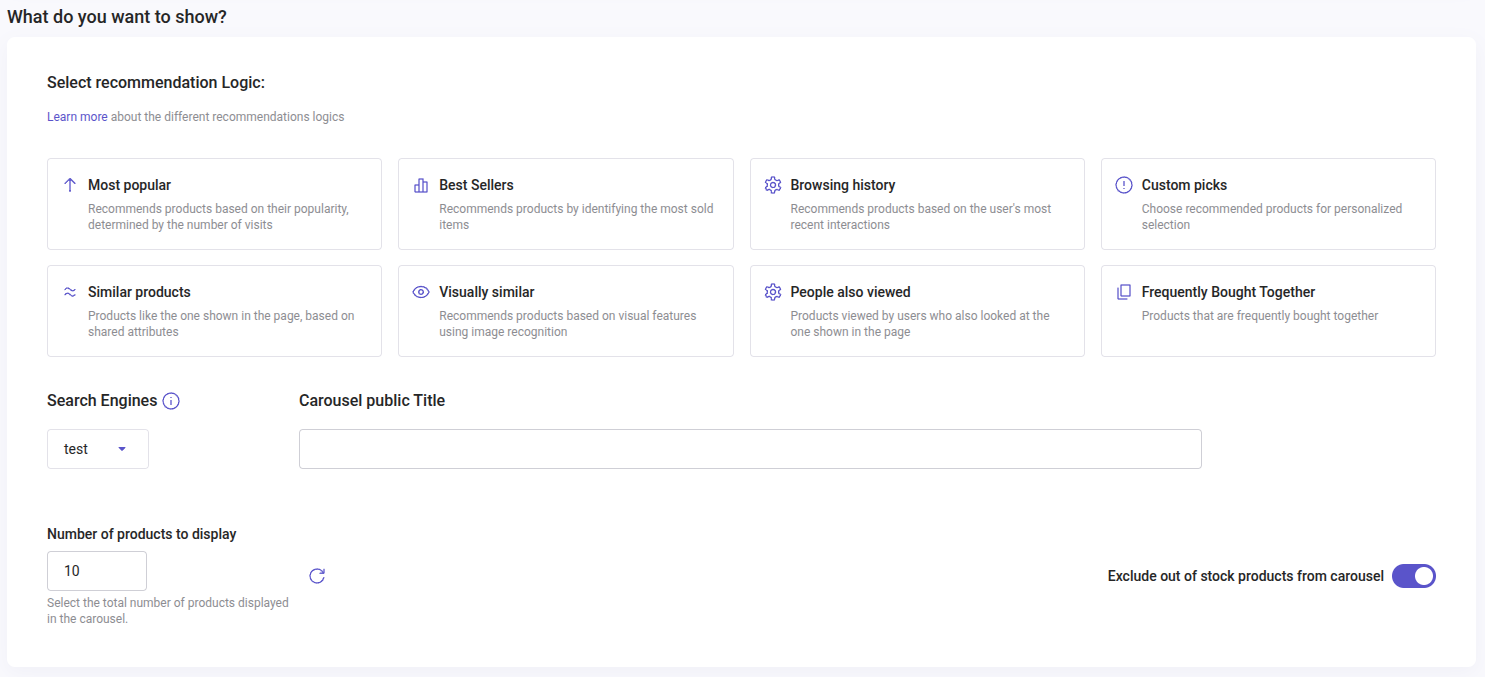
What do you want to show? section:
- Select Recommendations Logic: Decide which product display fits your criteria. Choose between: Most popular, Best Sellers, Browsing history, Custom picks, Similar products, Visually Similar, Frequently Bought Together, and People also viewed. To learn about the Logics, refer to the Carousel Logics article.
- Search Engines: Decide in which Search Engines you would like to display the carousel.
- Carousel Public Title: Type the name you would like for the carousel to show on each added Search Engine.
-
Add another Search Engine: Add as many Search Engines as you desire for this carousel. The goal is to set up everything in one unified screen, making it easier to manage and customize the recommendation settings for each Search Engine simultaneously.
If you wish to erase one of them just click on the trash can on the right side by the “Carousel Public Title”.
-
Number of Products to Display: Indicate the number of products to display on the carousel. Increase the number up to 25 or decrease it down to 5.
If you enable fallback later, learn here how it affects the carousel behavior depending on its configuration .
-
On Exclude out of stock products from carousel: Enable or disable the option to show out of stock products.
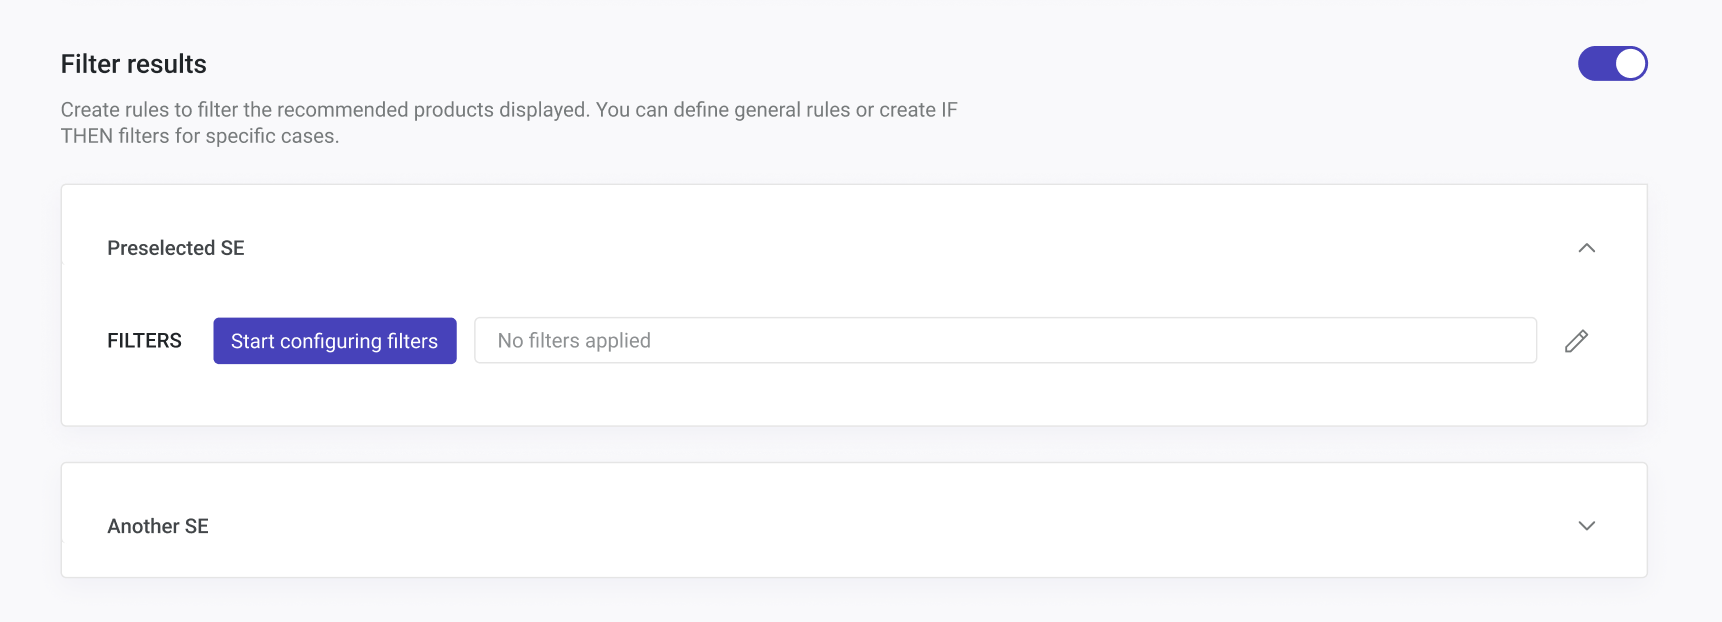
- Filters results and Fallback section:
- On the top-right side of the Filter results section enable or disable the filters by clicking on the button.
- Configure Filter Results: Create rules to filter the recommended products displayed. You can define General Rules or create IF THEN filters for specific cases on specific product pages. Open the dropdown menu and click on Start Configuring Filters to add a filter. Go to Filters and leverage your Recommendations.
Each Search Engine will have its own filters that must be configured separately.
- Enable or Disable Fallback by clicking on the right-side button. Depending on your carousel configuration, this feature allows you to show a full carousel if the logic chosen can’t show the selected number of products to display. Read about Fallback and decide on which occasions can be useful for your webpage.
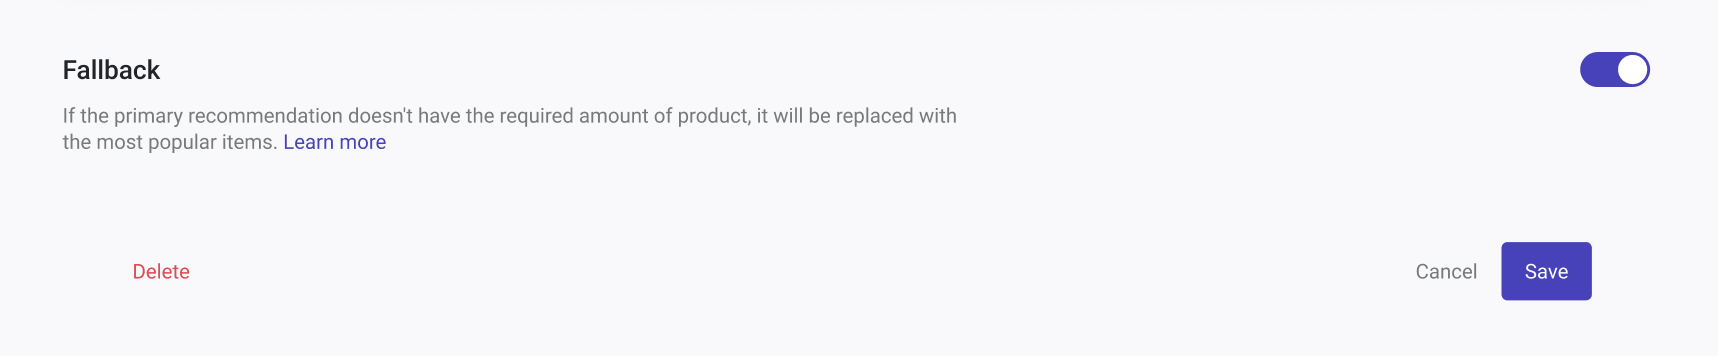
- On Save: Save the configuration of the carousel.
- On Cancel: Stop the configuration of the carousel and start from scratch.
- On Delete: Eliminate the configuration of an already created carousel.
Recommendations GA4 Events
Now you can also send the Recommendations GA4 Events, Activate GA in Your Store!