Video last updated before 2024-12-31
Installation
To begin the installation process, you'll need to download the App from the Shopify App Store site and connect it to your Doofinder account. You can do this either from Doofinder or from your Shopify backend.
- If you choose to begin the installation from Doofinder:
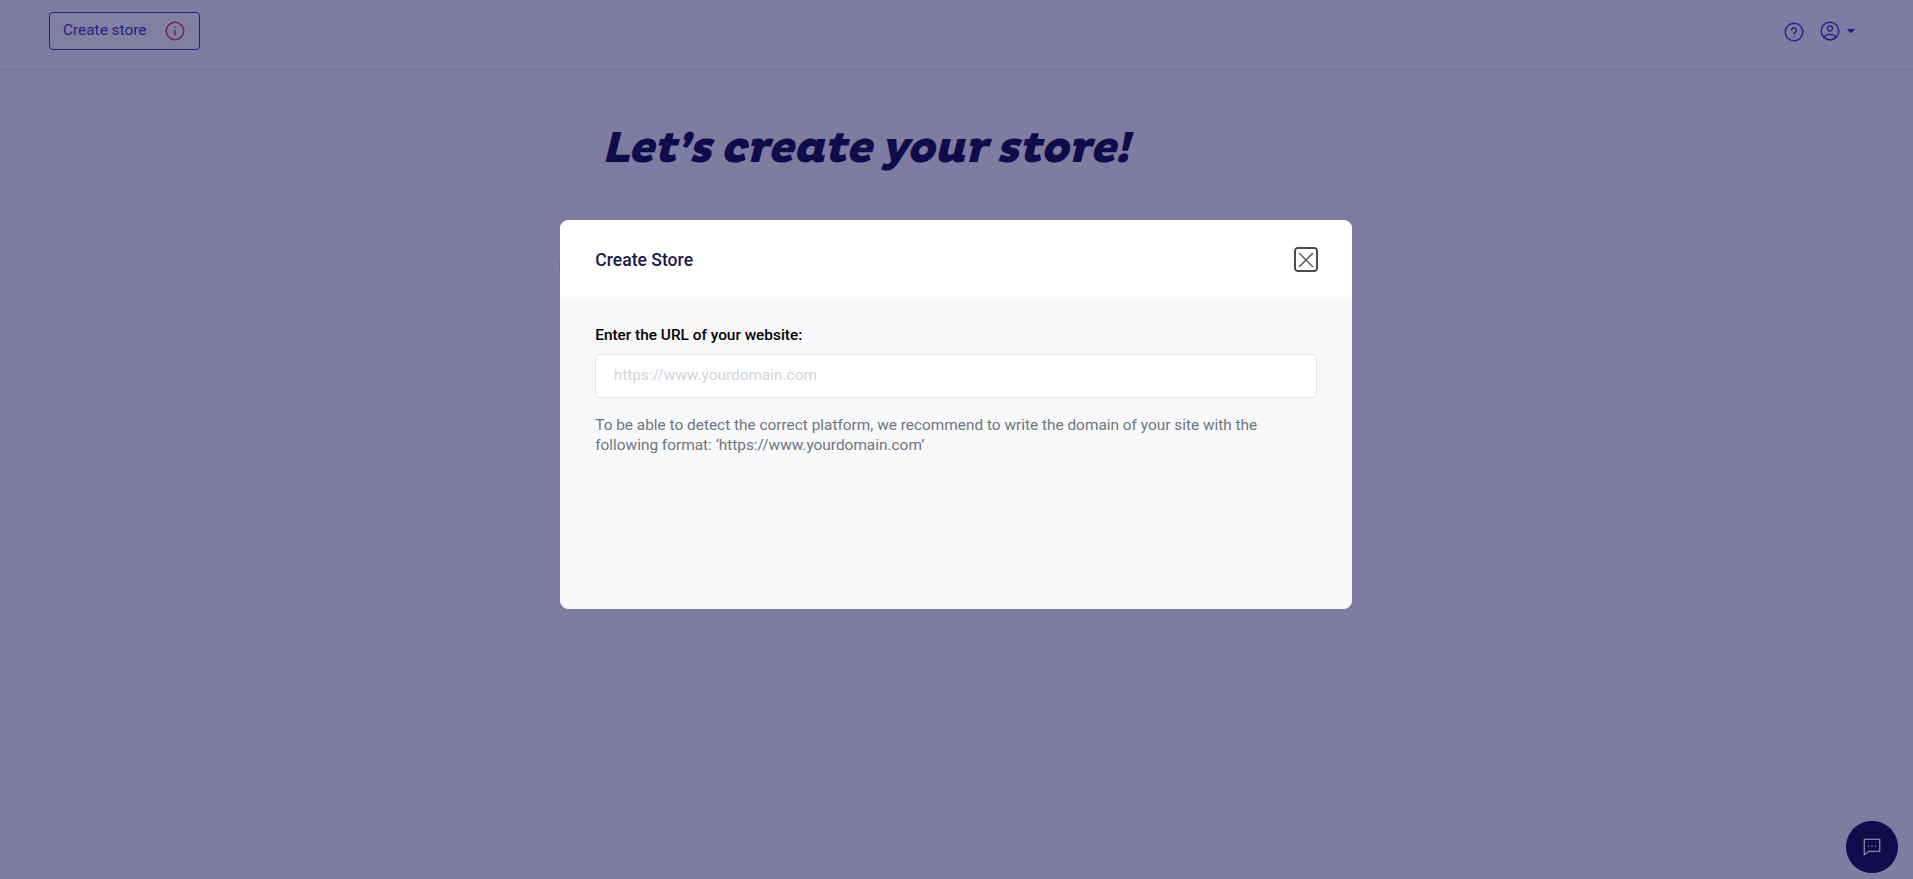
You need to go to your Doofinder Admin Panel to create your Store. If this is a first-time installation, a pop-up will appear to enter the following information, if not, click on your Store name and Create Store.
Then, type the URL of your website and click on the "Install Doofinder app for Shopify" button.
- If you choose to begin the installation from your Shopify backend:
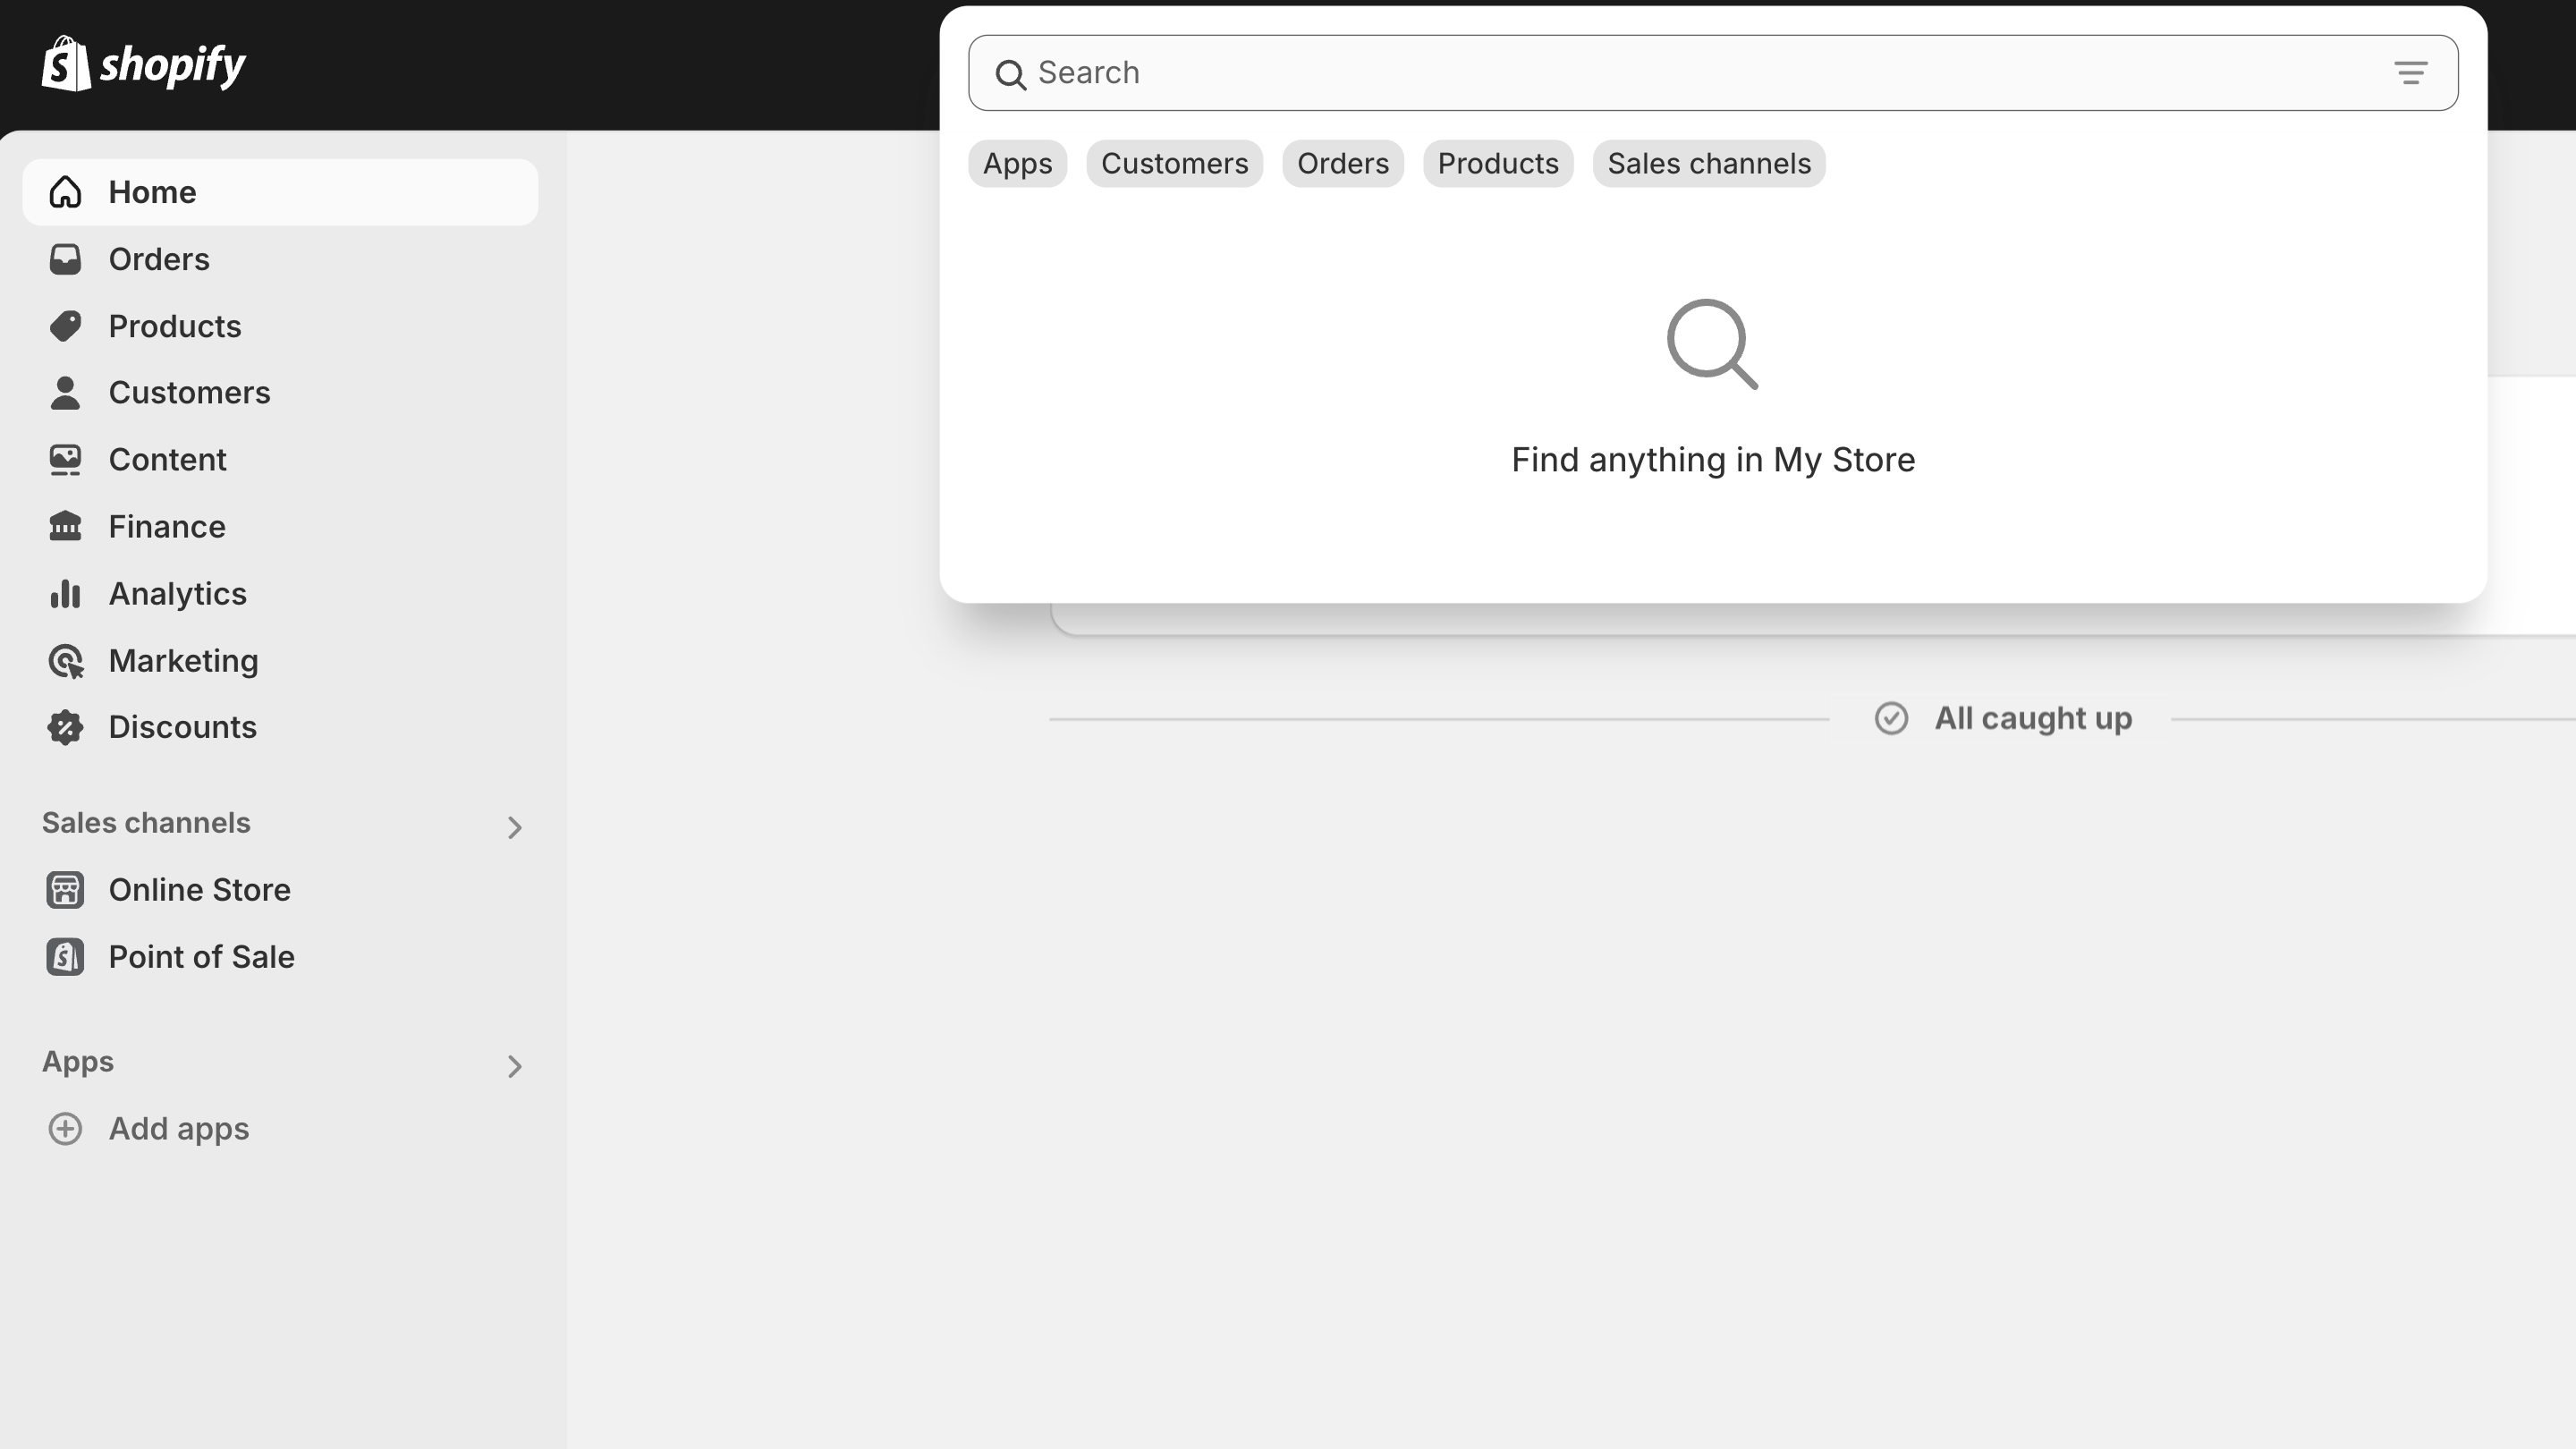
Step 1: Log in to your Shopify account and download the Doofinder application from the Marketplace. Inside your Shopify account, click on the search bar to open the search widget, or press CMD (⌘) + K on a Mac keyboard, or SHIFT (↑) + K on a Windows keyboard to start the search.
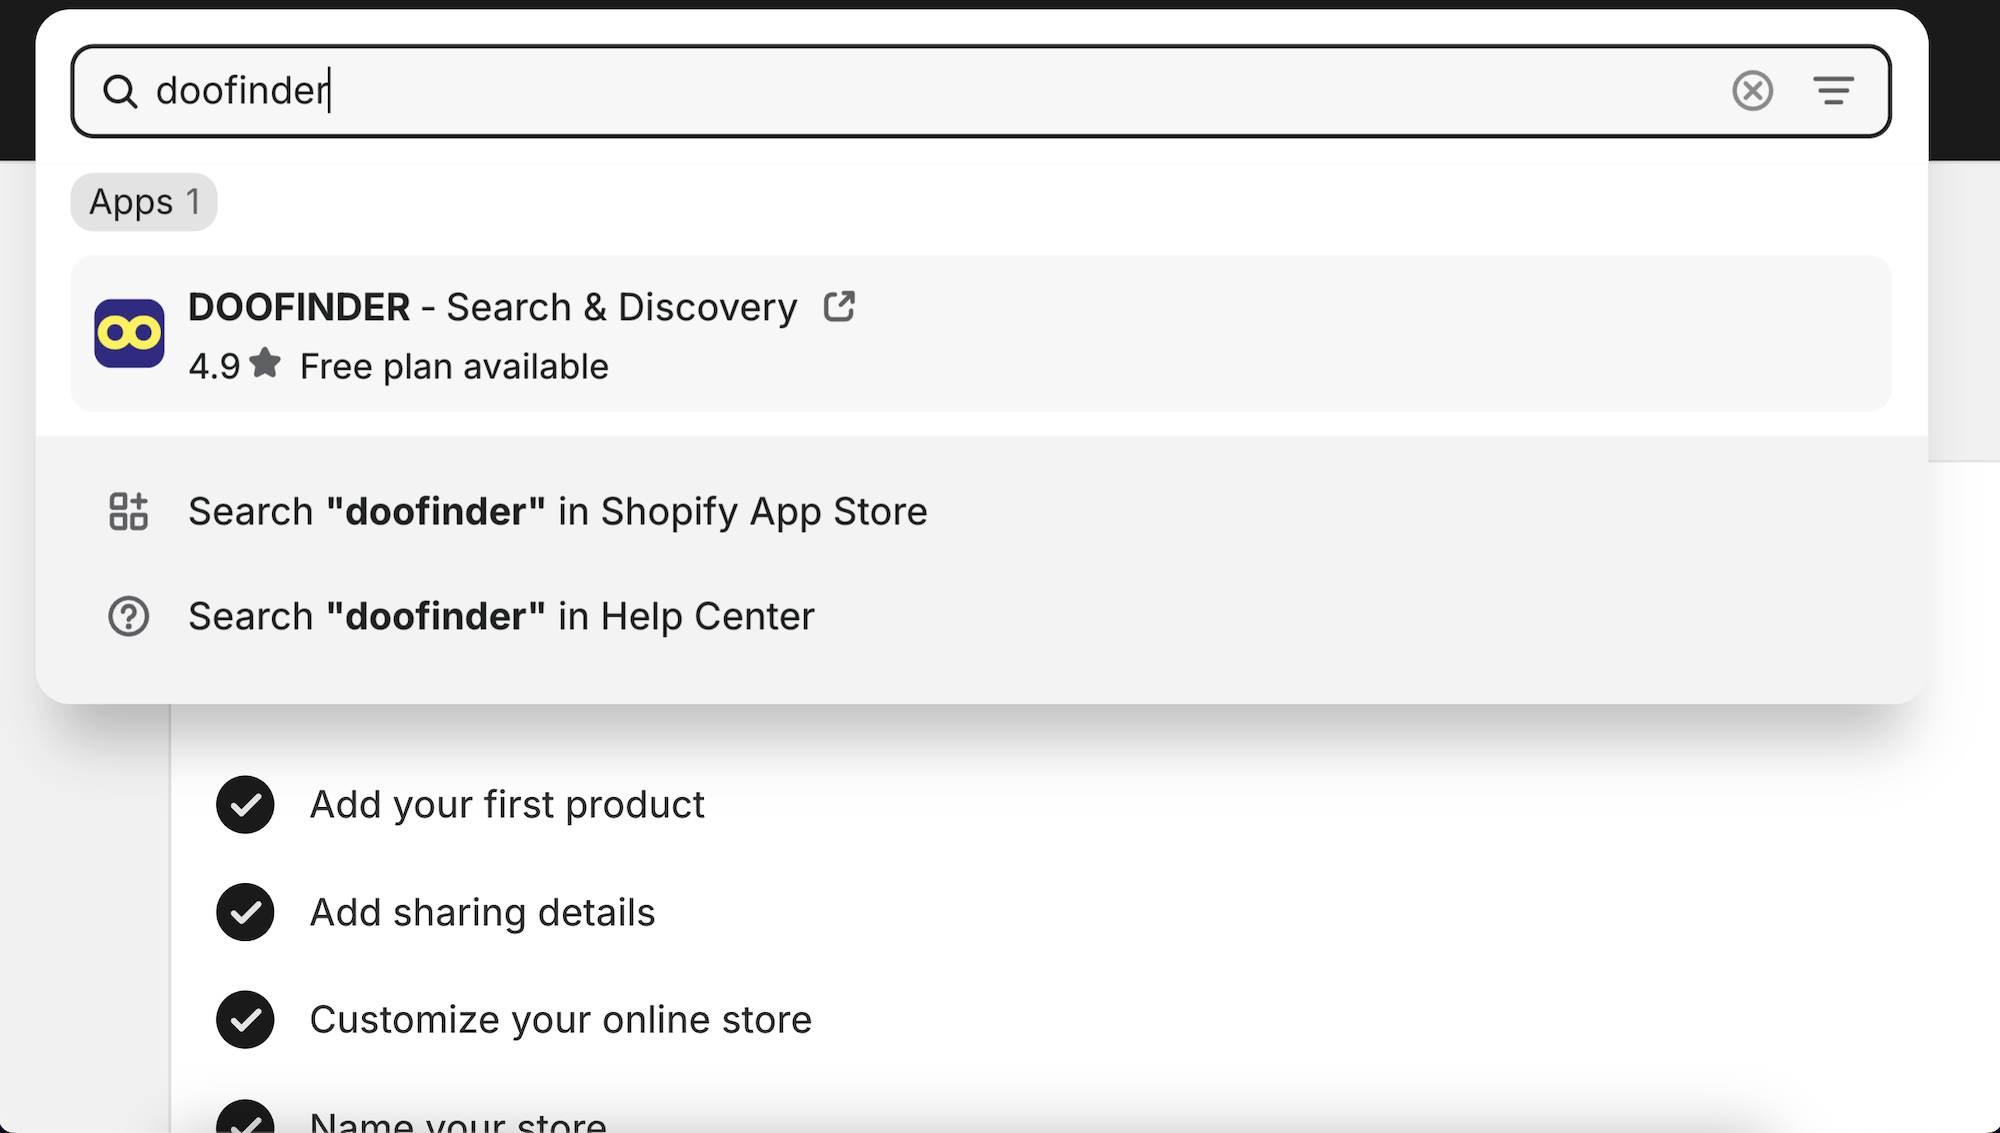
Step 2: Look for "Doofinder" and click on the App.
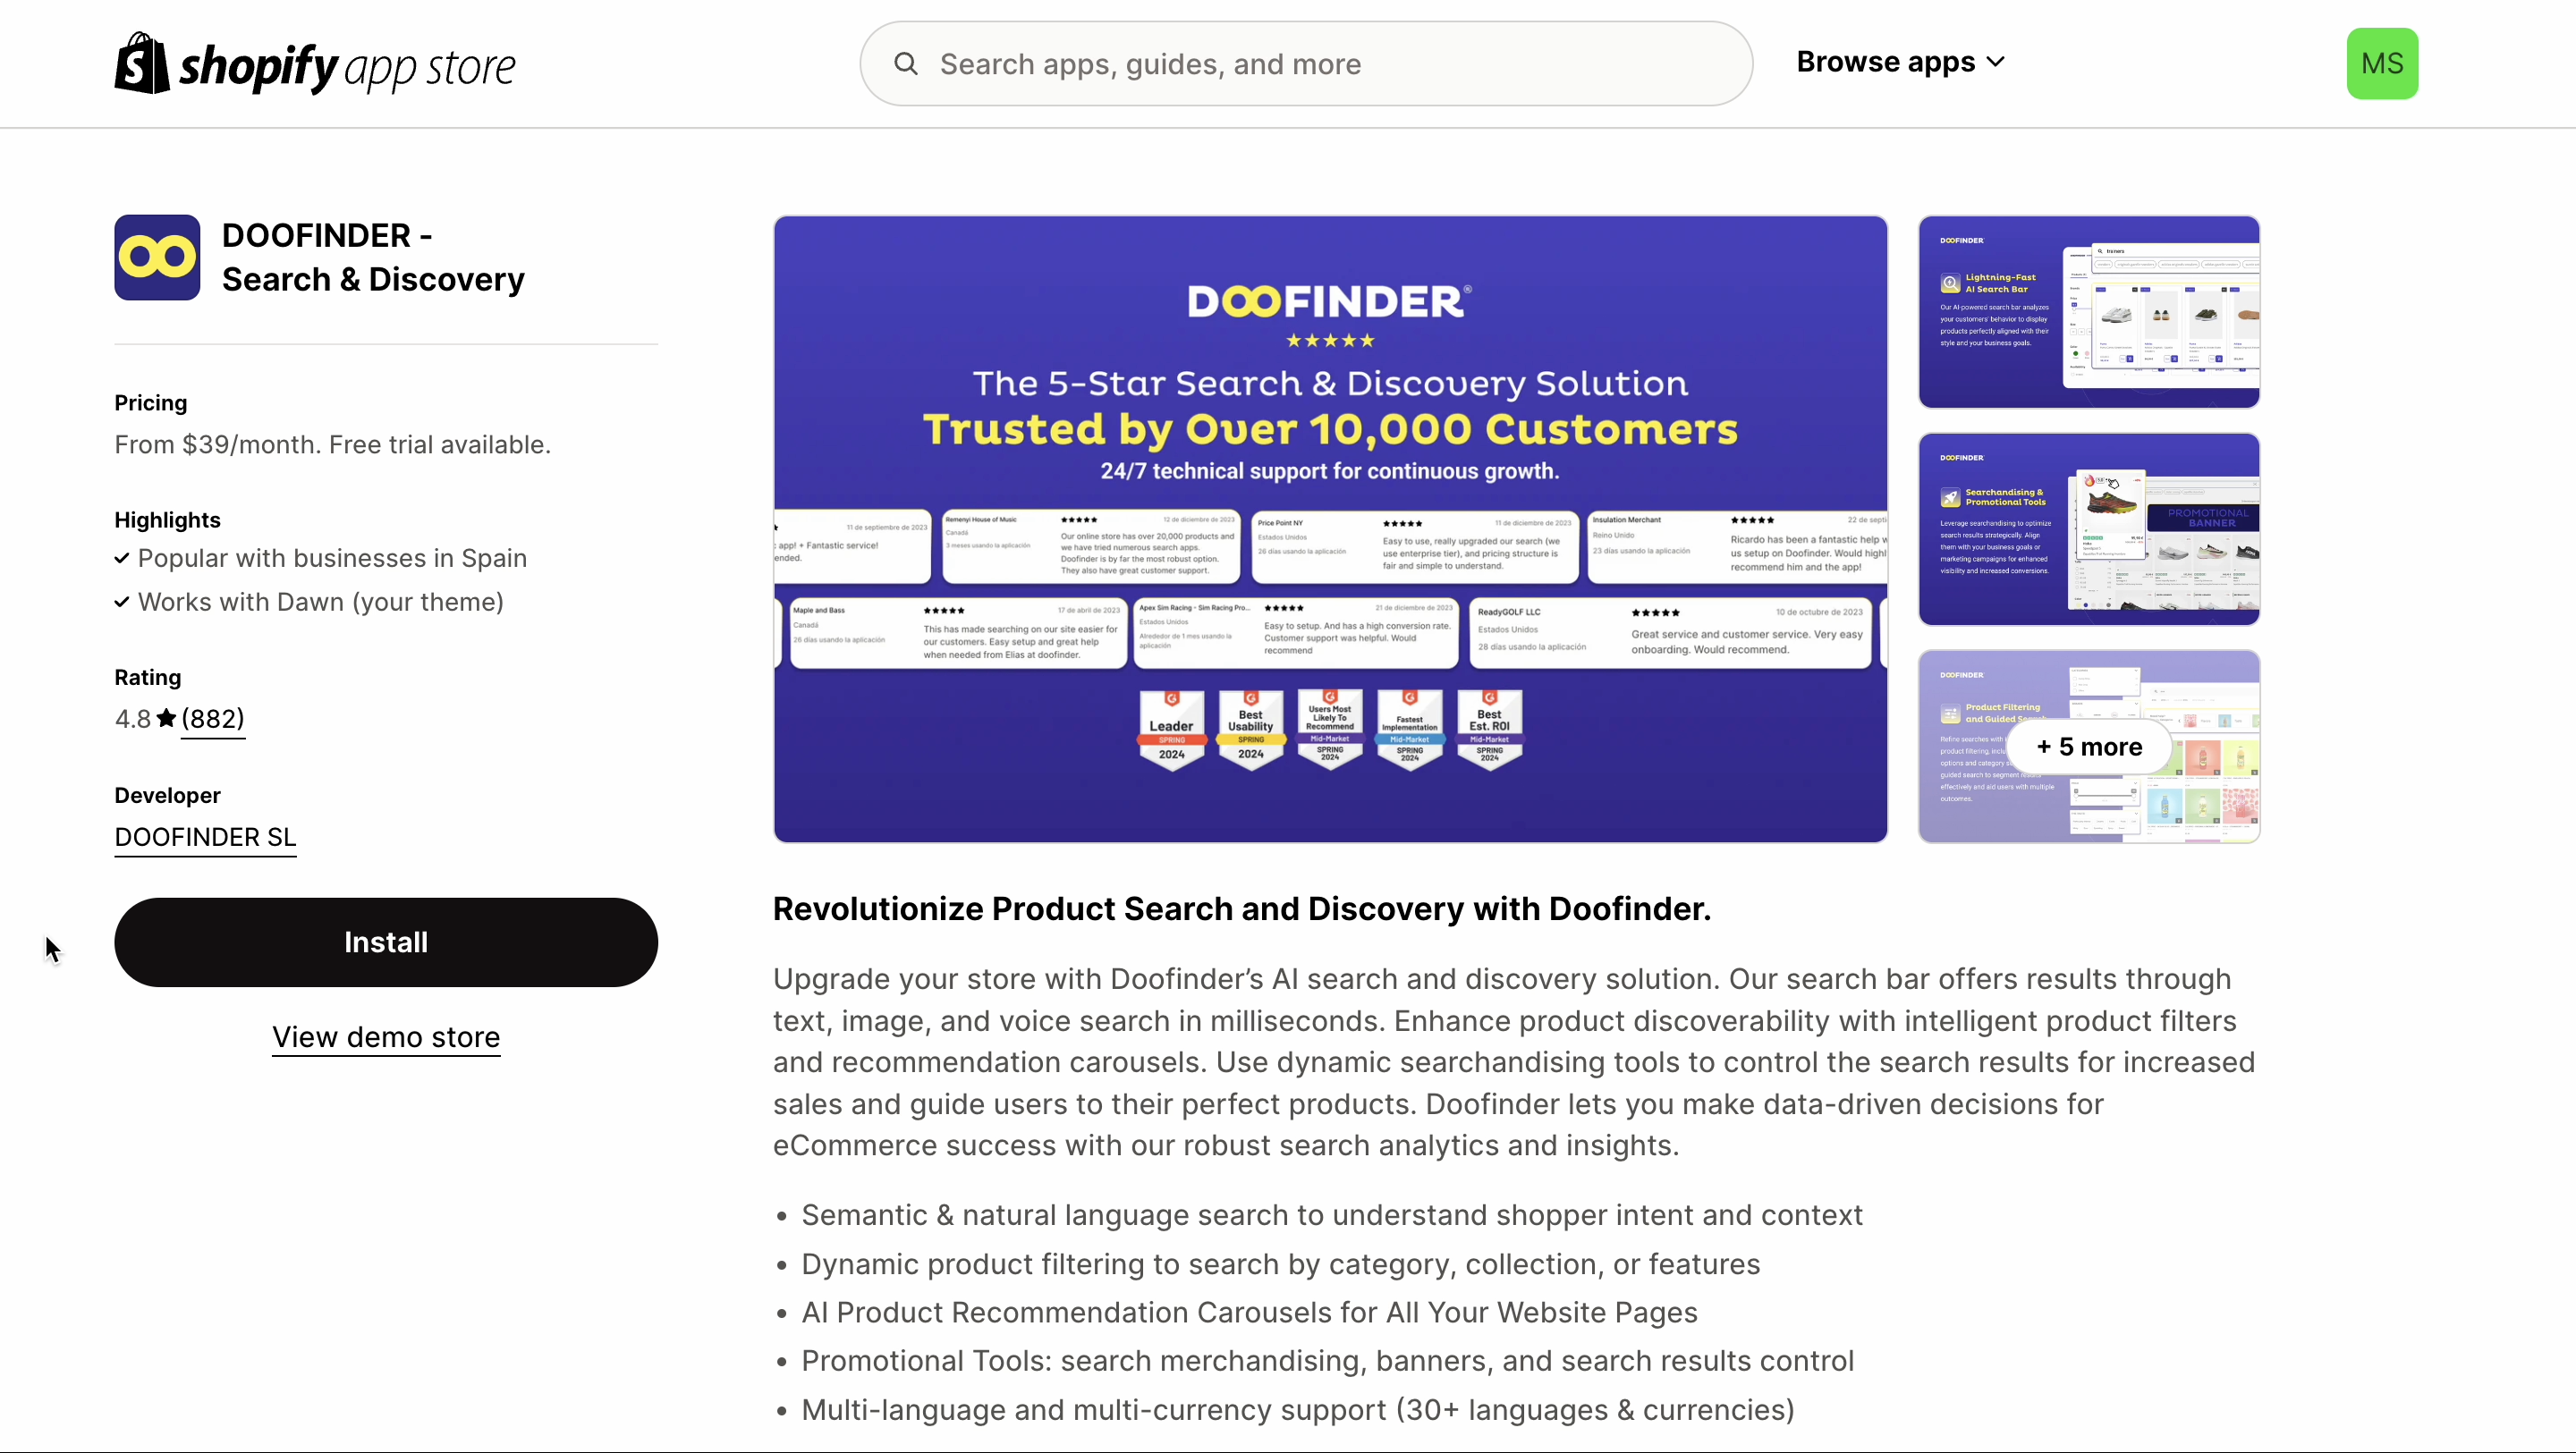
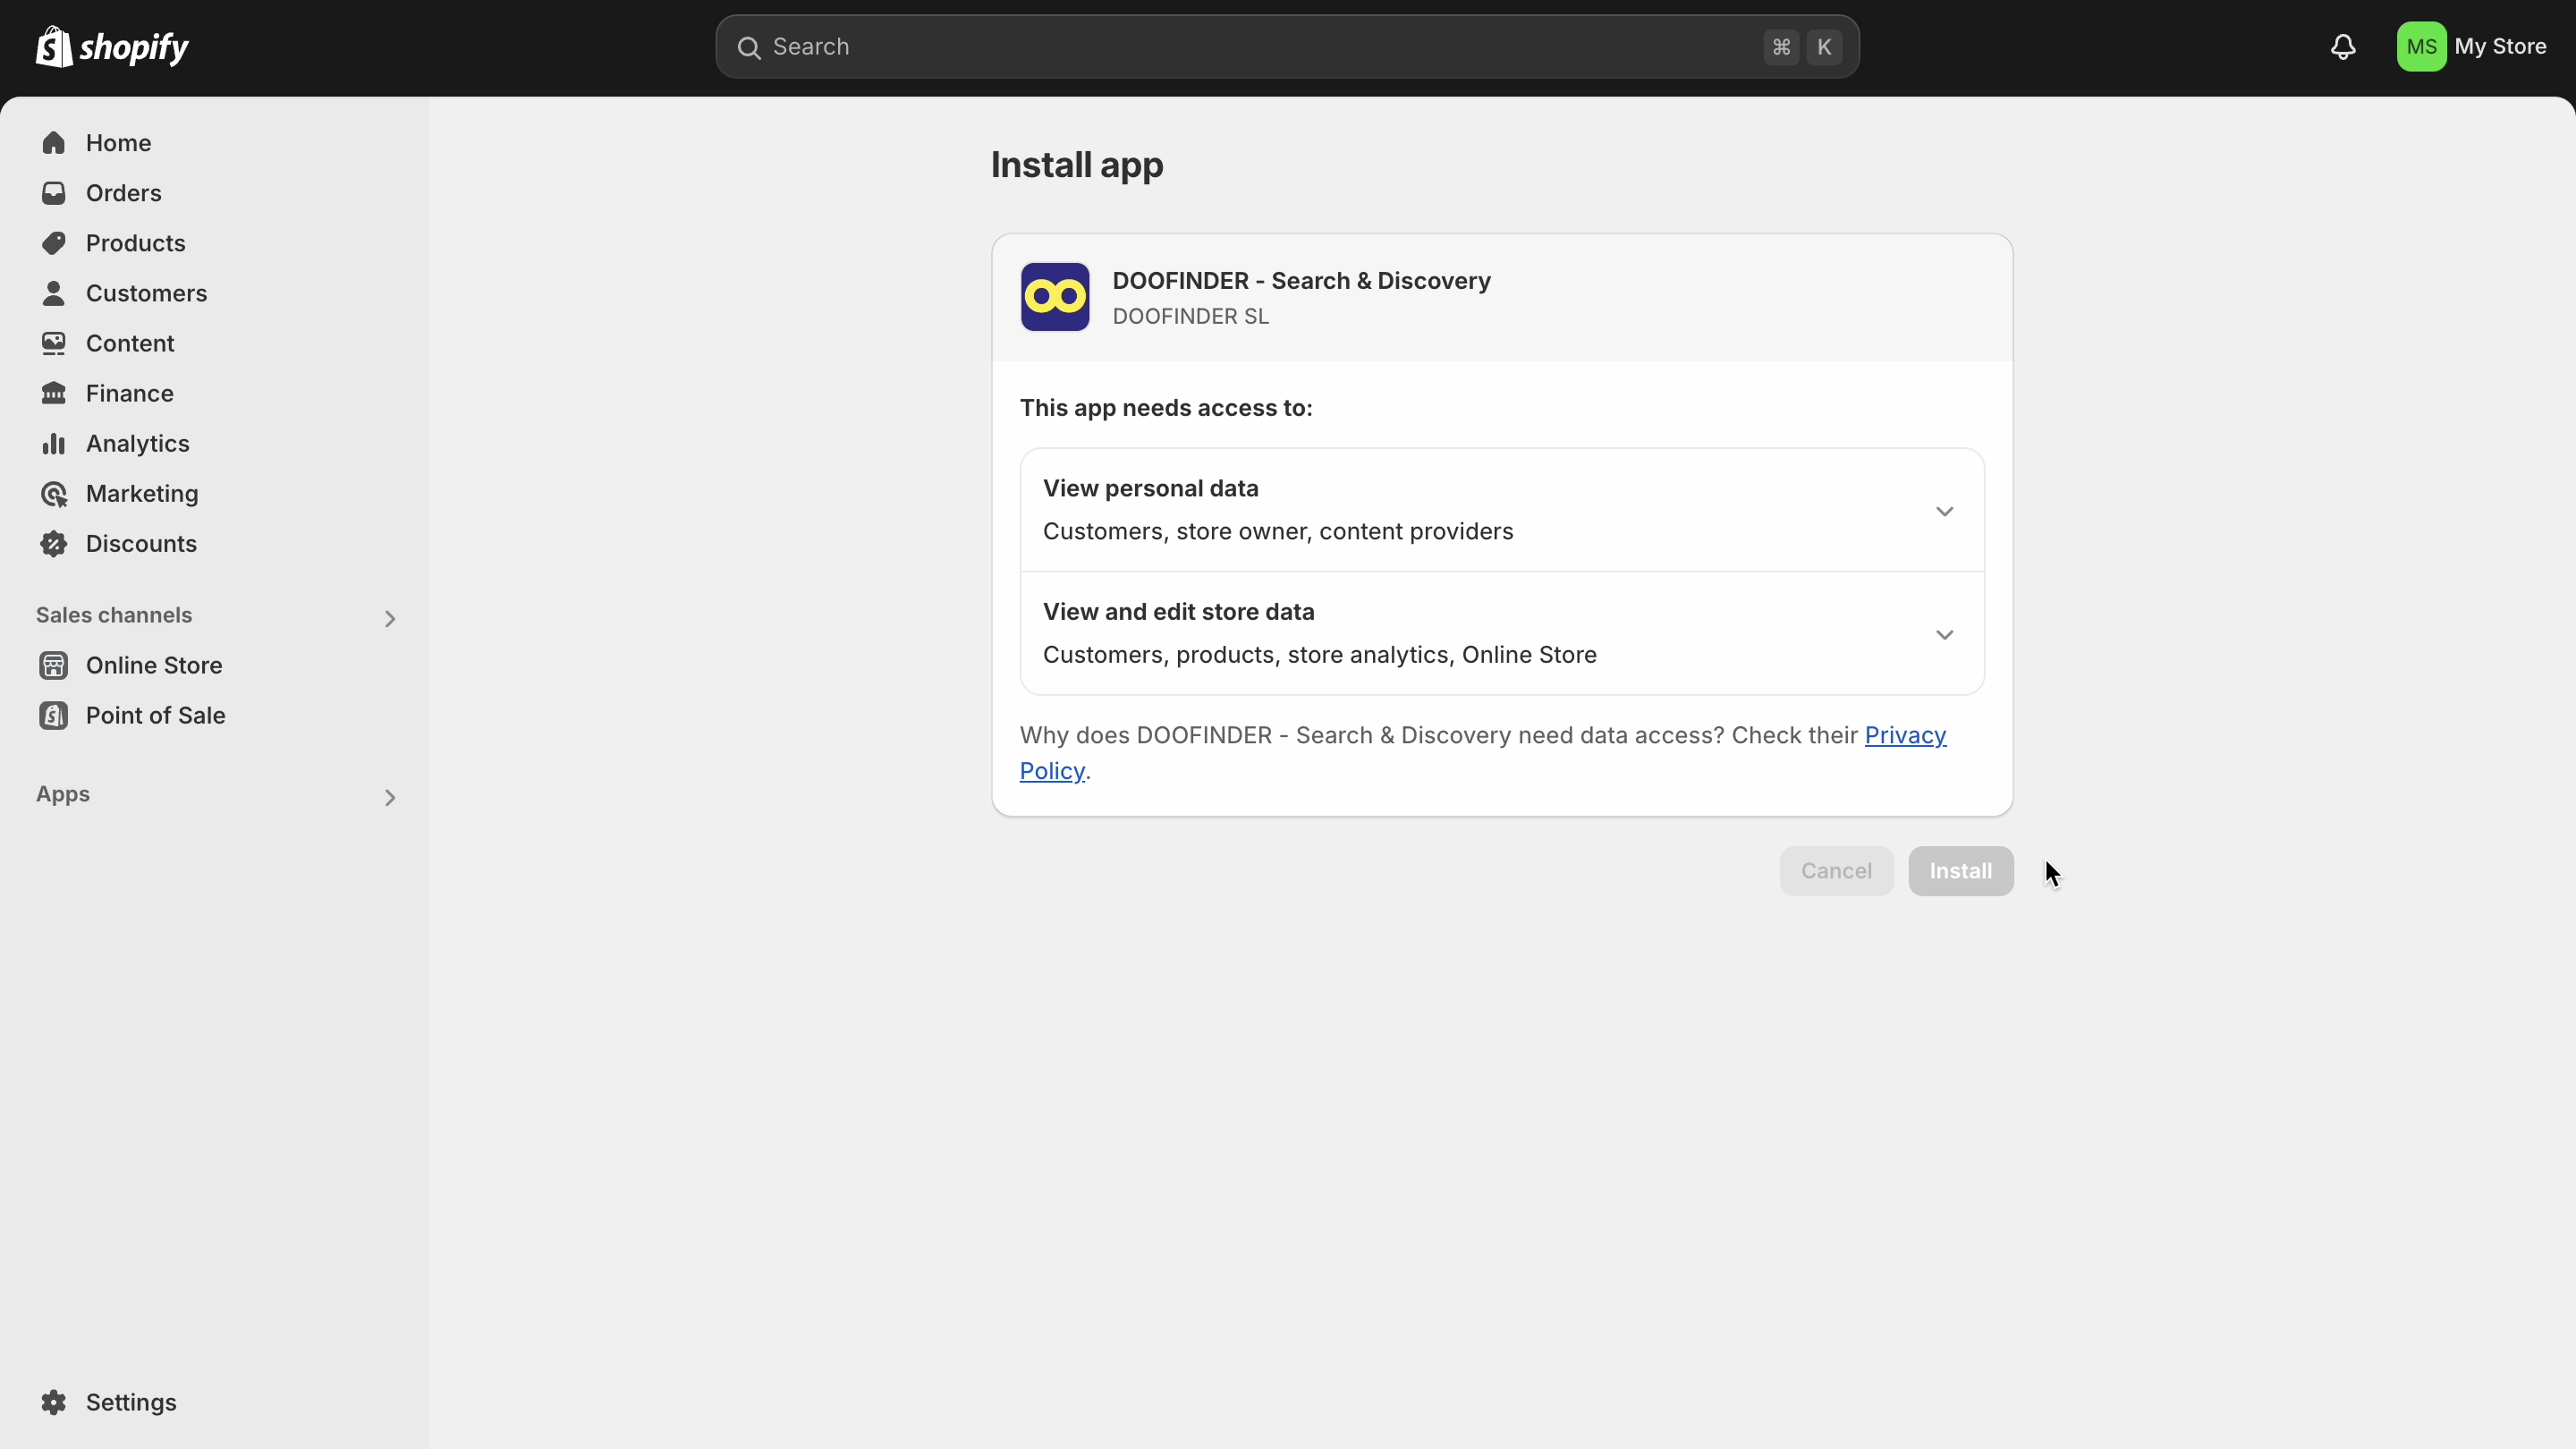
Step 3: You are now on the Shopify App Store site. Click on the 'Install' button.
Step 4: Now, click on the “Install” button to install the Doofinder app on your Shopify backend.
Post-Installation
Step 5: Once installed, you’ll be redirected to Doofinder, and it will immediately start indexing your Shopify catalog on your Doofinder backend. This means that the indexation process has started. The Doofinder app is now accessible and visible in the left-side menu under "Apps."
Note that Doofinder won't be activated until the indexation process is finished.
As the Doofinder App continues indexing, you can explore the Admin Panel. You have now access to:
- Home
- Search
- Recommendations
- Quiz Maker
- Configuration
- Account
- Help Center
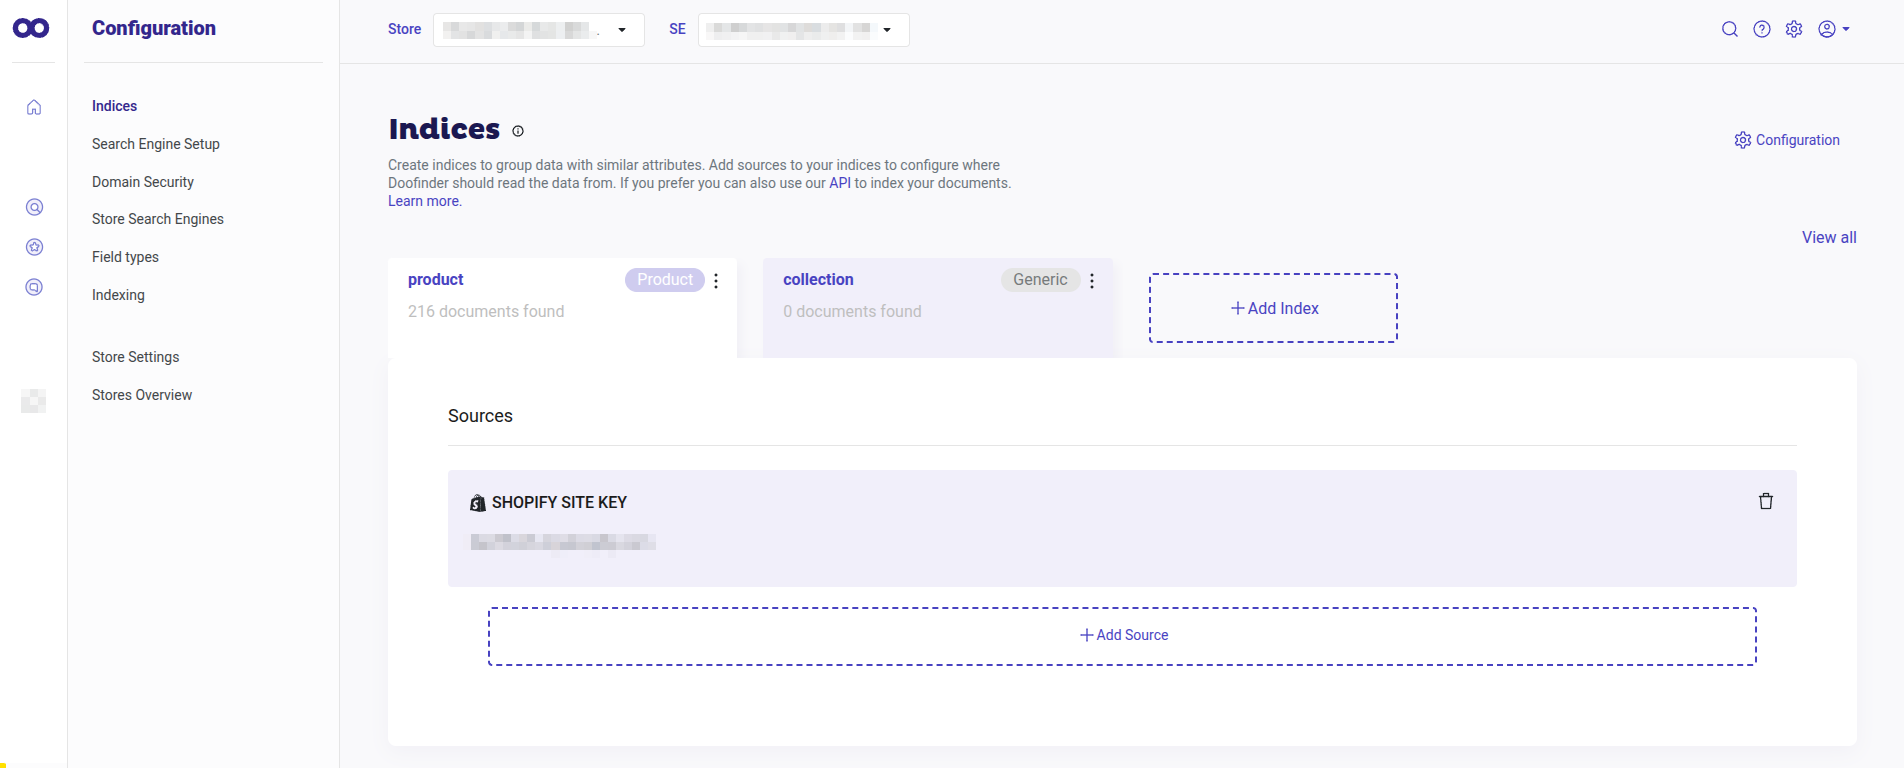
Step 6: Once the indexation is finished, you can check its status in your Doofinder Admin Panel. Once inside the Doofinder Admin Panel, go to Configuration > Indices.
Here, you’ll be able to see your Shopify Site Key and check the indexation status.
From the Doofinder Admin Panel you will be able to access the Store Settings and configure your Store Information. You can also activate or deactivate the Doofinder Script, activate or deactivate the Update on Save option, activate or deactivate Metafields indexing, and select the size of the images to display. We will take a look at each feature on the following sections.
Doofinder Script
Step 7: The script is generated automatically during the installation process, but it needs to be activated manually on your Shopify Theme.
To activate the Doofinder Script on your Shopify Theme, follow these steps:
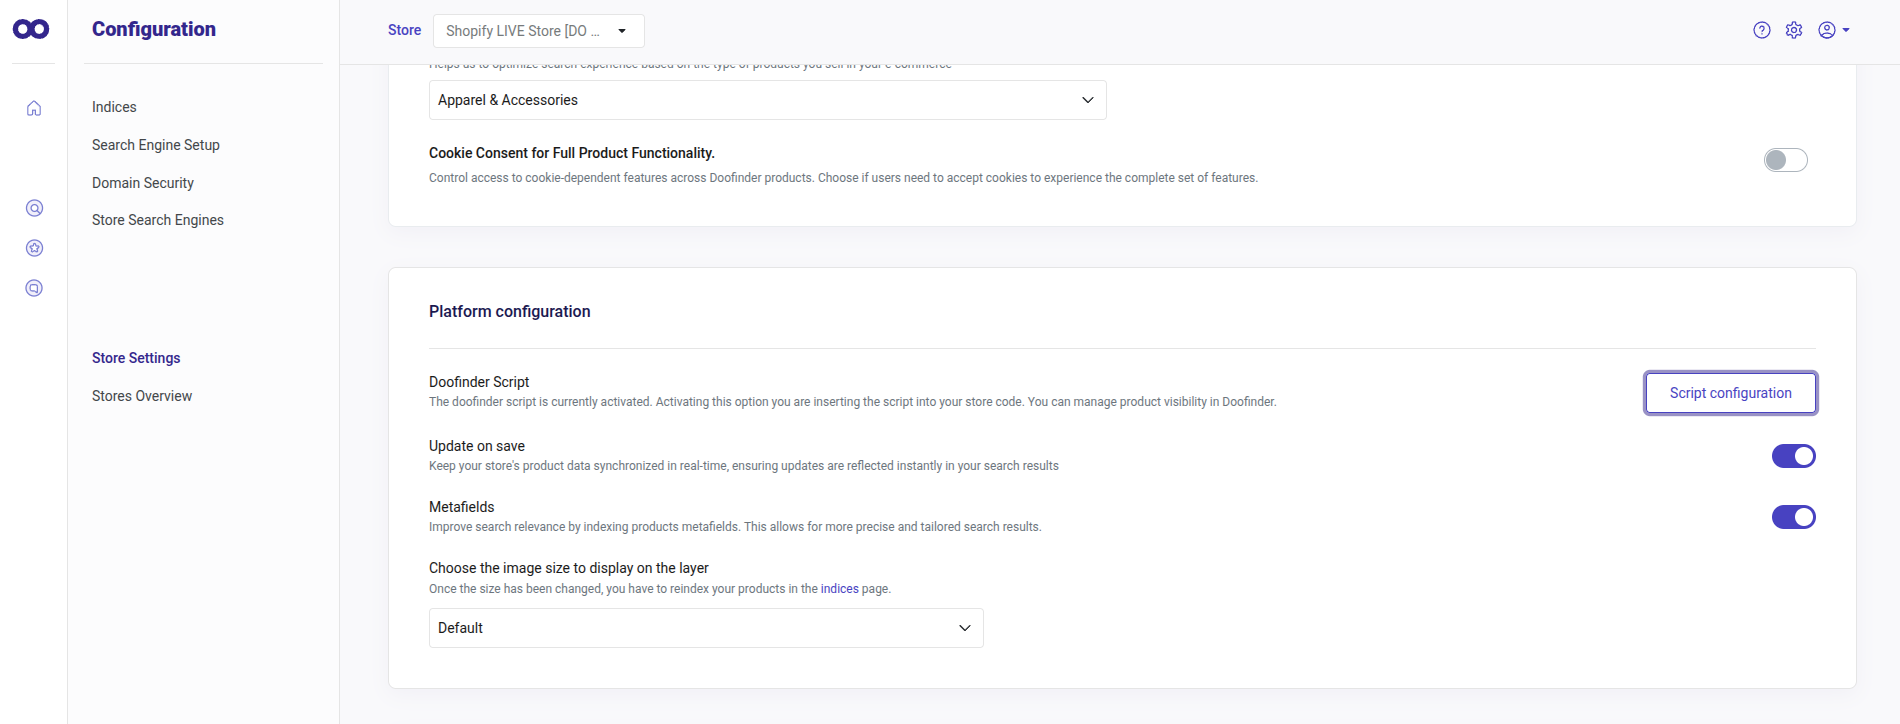
- On your Admin Panel go to Configuration > Store Settings.
- Scroll down to Platform Configuration > Doofinder Script, and click on the "Script Configuration" button. The Script will appear as "deactivated".
- You'll be redirected to your Shopify Theme, where you'll need to manually enable the Doofinder toggle.

- Once enabled, please make sure to click "Save" to save the changes.
- Go back to your Doofinder App panel, and on Store Settings refresh the page. You will now see that the Script option will appear as currently "activated".

Once this step is completed and the Doofinder Script shows as "activated", Doofinder should be functioning correctly on your online shop.
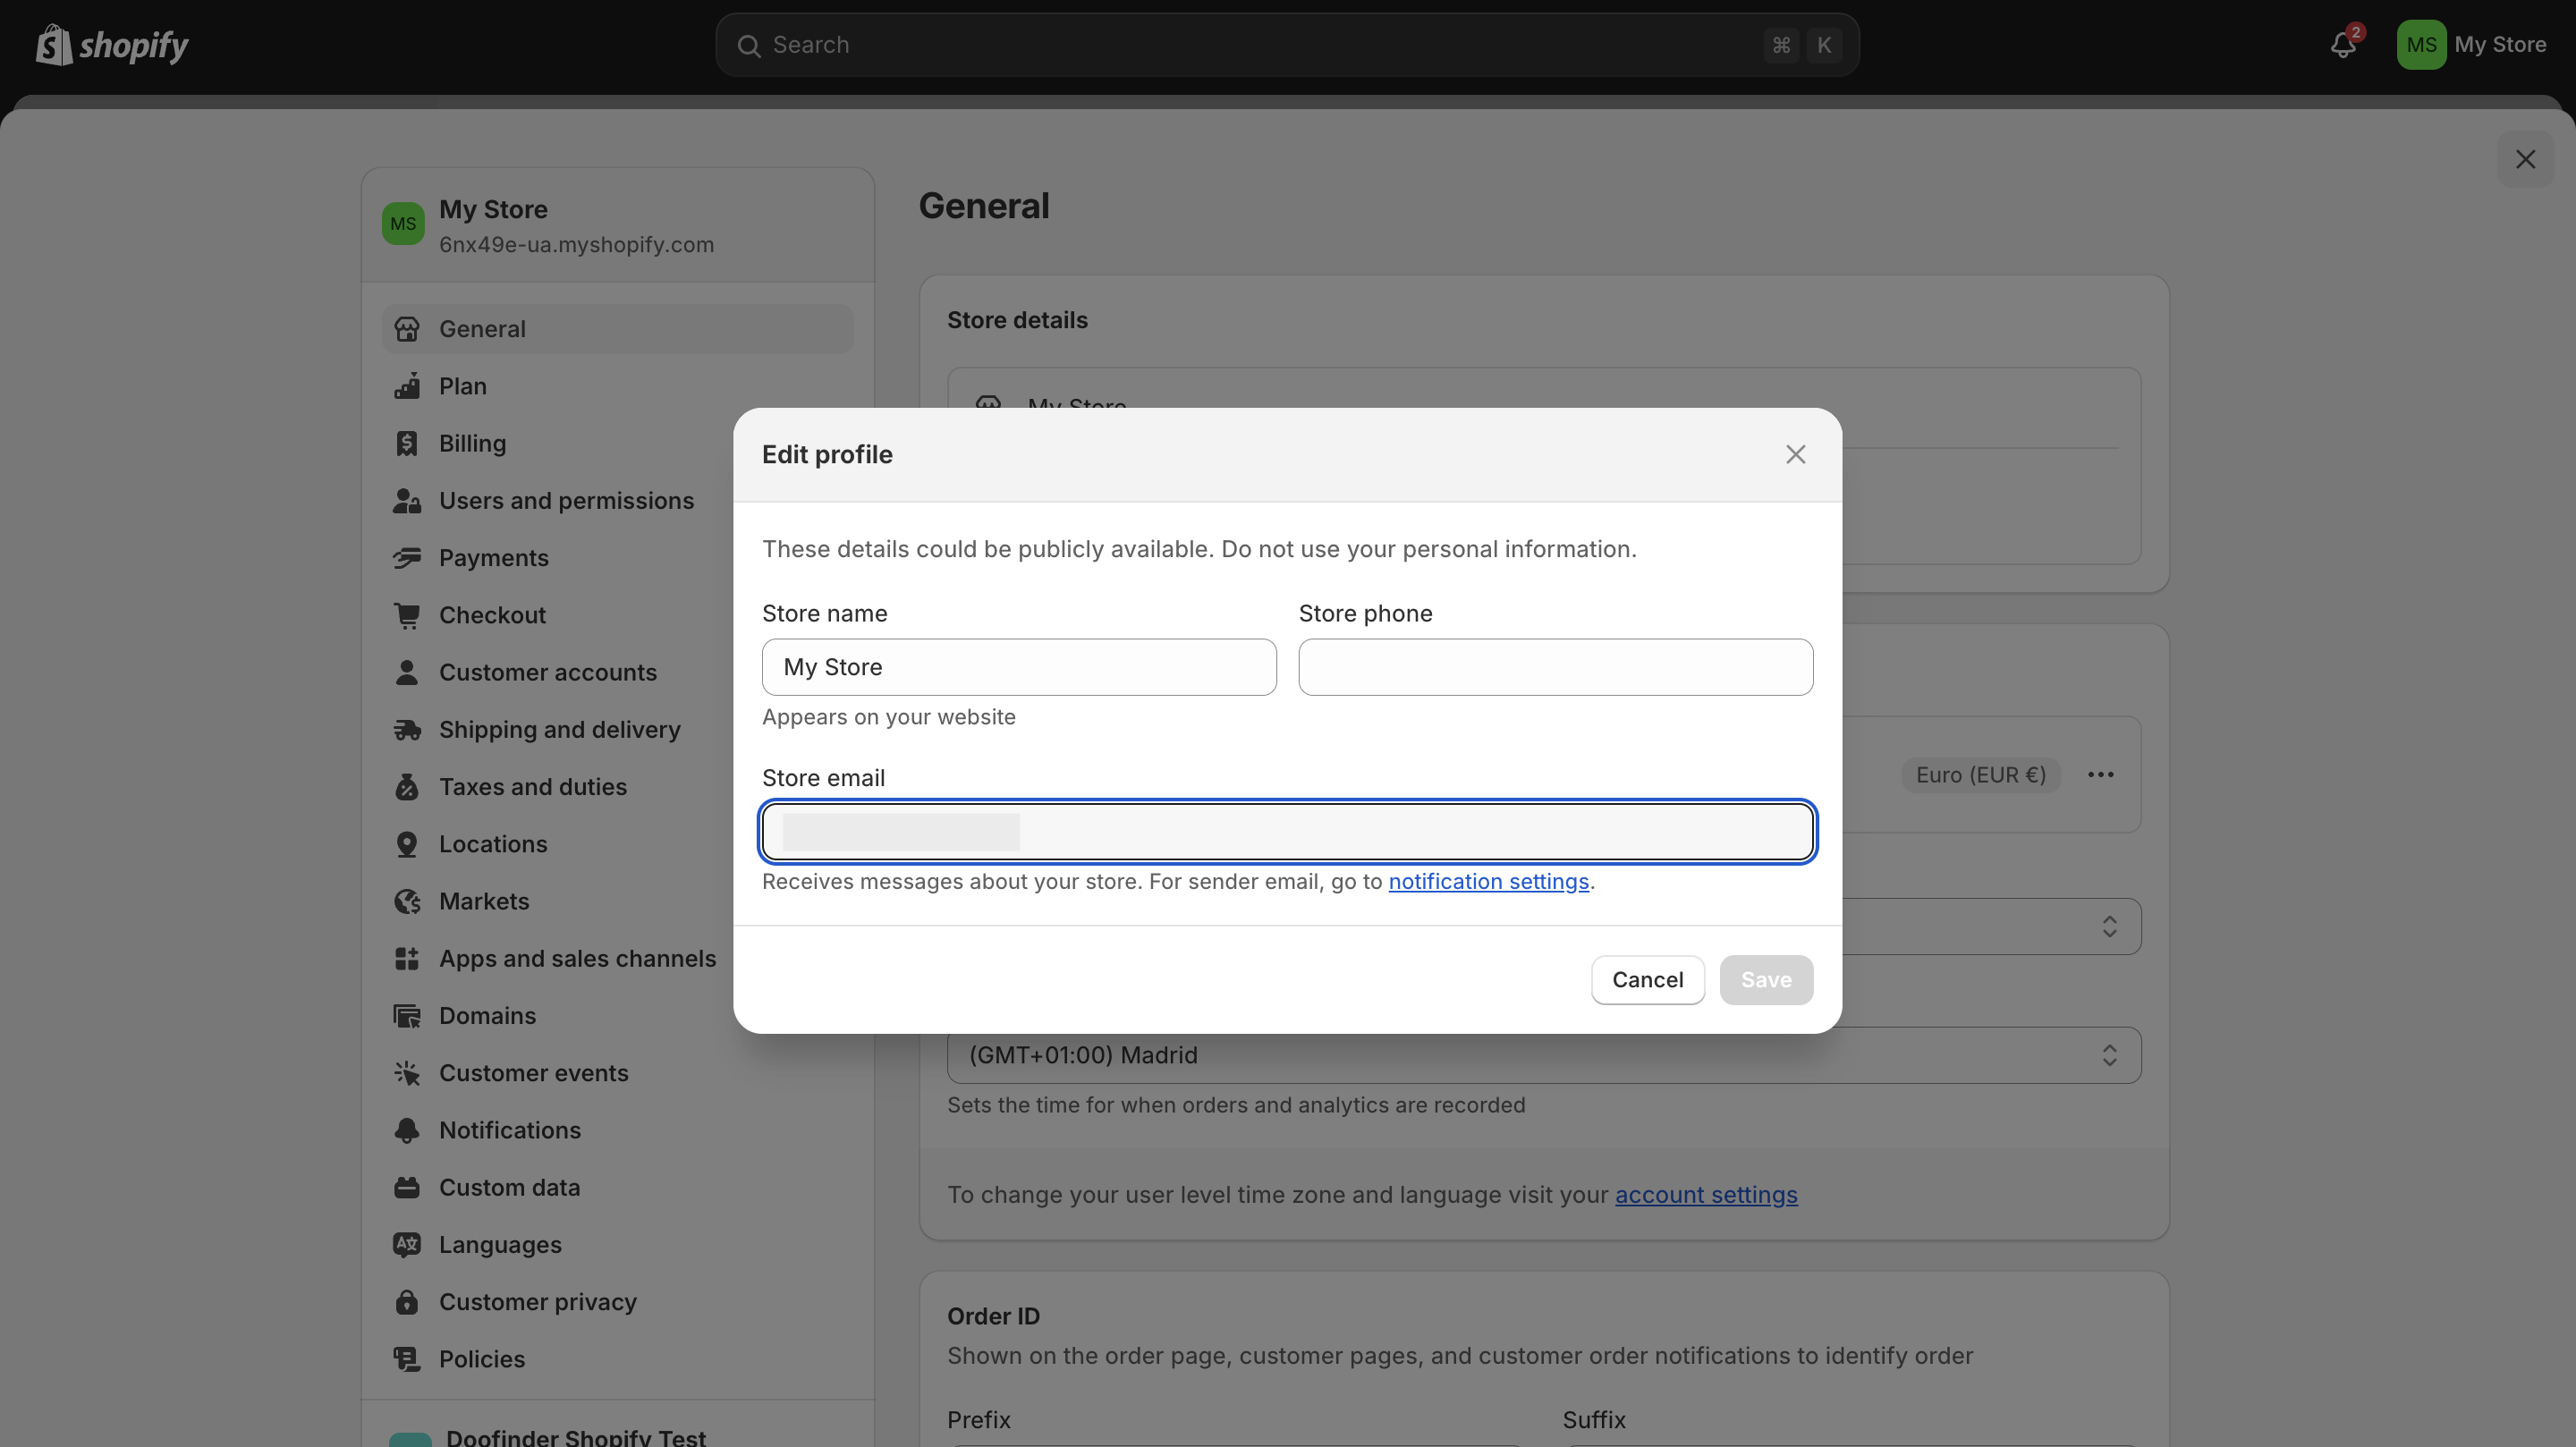
Make sure that the email associated to your Doofinder Admin Panel, matches the email configured for your Shopify store. To check this, on your Shopify backend, go to Apps > click on “App and sales channel settings”. On the General section, check if the Store Email matches the email on your Doofinder Store under the Account Section.
If you are trying to access through a staff account, note that your staff email should be associated to your Doofinder account, using the Team functionality.
Note that only the owner of the Doofinder account can add a team member to the account.
You should also make sure that the email used has been verified:

Account and Store Settings Panel
On the following sections, we will explore the fundamentals of the Admin Panel for a smooth start.
Account Panel
The Account section provides an overview of your plan, usage, billing, and invoices. Each section helps you manage a specific part of your Doofinder integration.
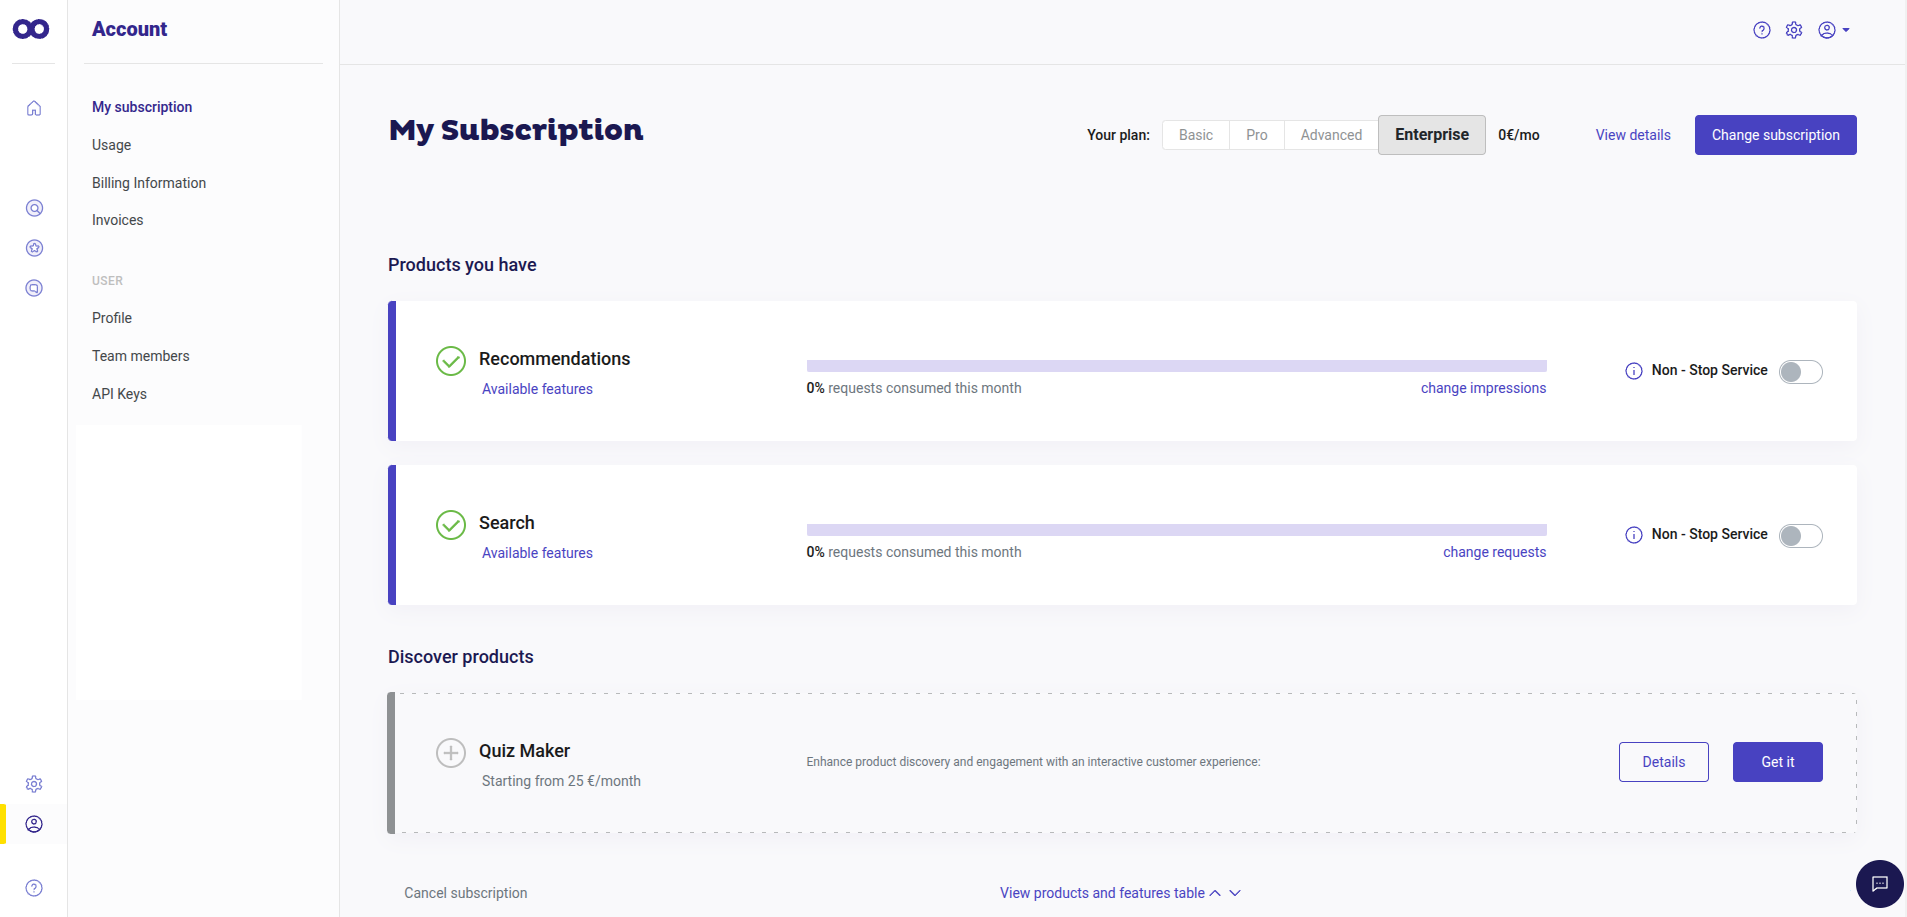
- My Subscription: View your current plan’s details, features, and limits, or explore upgrades.
- Usage: Monitor your app usage to manage resources effectively.
- Billing Information: Manage your payment methods and information.
- Invoices: Review payment history and invoices.
- Profile: Look at your profile information.
- API Keys: Create API Keys for enhanced management API requests.
-
Team Members: Ensure your team has the required access to Doofinder Admin Panel. The access to certain parts of the Admin Panel is role-based to ensure that each user is only taken to sections they have permission to access. For example:
- Owners and Administrators: Can view search analytics, so they are both sent to the "Search stats" page.
- Managers: Handle search engine configurations, so they have access to the pages needed to manage search engines.
- Billing: Responsible for account and subscription management, which is why they are taken to the "Account - My subscription" page.
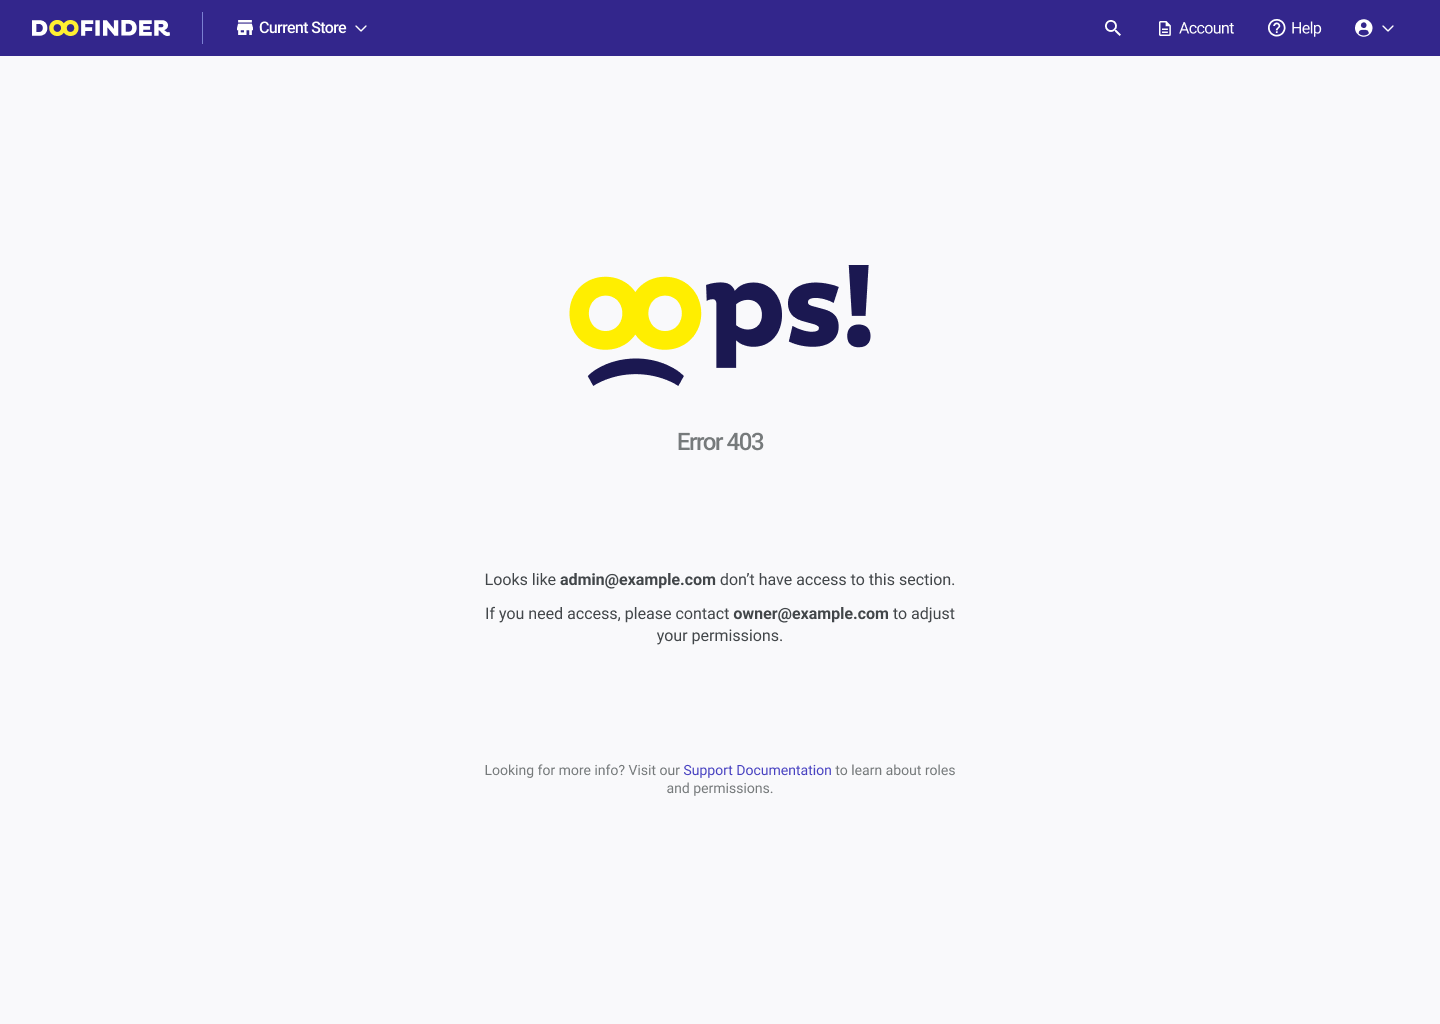
This system helps maintain security and streamline access by limiting each role to only the relevant parts of the Admin panel. If a user with insufficient permissions attempts to access a restricted section of the Admin Panel, they will be redirected to an error page.
This page will inform them that they do not have the necessary access rights and prompt them to review their account permissions.
Store Settings Panel
In this panel you can manage your store information, these are the different sections you will find to set up or modify:
- Store Information: Keep your store’s name and industry classification updated.
-
Platform Configuration: Find the following settings to manage your app:
- Doofinder Script: Activate or deactivate the Doofinder Script from this option.
- Update On Save: Keep your store’s product data synchronized in real time, ensuring updates are reflected instantly in your search results.
- Metafields: Improve search relevance by indexing product metafields. This allows for more precise and tailored search results. Once the indexation of metafields has been enabled, you have to reindex the products in Doofinder.
-
Image Settings: Select the size of the images to display on the layer.
Once the size has been changed, you have to reindex the products in Doofinder.
-
Languages: To associate a new language and/or currency to your Search Engine in your Store. Under this section you can also find Google Analytics Account/ Measurement ID, Measurement Protocol API Secret, and Doofinder’s Installation Script. Learn about each detail in Store Settings.
- Sales Data configuration: Track sales effortlessly by configuring your checkout summary pages and your payment confirmation page. Learn how to configure your sales data here.
Doofinder Products
To access all the Search, Recommendations and Quiz Maker functionalities available, just go to your Admin Panel and click on the product you're subscribed to in the left-side menu. Inspect all functionalities and learn about our products in our Support Documentation page.

Did you find this page helpful?