All texts appearing in the layer that come from the product data feed can be translated. By default, Doofinder provides translations into the following languages:
- German
- English
- Spanish
- French
- Italian
You may add another language or change a default translation in our 'Translations' section. Simply go to your Admin > Layers > Translations and click on 'Add language'. For the translation to work correctly, you must verify that the language code selected in the Admin matches the HTML language code of your site.
For example, if your HTML language is 'en', you must select only the two-letter code as language (for example: en) and not en-UK.
Enter the the language code needed. Languages are identified by 2-letter codes with an optional 2-letter country code (like en, en-US, es, es-ES…).
The language code selected for translation must match the source HTML language code. If the html of your website is in lang="en", then you must select "en" for the translation.
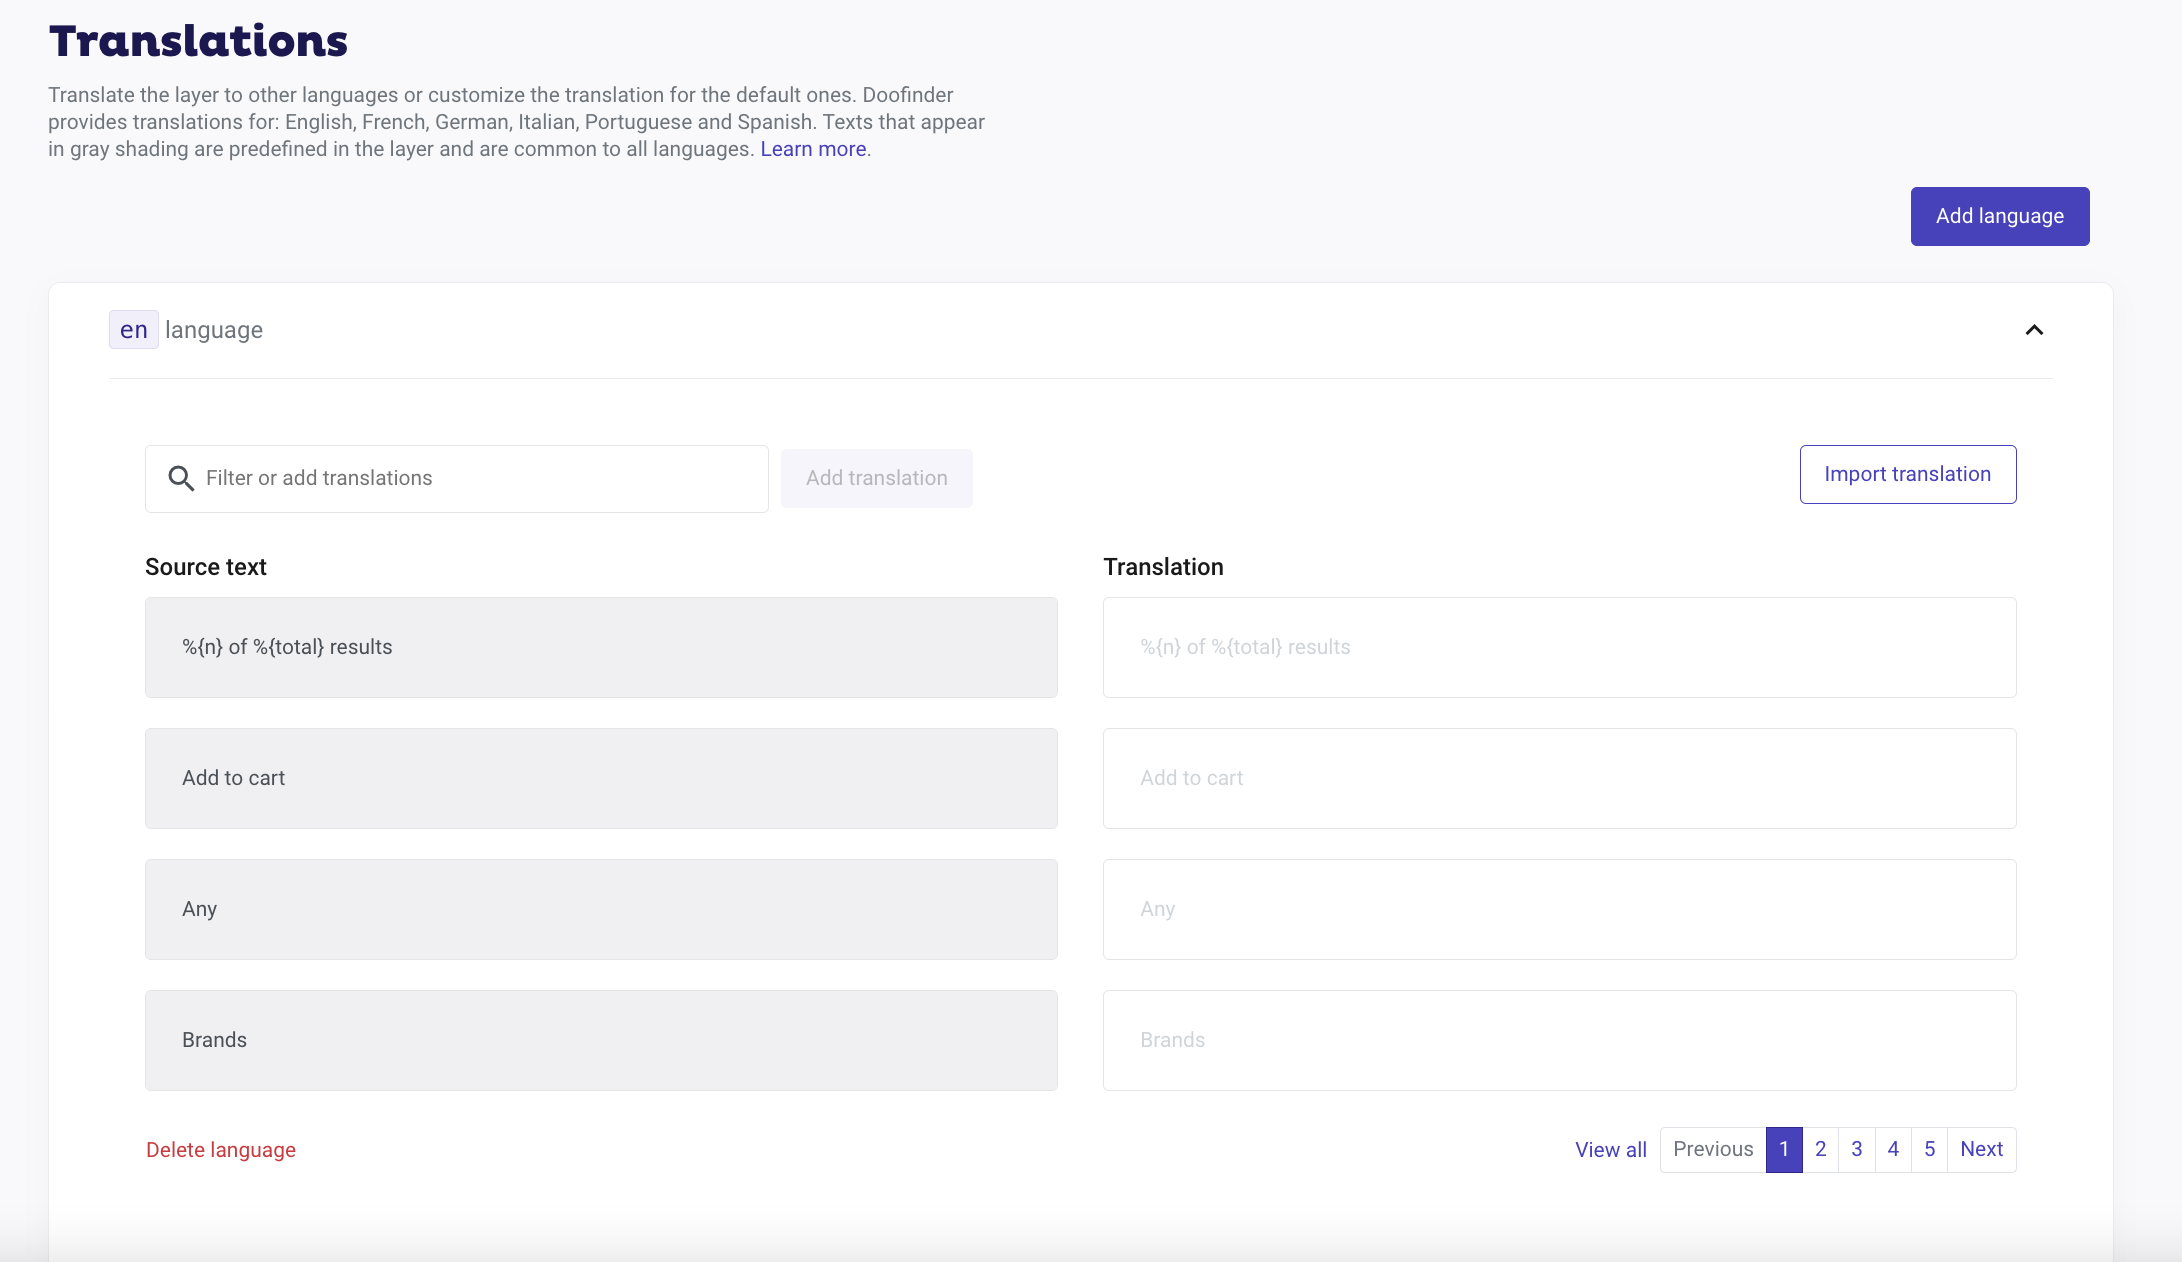
Click on the ^ icon to expand the box and add your translated texts in the fields. You can click on "view all" to see all available fields, and also delete a translation by clicking on "delete language".
The texts of the translations are CASE SENSITIVE, therefore, the values shown in the layer must be written as they appear, respecting upper and lower case letters.
You can click on "view all" to see all available fields, and also delete a translation by clicking on "delete language".
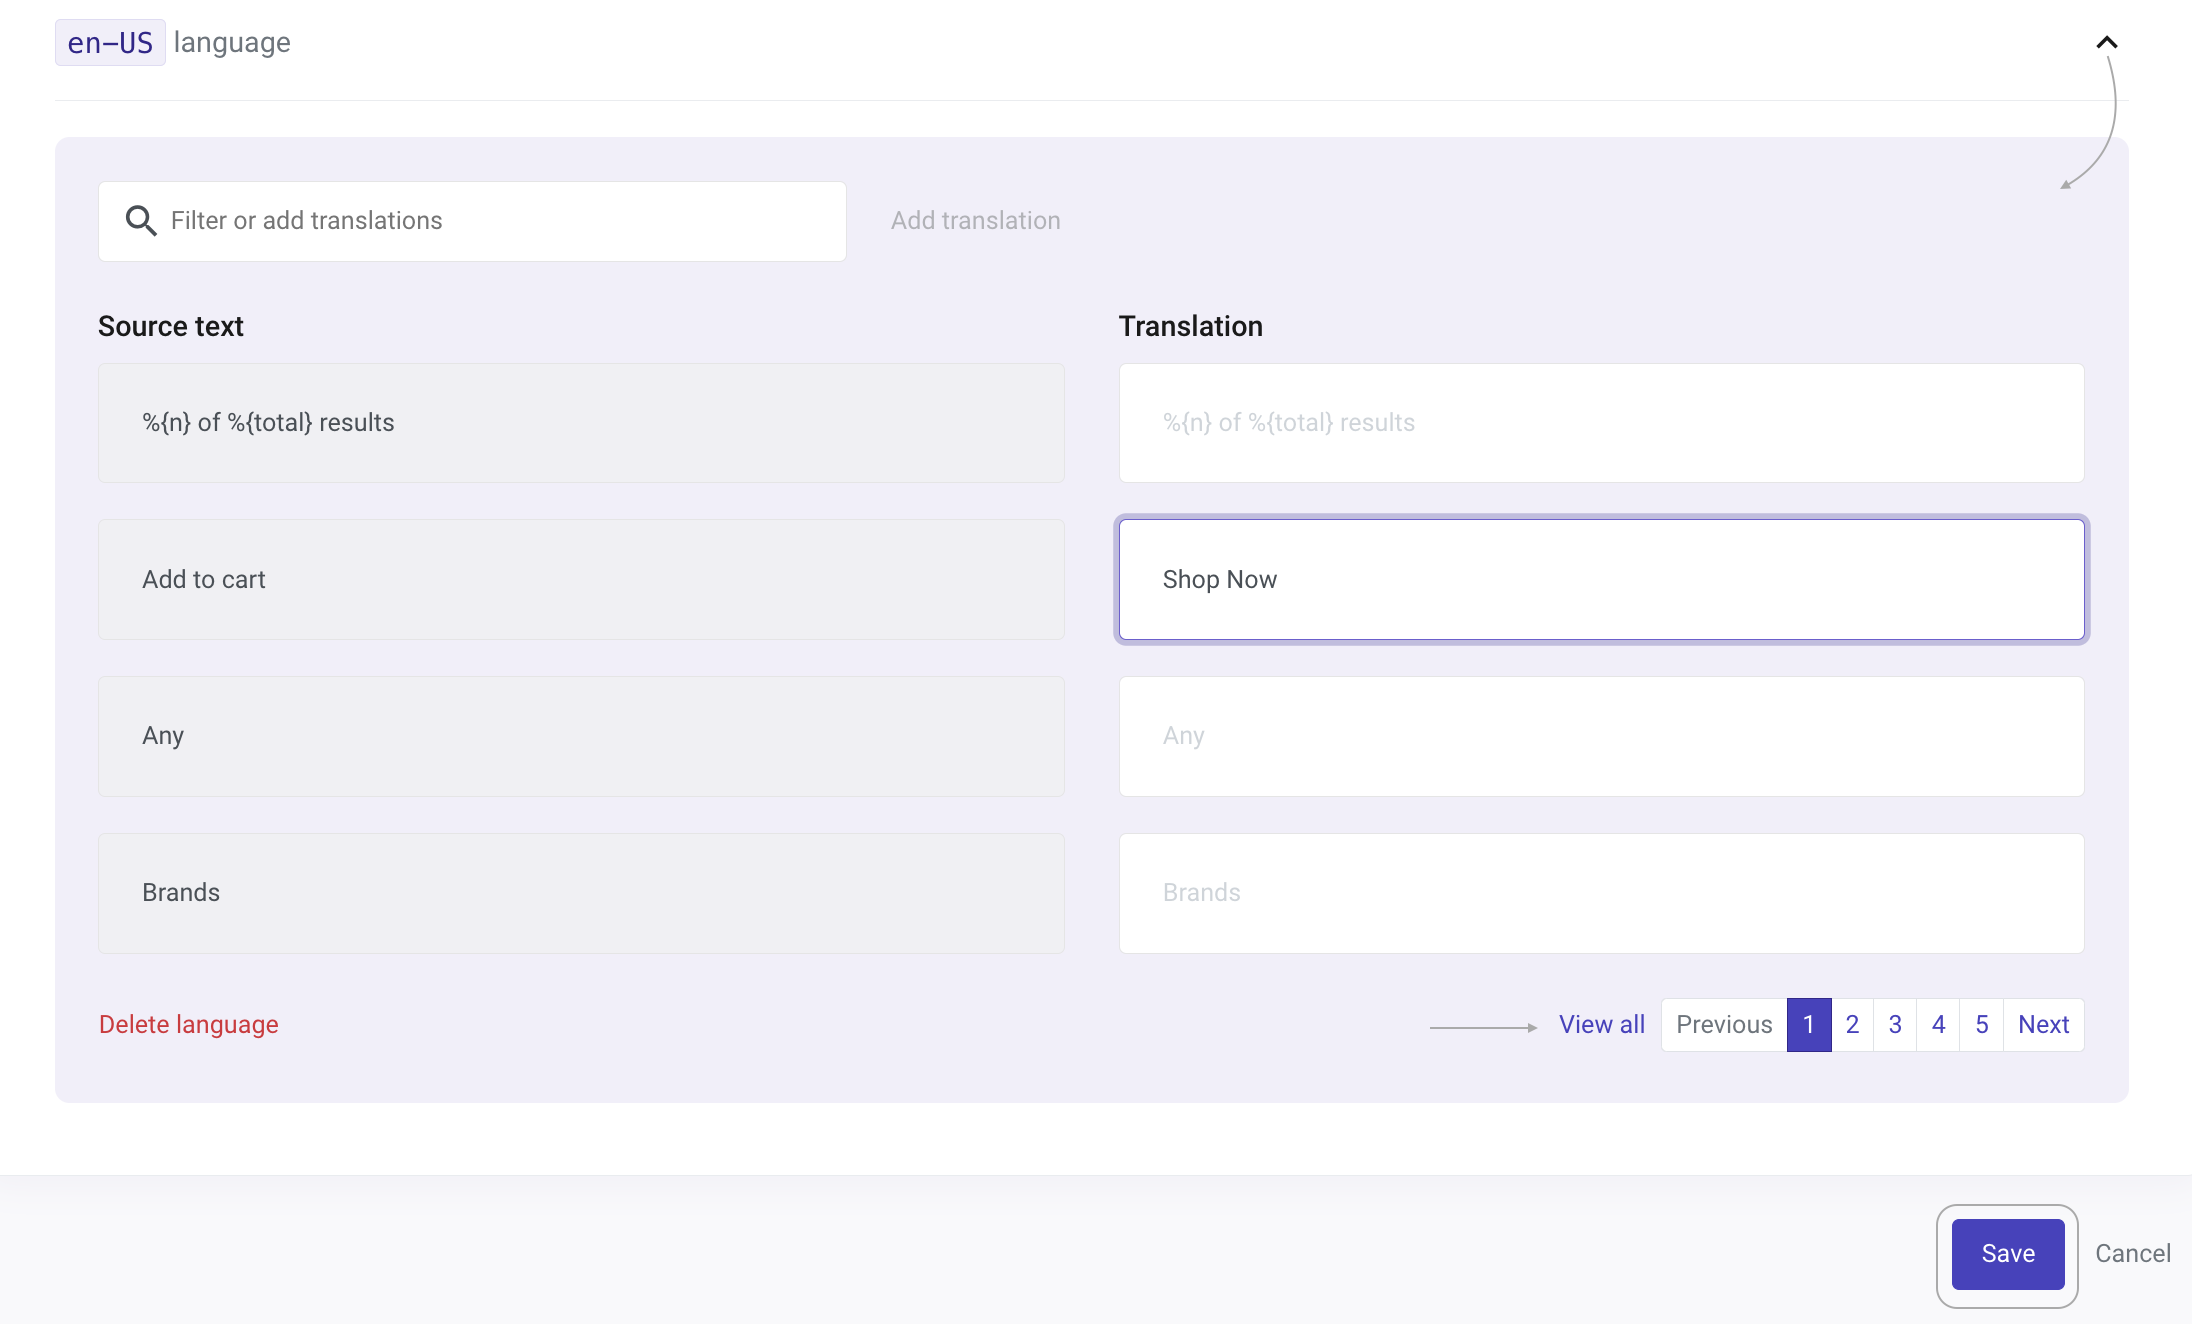
Once finished, click on 'Save'.
Translate Layer Fields with CSV Upload
Doofinder offers a convenient feature that allows you to translate all layer fields at once using a CSV file. Whether you're managing multiple translations or updating existing ones, this method streamlines the process and ensures accuracy. Here's how you can make the most of it.
To ensure smooth and error-free translation processes, it's essential to adhere to specific formatting guidelines. Here's a breakdown of the key considerations to keep in mind:
Template Format
The template should consist of two columns:
- Column 1: This column should contain the predefined texts in English.
- Column 2: Here, you'll input the translated texts in the target language.
No Headers: It's important to note that the CSV file should not contain any headers. The first record is already a text to be translated
Accepted Formats
Doofinder accepts CSV files delimited by either commas (,) or semicolons (;). Ensure that your file is saved in one of these formats to prevent any compatibility issues.
Handling Field Inclusion
Field Exclusion: If a field is not included in the CSV file, its translation will not be updated. Be thorough when compiling your translation files to include all relevant fields for translation.
Empty Fields: In cases where an included field has no corresponding translation (marked as "empty"), when uploaded, Doofinder will update the translation for these fields to reflect the "empty" status. It is important to fill in all fields, unless you want to hide some value.
Error Handling
In the event of any errors during the upload process, no records from the file will be updated. This ensures that incorrect translations or data discrepancies are avoided.
How to Upload a CSV File to Translate Layer Fields
Any translation that needs to be done outside the 5 main languages (German, English, Spanish, French, Italian) can be uploaded with a CSV massively importing all the translations at once.
Go to your Admin > Layers > Translations and click on 'Add language'. Ensure that the language code selected matches the HTML language code of your website, as explained previously.
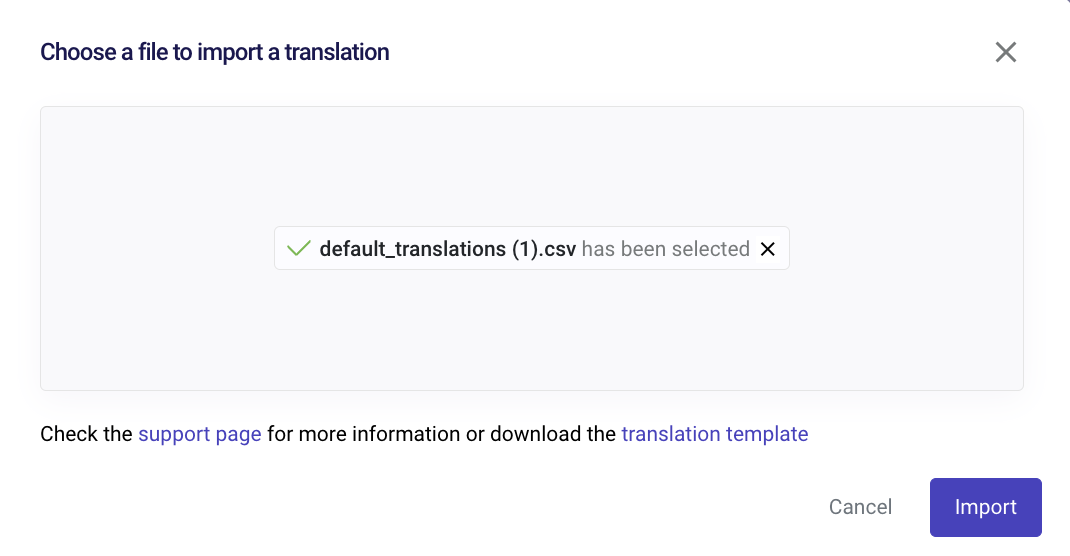
Then, click on "Import translation" in the top right corner.
Now, select or drag and drop your .CSV file containing the translations. Once done, click import to initiate the upload process.
If you require an empty template to input your translations, you can click on download translation template in the pop-up box.
Once the file is successfully uploaded, click on save. Leveraging CSV files with the correct formatting can significantly enhance your workflow efficiency and user experience.
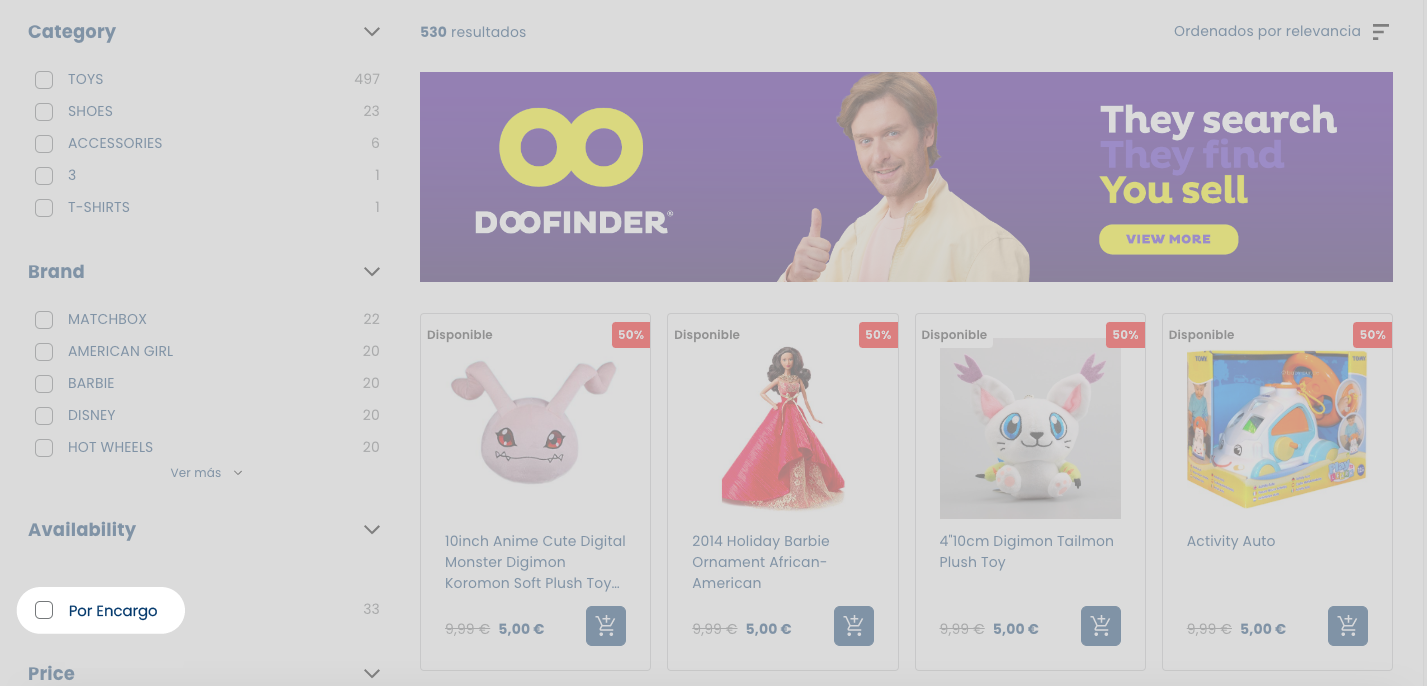
Filters Translation
All layer texts, which come from the feed, can be translated. This also includes 'Filters' text, but if you want to translate a 'Filter name', take a look at the tip below.
The 'Filters' functionality is used to filter results based on the fields of your data feed. To change the name of the filter, you need to type a custom name for it. This is done in Filters configuration. To learn how to do this, click here
Learn By Example
For example, if you have configured the "Availability" filter label, and you want to translate the text "out of stock":
Availability:
- out of stock
As the word Availability is a filter label, you will have to change that word by going to the filters option. But, for "out of stock", you can translate it directly by adding it in the translation layer.
-
Verify that your HTML language matches the language of your search engine and the language you add in the translation. (e.g.: es-MX).
-
Add the text to translate 'out of stock' as it appears on your layer, respecting upper and lower case and save.
This will be the result: