Banners allow you to promote certain products or marketing campaigns in search results. You can set them to be triggered at specific time periods, selectively by search terms, and there is also an option to display a default banner for all search results.
To configure Banners, you need to access your Doofinder Admin Panel, go to Search Engines > Business Rules > Banners.
Add a new Banner
You can add new banners by clicking the Add Banner button.
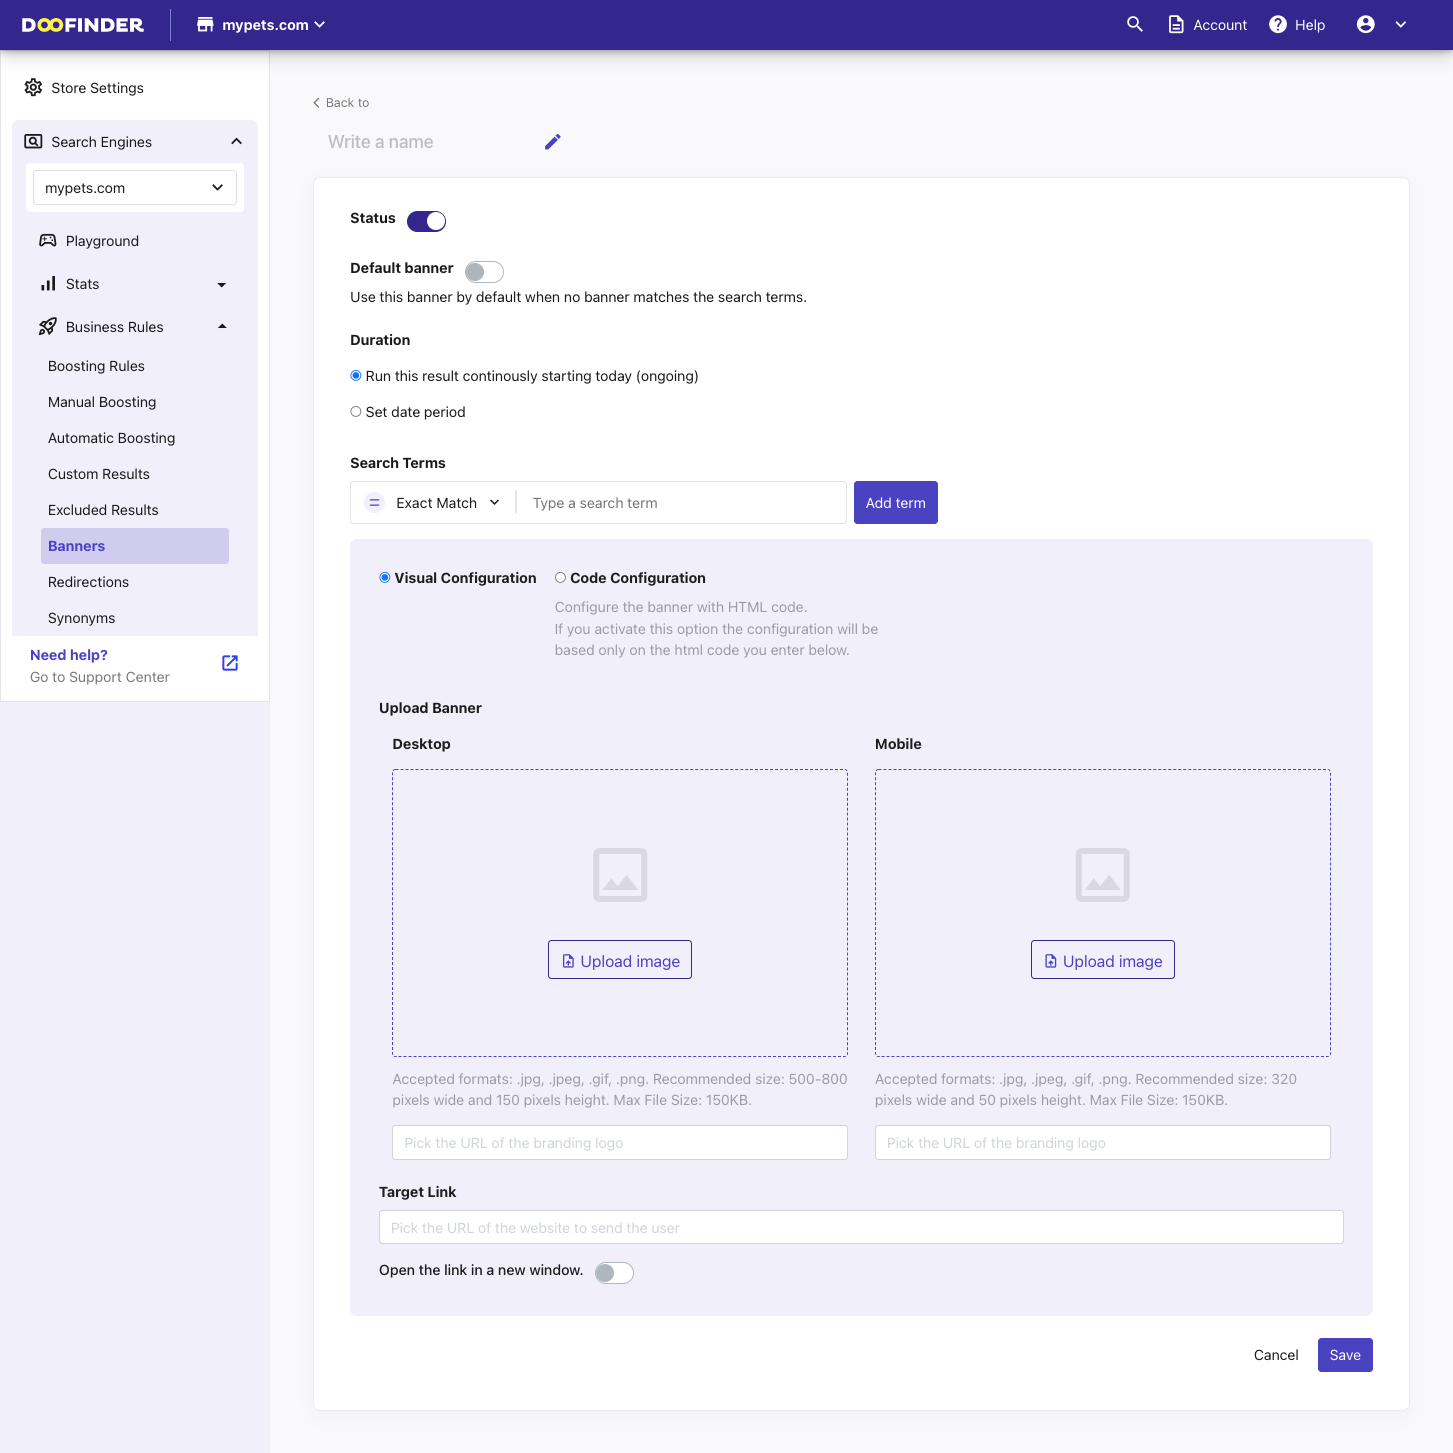
- Name: Write a name to identify this Banner. It will be useful to identify the banner if you have more than one created.
- Status: This checkbox is to enable/disable the banner without deleting it.
- Default Banner: Set this banner as the default one for all non-specified search terms.
Only one banner can be set as default. Whenever you set some banner as default, the previous one (if exists) will be unset.
- Duration: Set the date range when this banner will be shown to users (optional). Simply click on the option and select a date range.
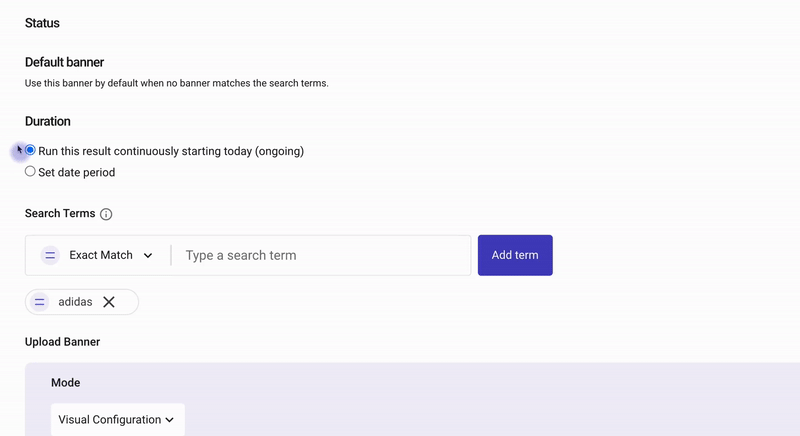
Search Terms
This will allow you to type and add multiple terms that will trigger this banner. This means that whenever a user types one of these terms, this banner will show up at the top of the results Layer.
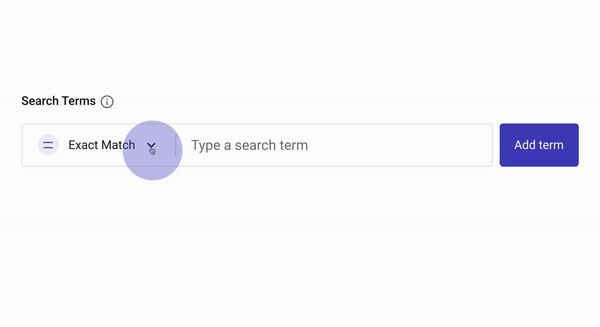
Terms can be set in two ways:
- Exact Match: This Banner will be shown if the user types EXACTLY this search term.
- Broad Match: This Banner will be shown if the text typed by the user CONTAINS this search term.
Example of Exact Match search terms added:
Upload Banner
You can easily add a banner for desktop and mobile screens.
Visual configuration
To upload your Banner, you can click the Upload image button or type the URL of the banner.

-
Target link: This is the URL that will be opened in the browser when the user clicks the Banner.
-
Open in new window: This checkbox will add a link attribute to open the target URL in a new window, so users can keep the current search page.
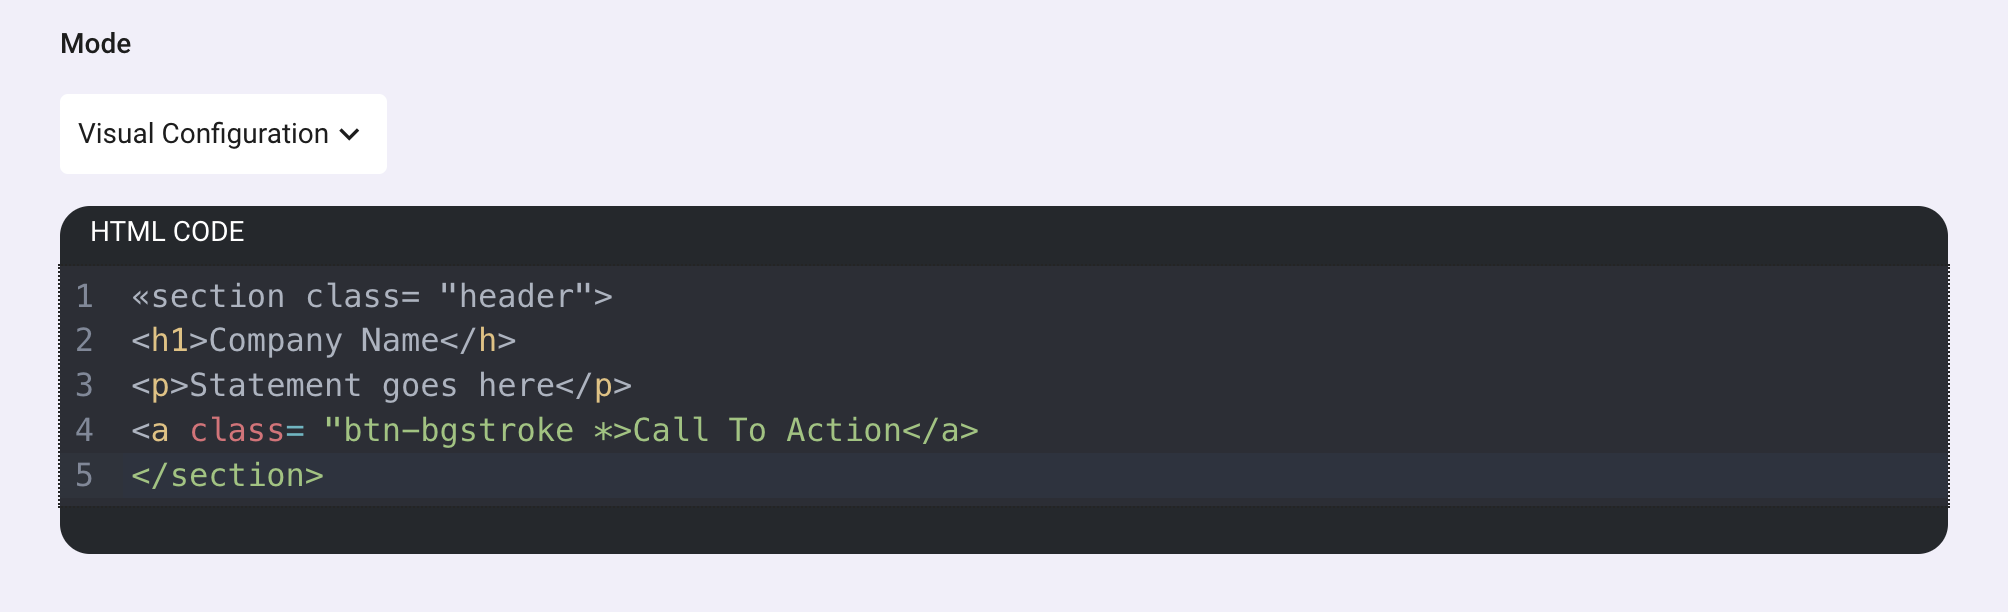
Code configuration
Using HTML code, you can create or customize your Banner by entering your code in the box below. The use of HTML code will override the manual fields.
Please note that HTML knowledge is required to use this option.
Edit a Banner
You can update any previously created banner by clicking on its name in the banner list, or by clicking on the three dots. In both cases, you will be redirected to the banner page to edit the necessary fields.
From the three dots, you can even duplicate a banner or delete it.
Delete a Banner
You can delete a banner by checking the banner box next to the name, and a red delete button will appear for you to click on.
Banner image size
There's no standard size for banners in Doofinder as the Layer size is variable. The accepted formats are: .jpg, .jpeg, .gif, .png.
-
Desktop: recommended size is 150 pixels in height and 500-800 pixels wide.
-
Mobile: recommended size is 640 pixels wide and 100 pixels in height.
This is not mandatory, it's only a recommendation. You can do the banners as they best fit your Layer.
Remember, if you upload the image to our servers, the max file size is 150 Kb.
Always save your changes by clicking the Save button before leaving the page.
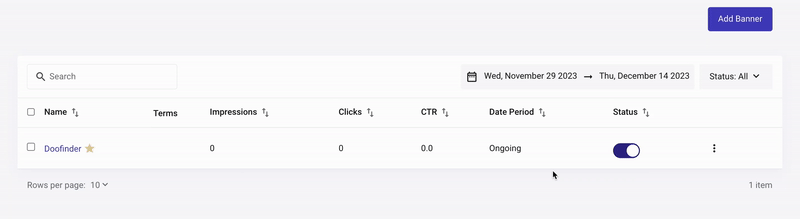
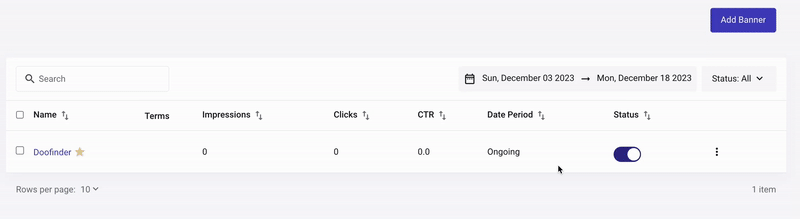
The Banners list
At the Banners section, you will see the list of banners if you have already created one or more. Created banners are listed in a table with the following columns:
- Name: A custom name to identify each banner.
- Terms: The terms that trigger the banner.
- Impressions: How many times it has been shown to users.
- Clicks: How many times the banner has been clicked.
- CTR: the number of clicks that your banner receives divided by the number of times your banner is shown.
- Date period: It will be displayed if there is an active date range or if the banner is ongoing.
- Status: The status of a banner can be:
- Enabled: The banner is currently shown if someone types one of the search terms.
- Disabled: The banner is disabled and won't be shown. To enable/disable the banner simply click the box.
- Default: If some banner has this mark ⭐, it will be shown for all non-specified terms.
Check this example
Now go on and create some banners to promote your upcoming events or best-selling products!