The ability to filter search results is crucial for eCommerce sites because it helps users locate products more efficiently, leading to an improved user experience and potentially increasing sales by assisting customers in finding what they are looking for quickly and easily.
The Filters functionality is used to narrow down search results based on the fields of your data feed. These filters can include attributes like price, product category, brand, size, color, and various other product-specific characteristics.
Filter types
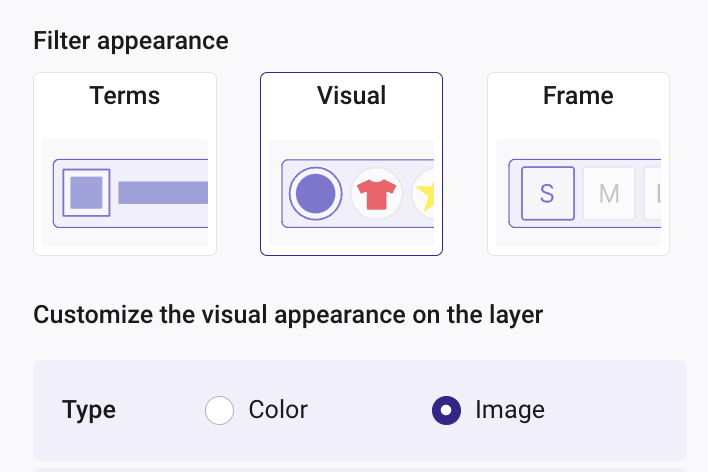
There are several types of filters:
- Visual filter: Displays colors or images in a grid or list format.
- Frame filter: Displays info in labels, such as size, gender, etc.
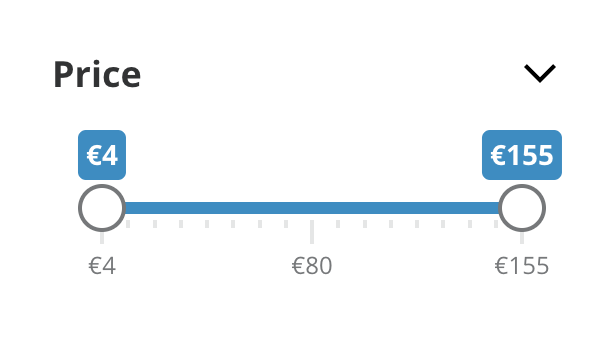
- Range filter: Displays as numeric range sliders. Represented by a small range selector. Note that only numeric fields will be displayed as range sliders.
- Terms filter: Displays info as a list of terms/categories.
Not all fields are good for filtering. For example, a field that stores product references is not good because it's very difficult to find a set of items sharing the same reference, and you would get a long list of filter references. However, brands, colors, sizes and genres are good options to filter.
Once configured, they will appear in your Doofinder Layer automatically, so it would be best if you had your data feed indexed before configuring your filters.
How to configure Filters
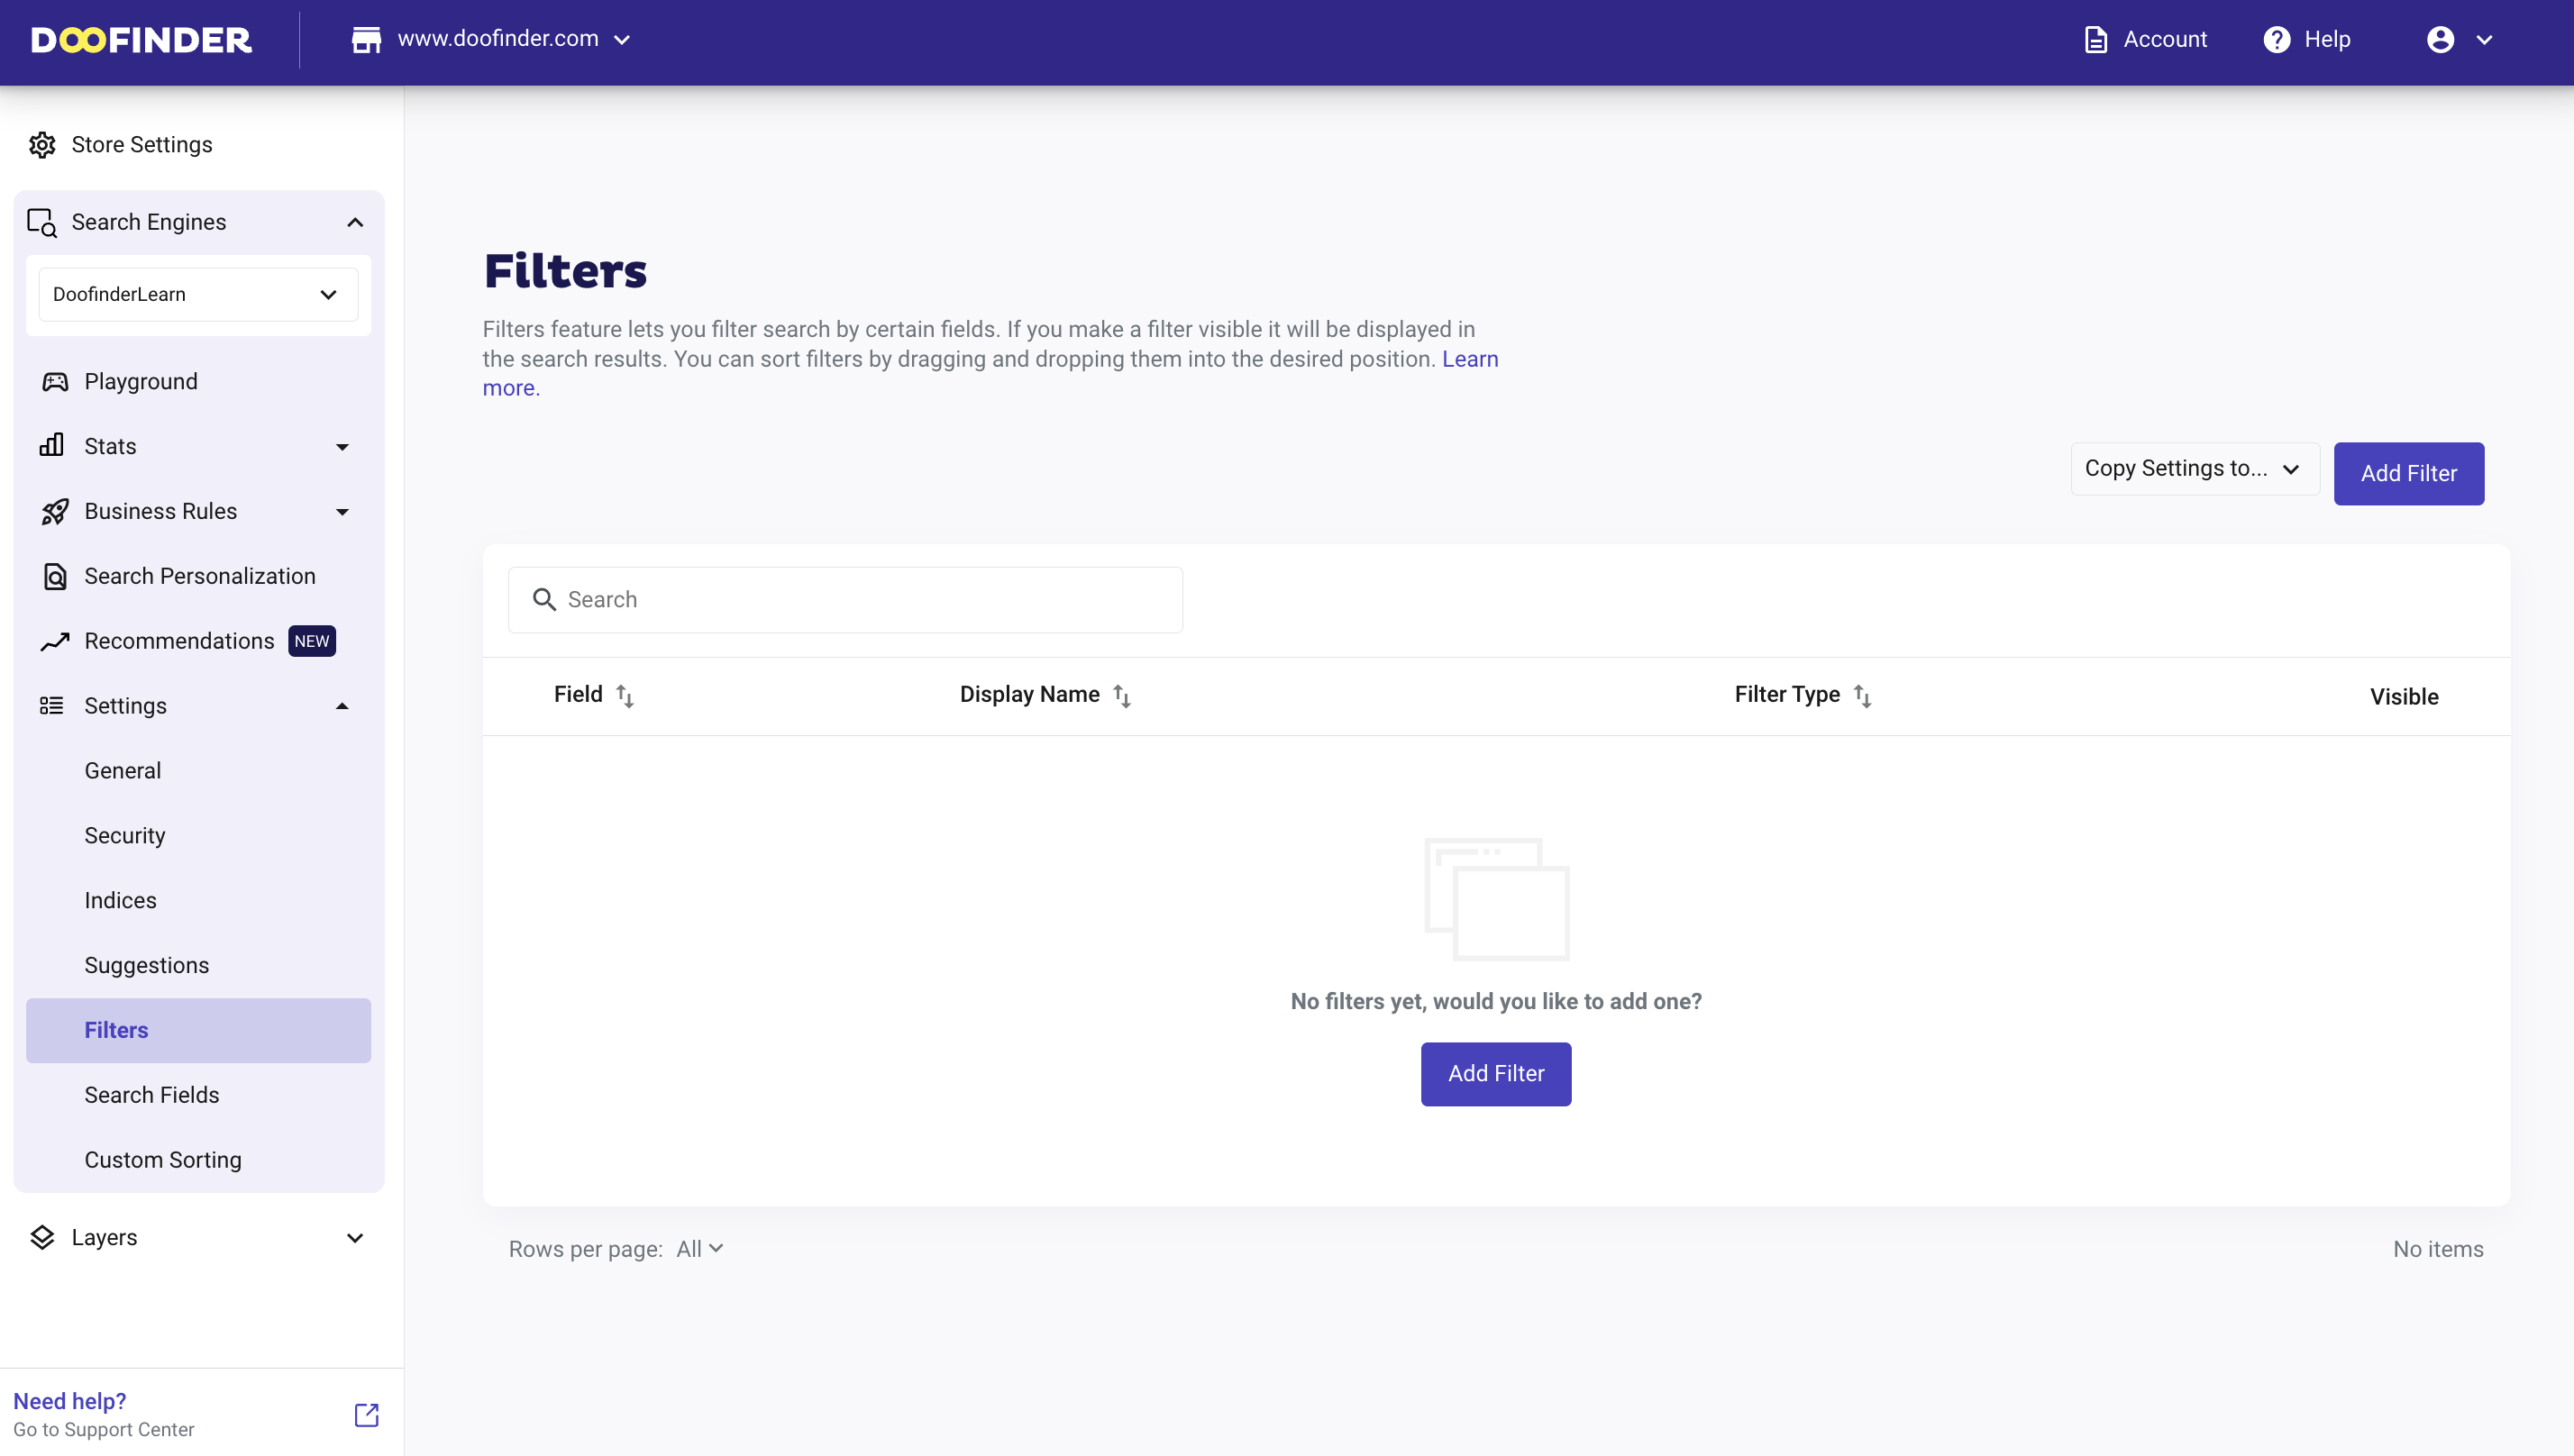
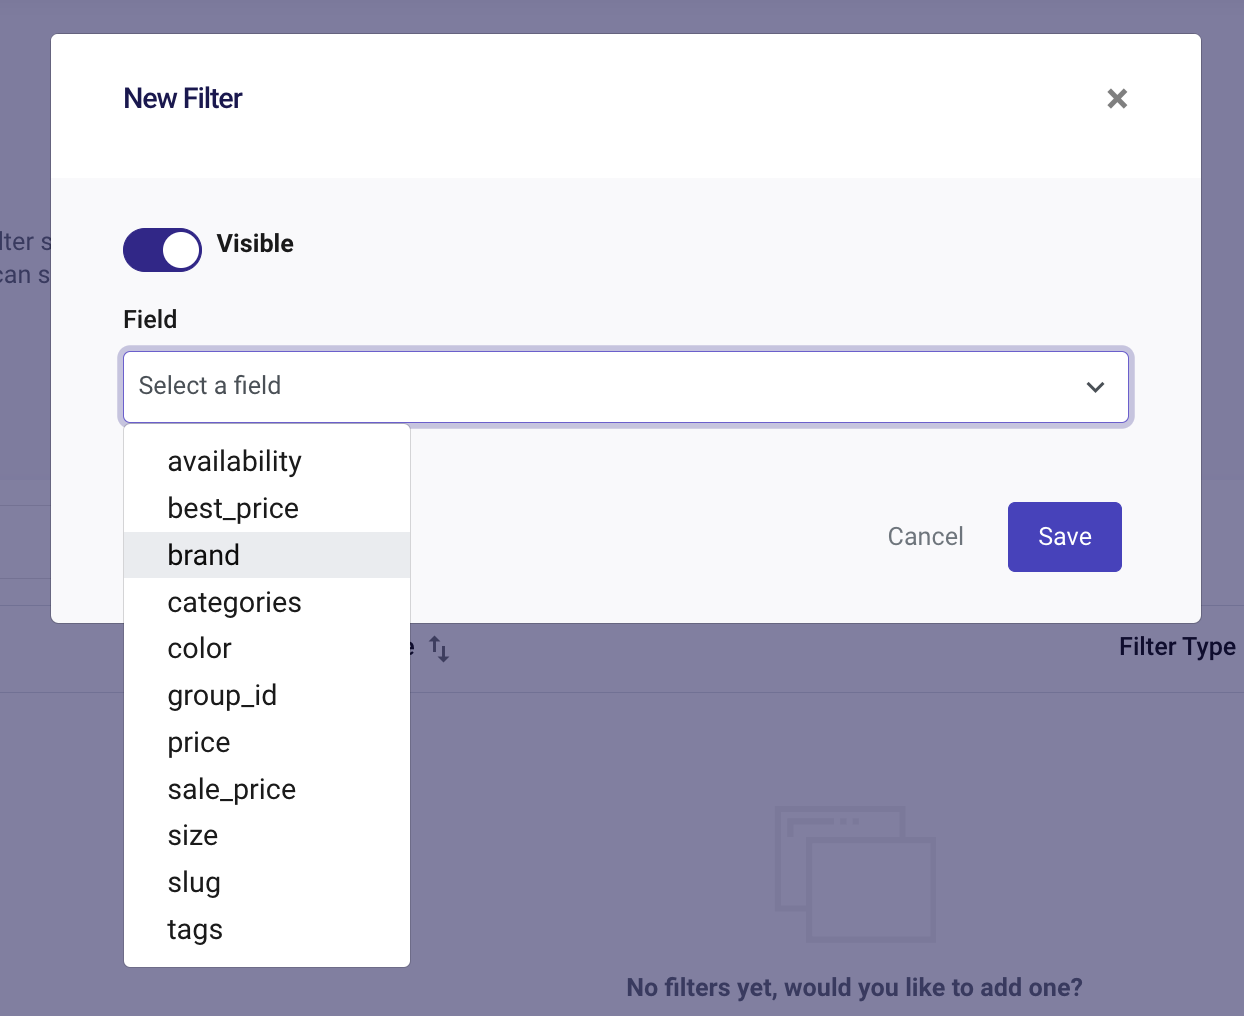
In your Admin Panel go to Search Engine > Settings > Filters. To add a new filter, click on the Add Filter button and a pop-up box will appear.
Click on the dropdown menu and select the field you want to apply as a filter. You will find the available fields that Doofinder obtained from your data feed. For example: categories, brand and best_price. For the purposes of this exercise, we will choose "brand".
You can only add up to ten fields in the Filters. This will help maintain the speed of the search function.
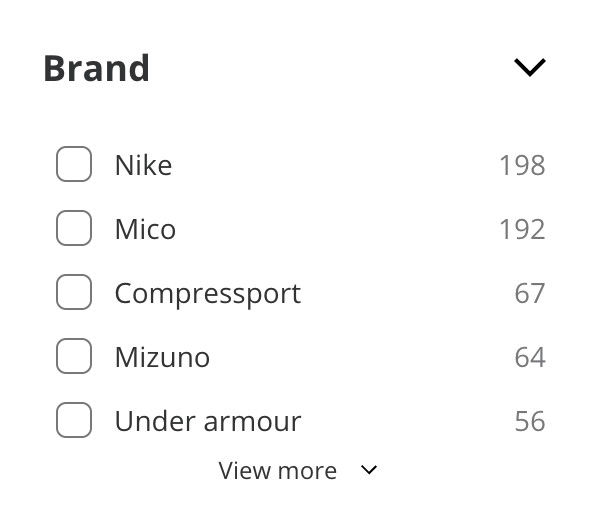
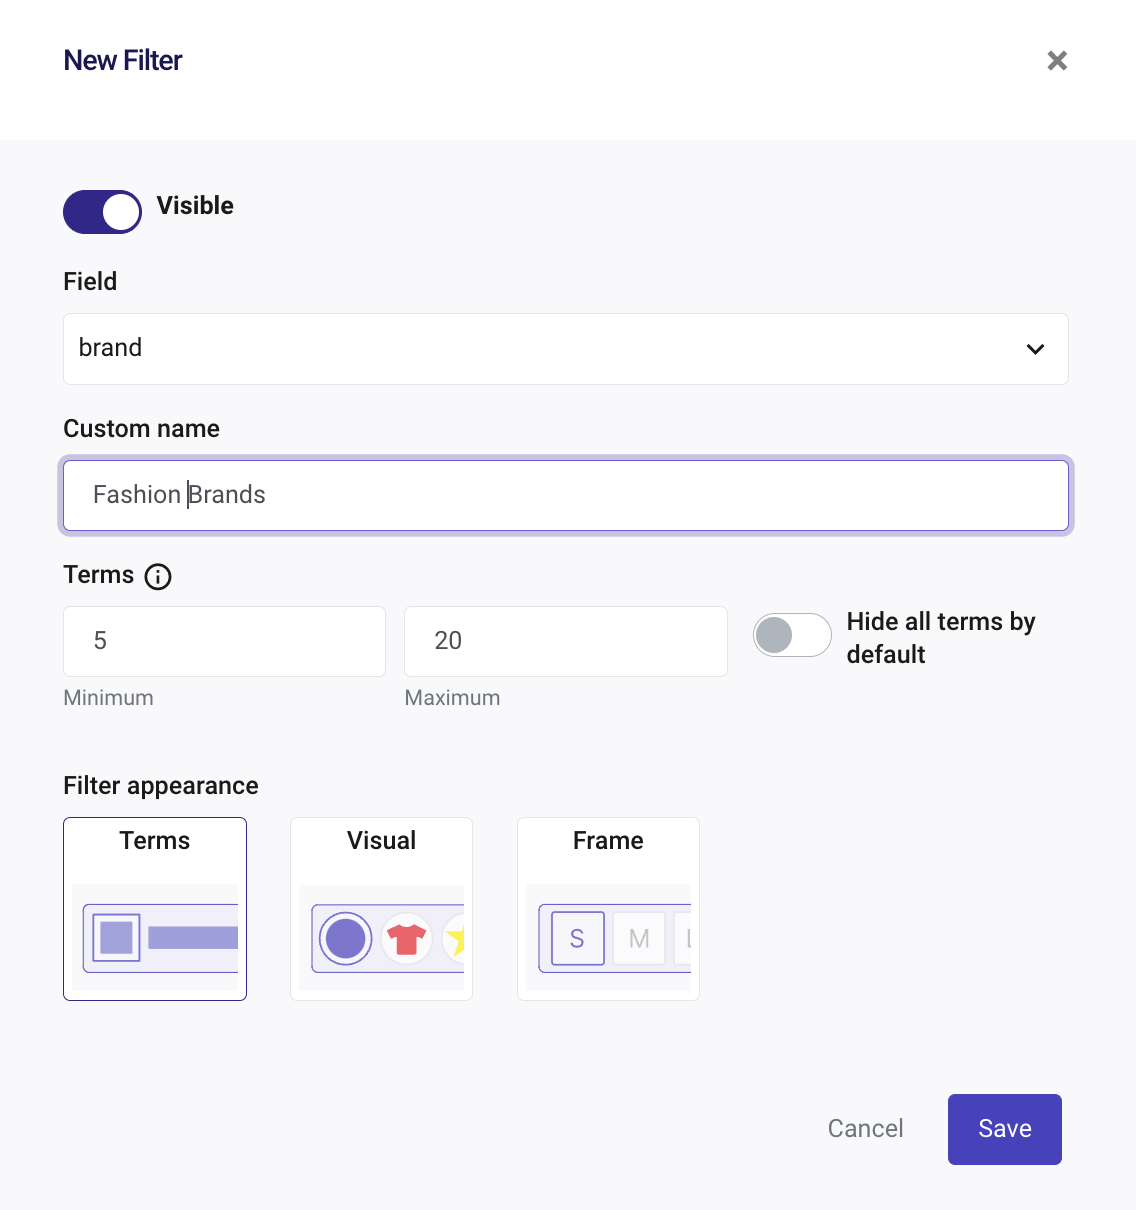
Now, write a Custom name for your filter, such us: "Brand" (this is the name that will be displayed on your Layer, so you can write what you want to be visible to your customers). To show the filter in the Doofinder layer, enable the "visible" checkbox at the top.
In addition, you can arrange the number of Terms you want to display to customize the appearance of the filters by changing the default numbers.
- Minimum: Number of terms that will be shown initially.
- Maximum: Number of terms that will be shown when click on see more.
- Hide all terms by default: To show the terms of the filter hidden by default.
Once you are done, hit the Save button. This is what your screen will look like when you have created your filters:
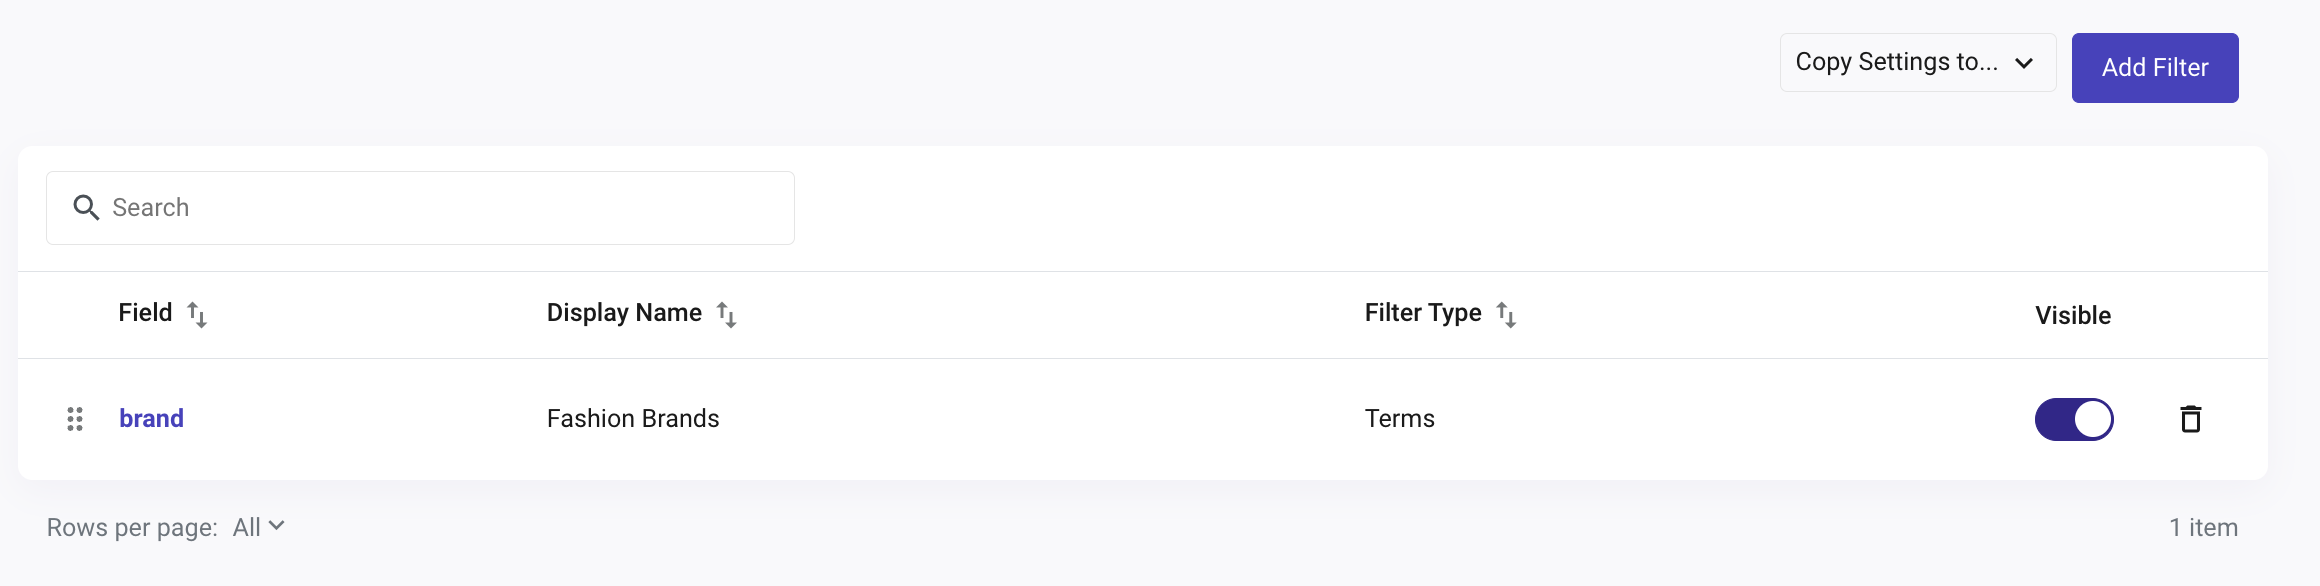
To remove a filter, simply click on the trash icon located on the right-hand side.
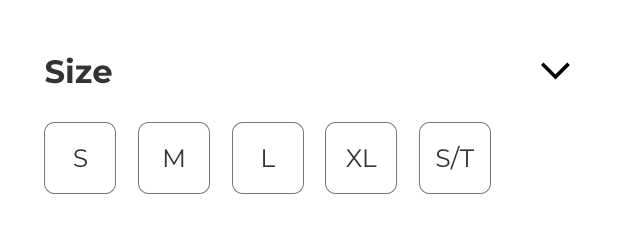
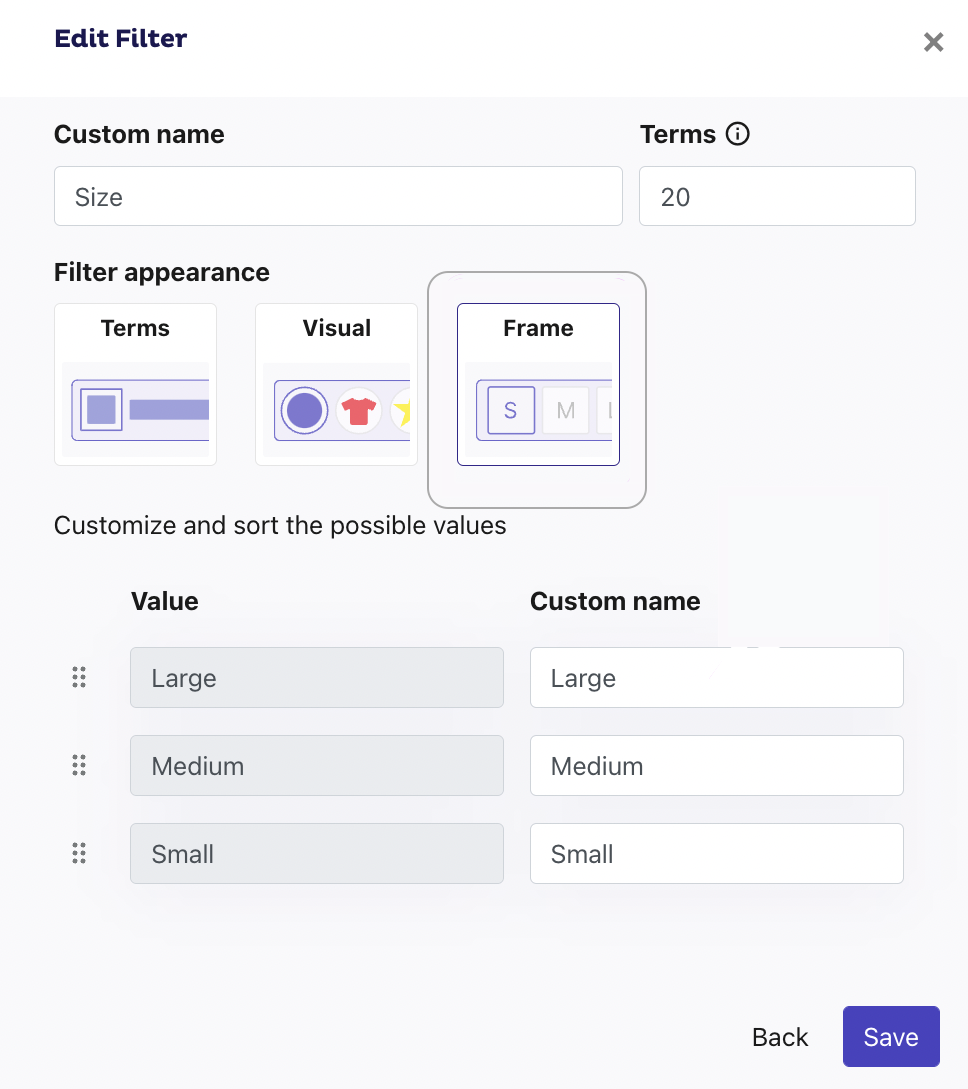
Create a Frame Filter
The appearance of this filter is oriented to be used with size fields, but it also applies to many other fields, such as ram memory, screen inches, storage, watts, wheel diameter and much more.
It is very easy to configure. When creating or editing a filter, you can customize its appearance by choosing the Frame option. In addition, you will be able to sort the values and give a custom name to each of them.
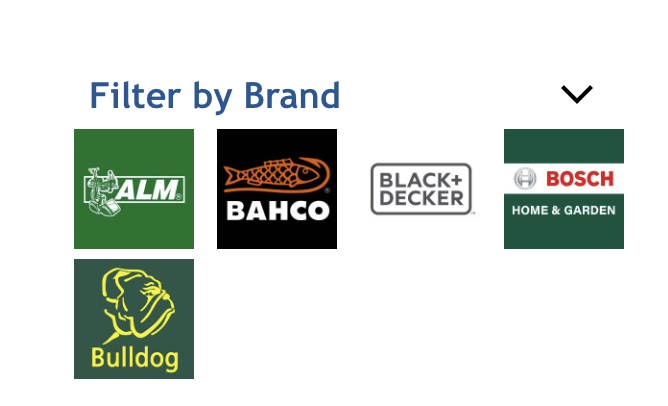
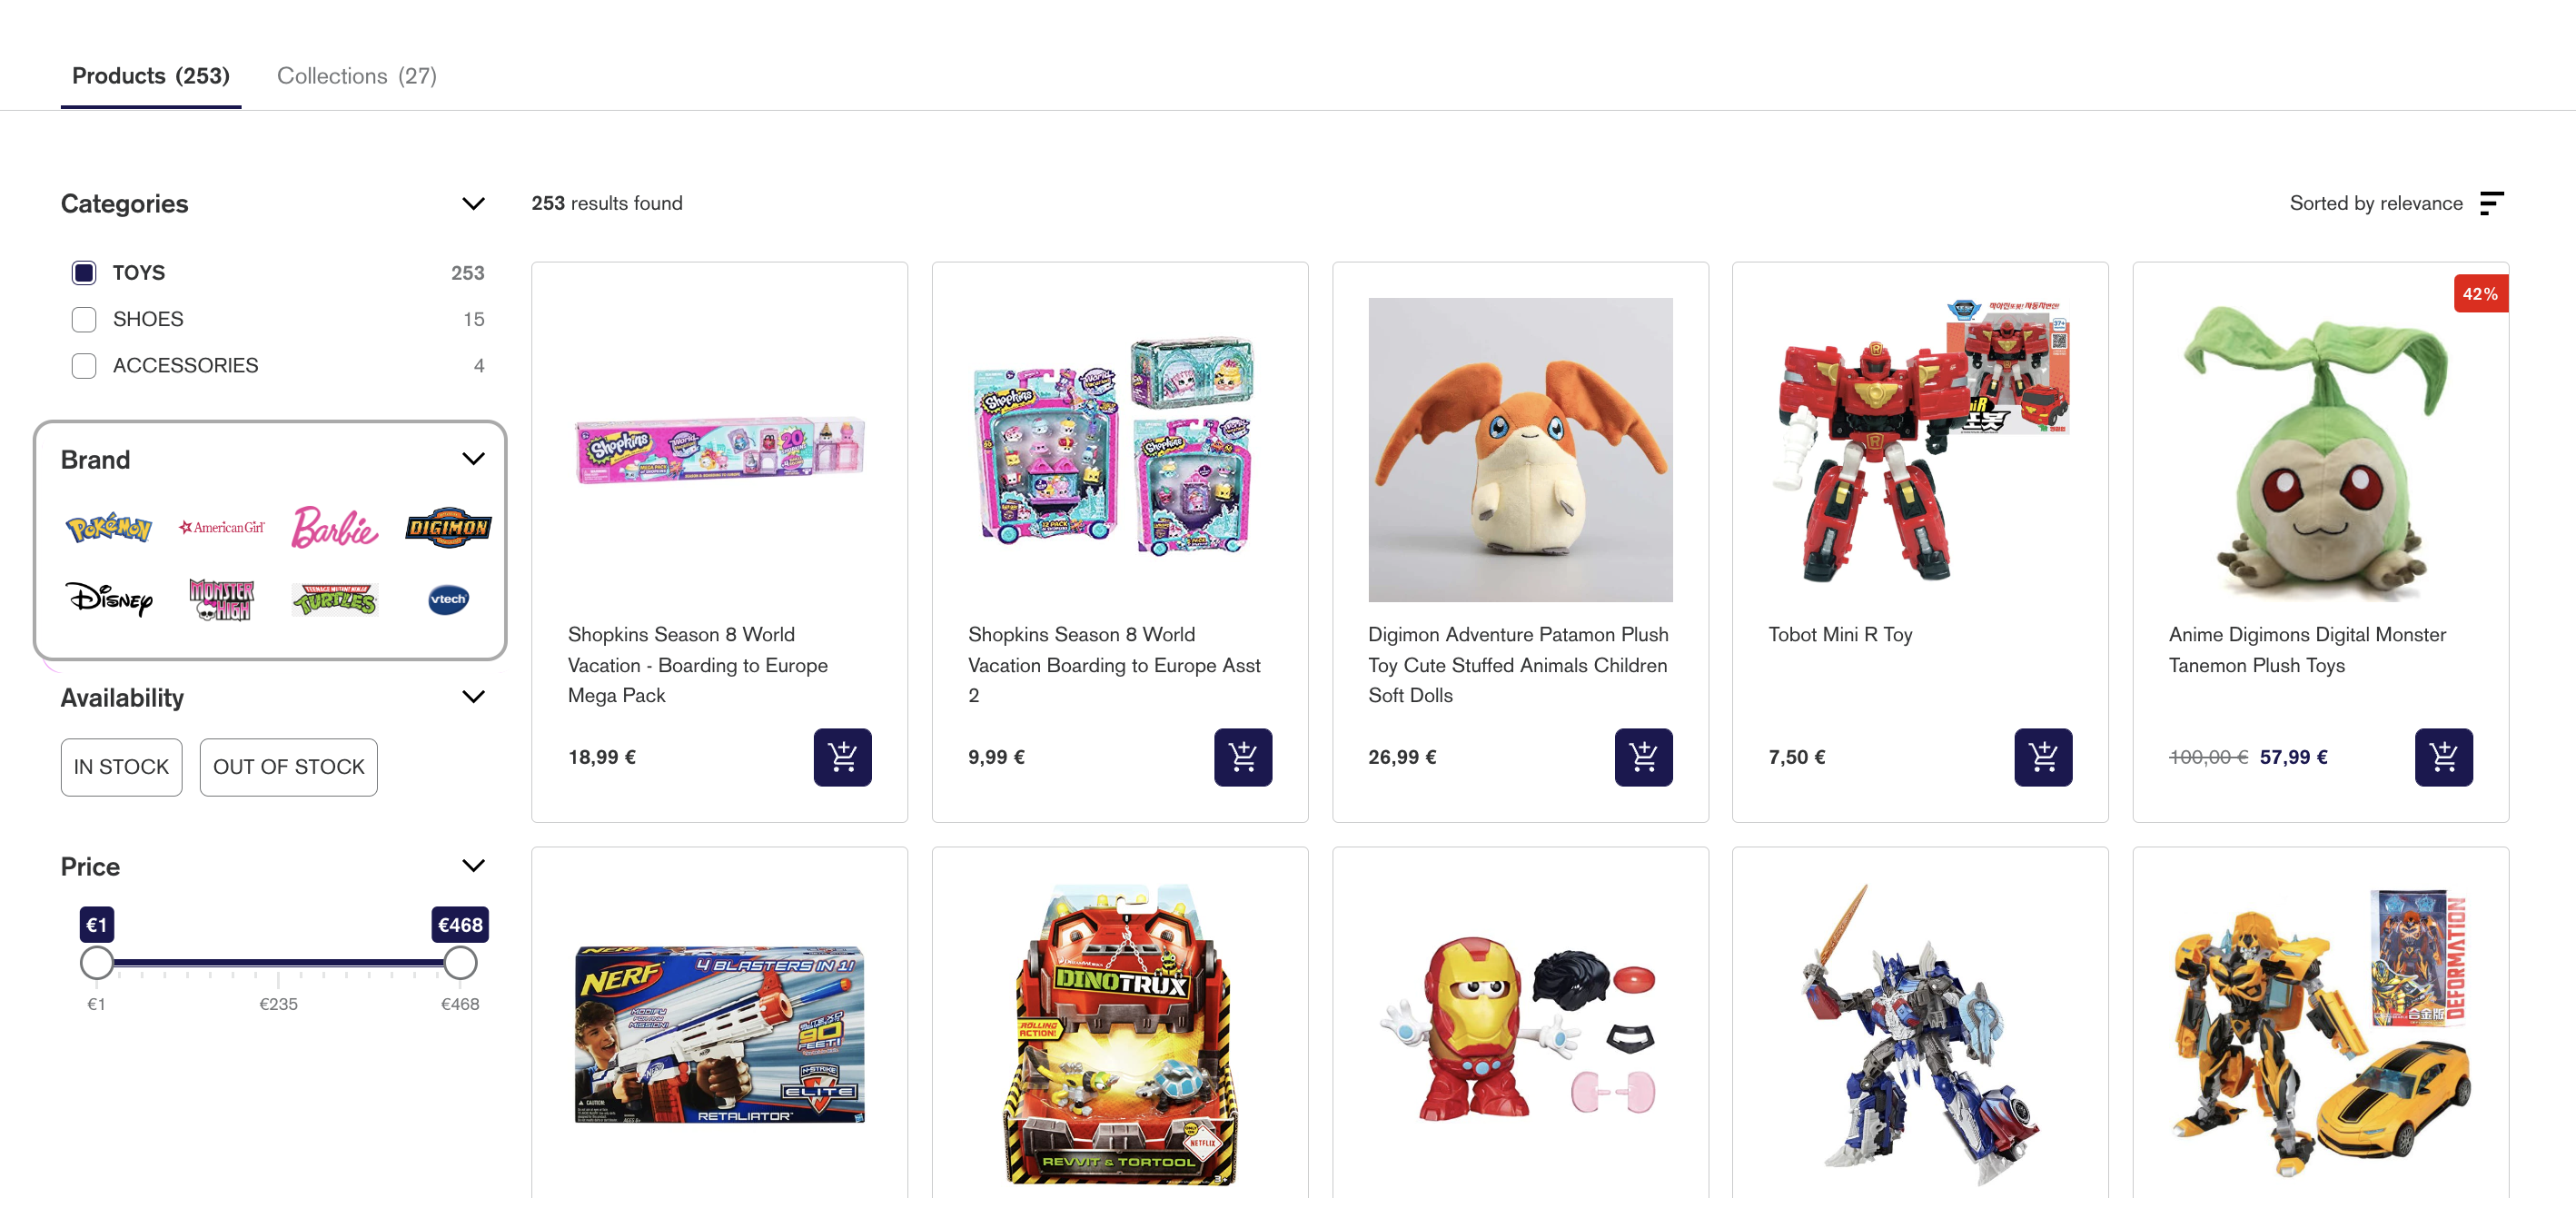
Create an Image Filter
You can use an image as a filter to make its appearance more appealing. Take a look at these brands example:
To select this option, when creating or editing the filter simply choose visual and image.
Then, you need to upload the images you wish to display in your Filter section.
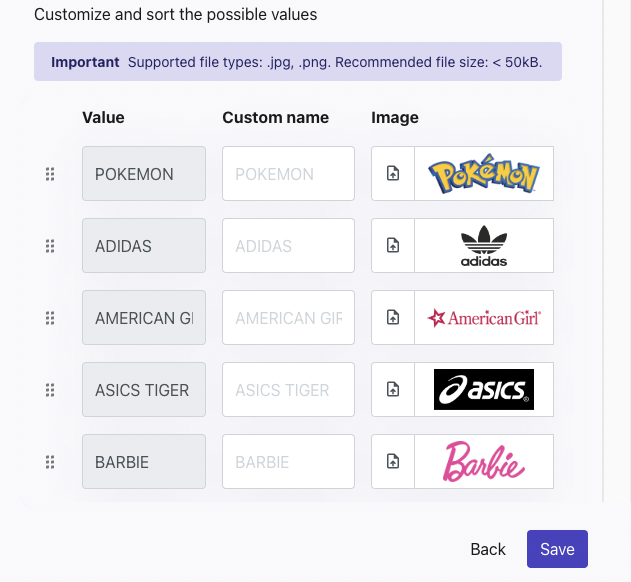
Supported file types are .jpg, .png. Recommended file size is less than 50kB.
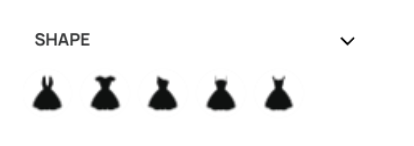
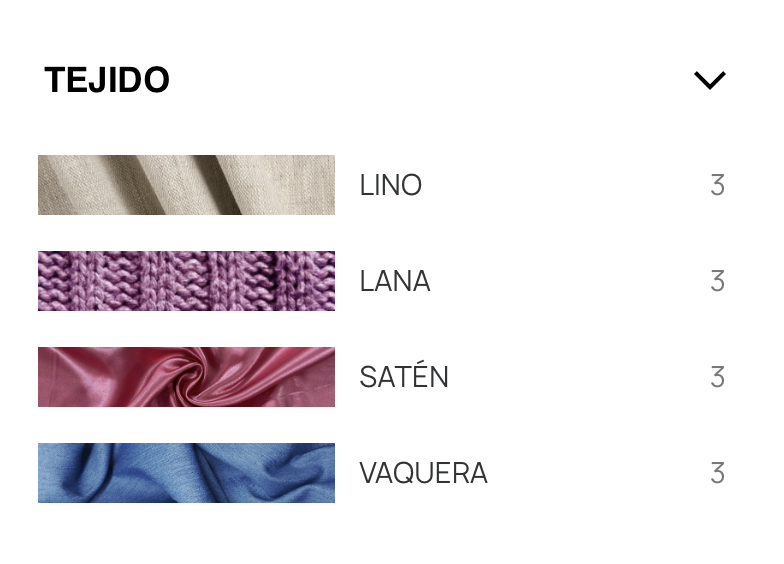
This type of appearance can not only be used with the Brand field. Take a look at these possibilities:
- Grid layout by dress shape:
- List layout by fabric type:
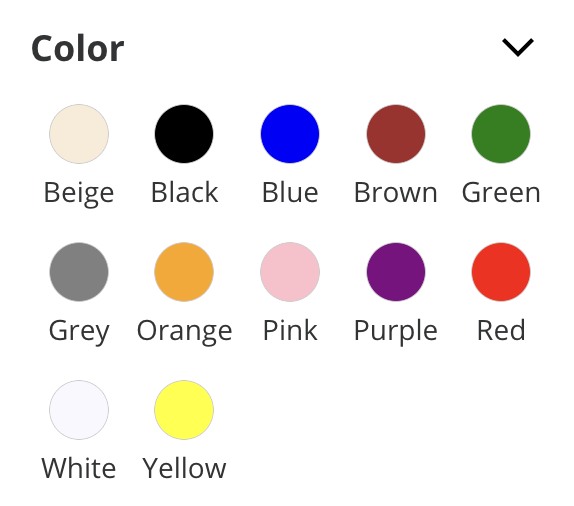
Create a Color Filter
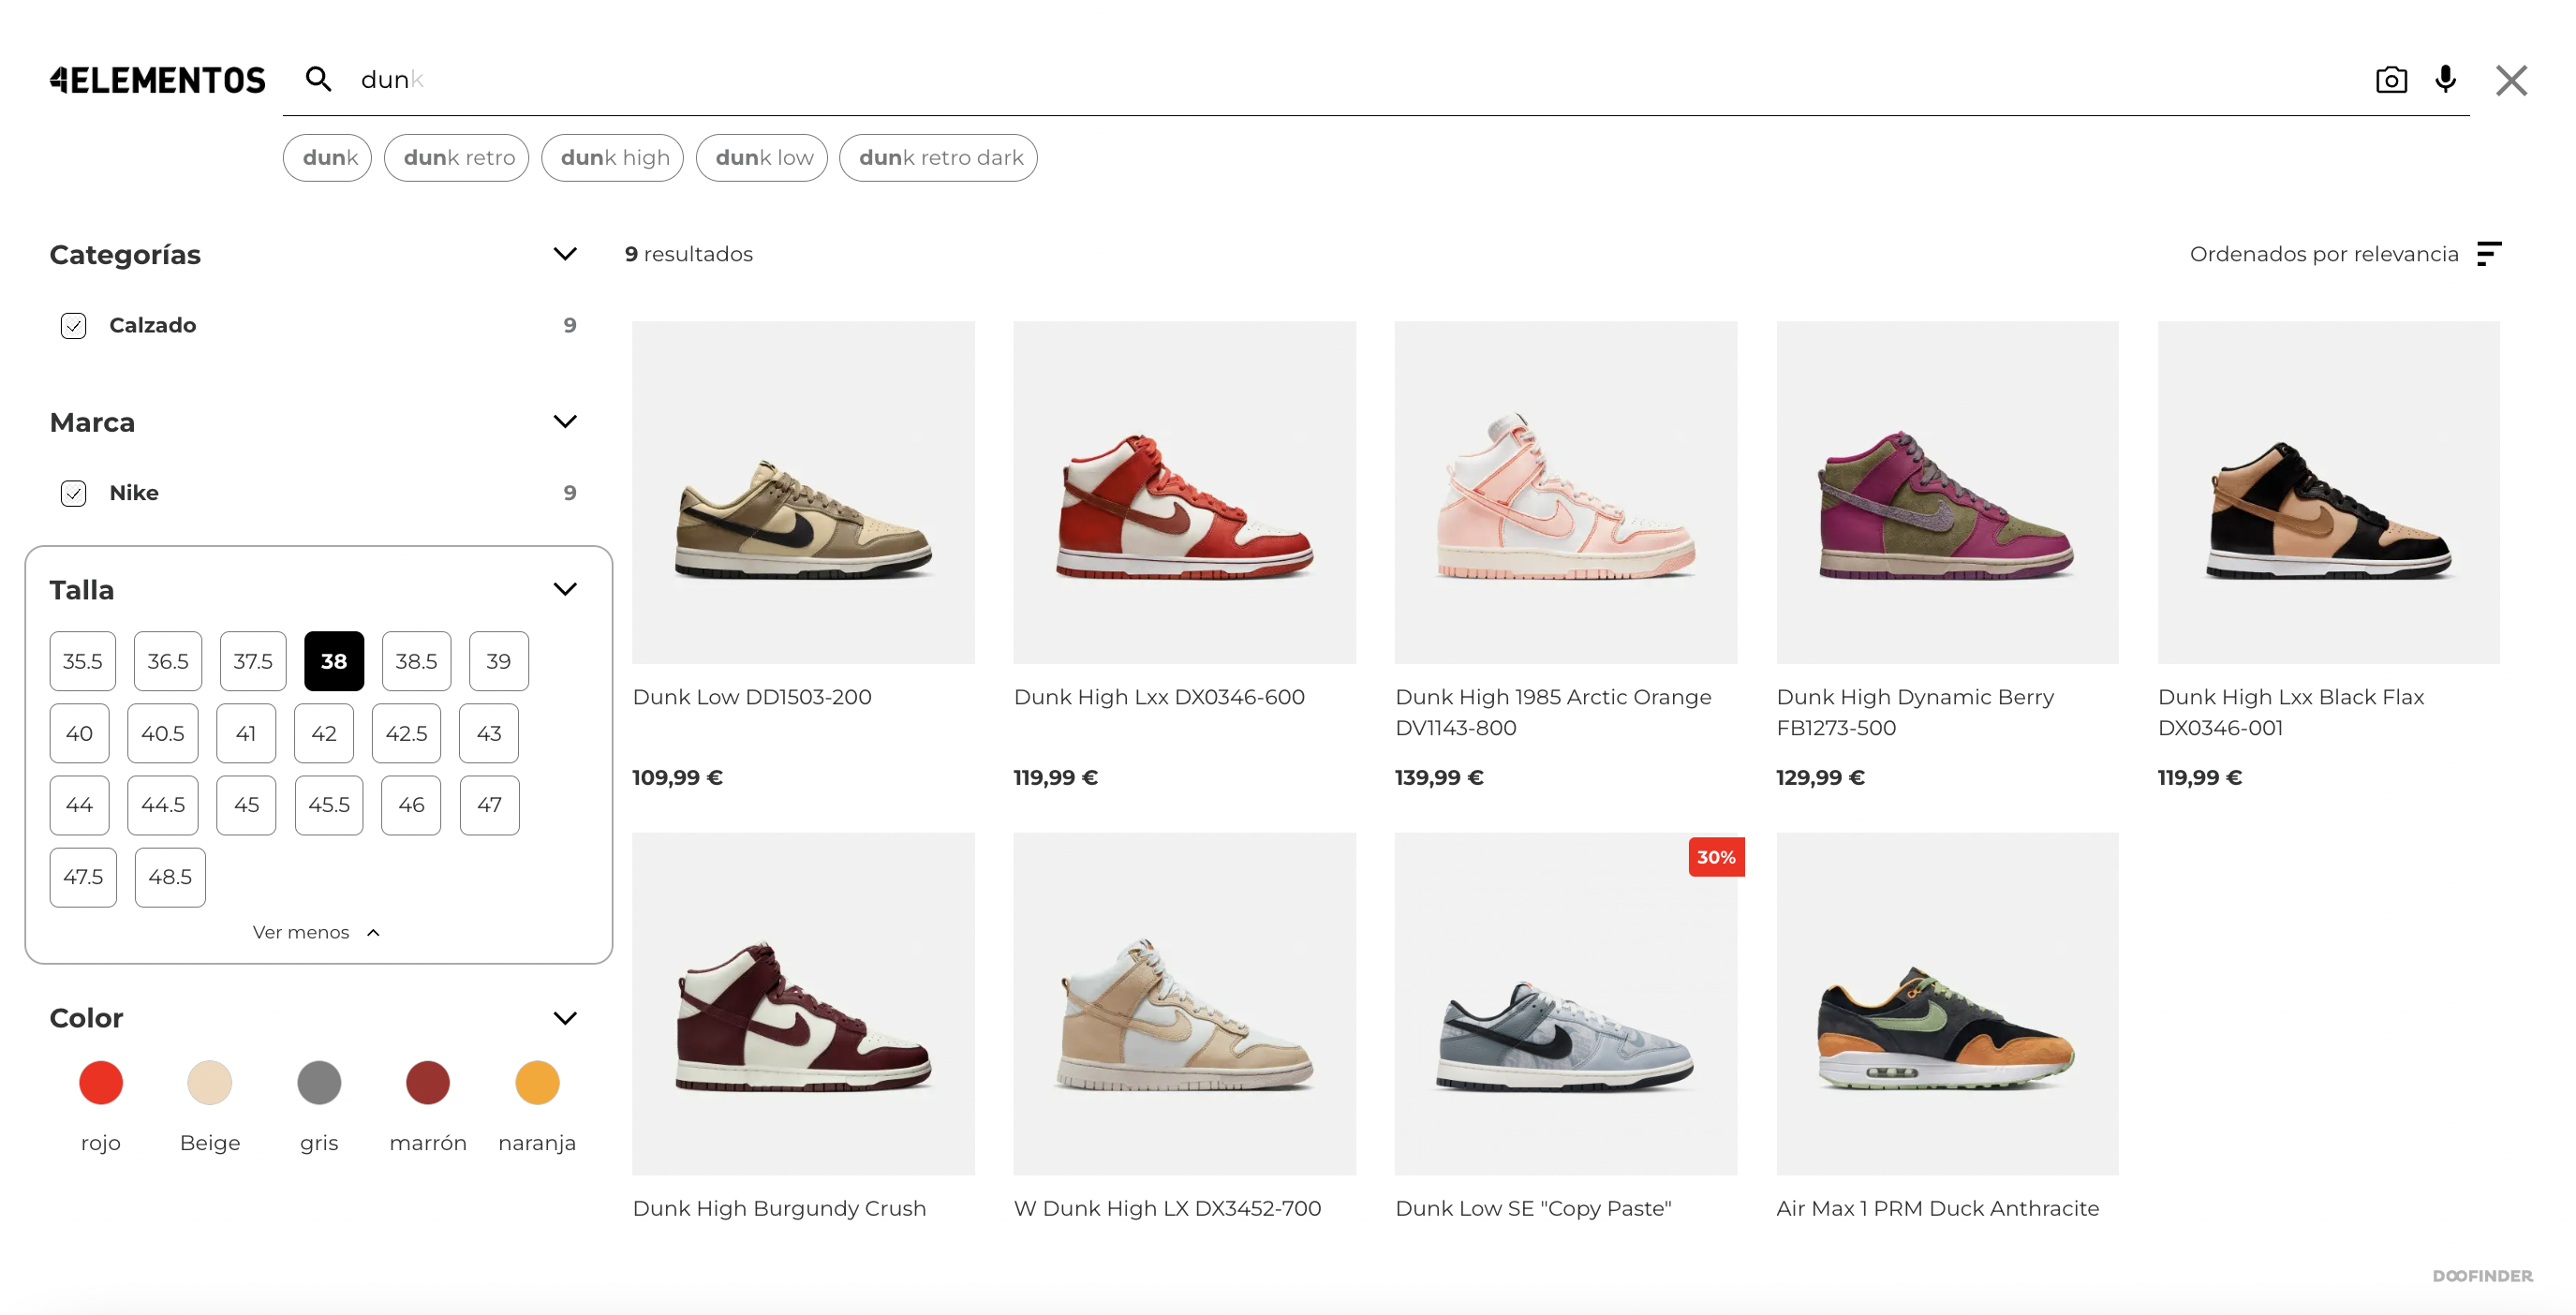
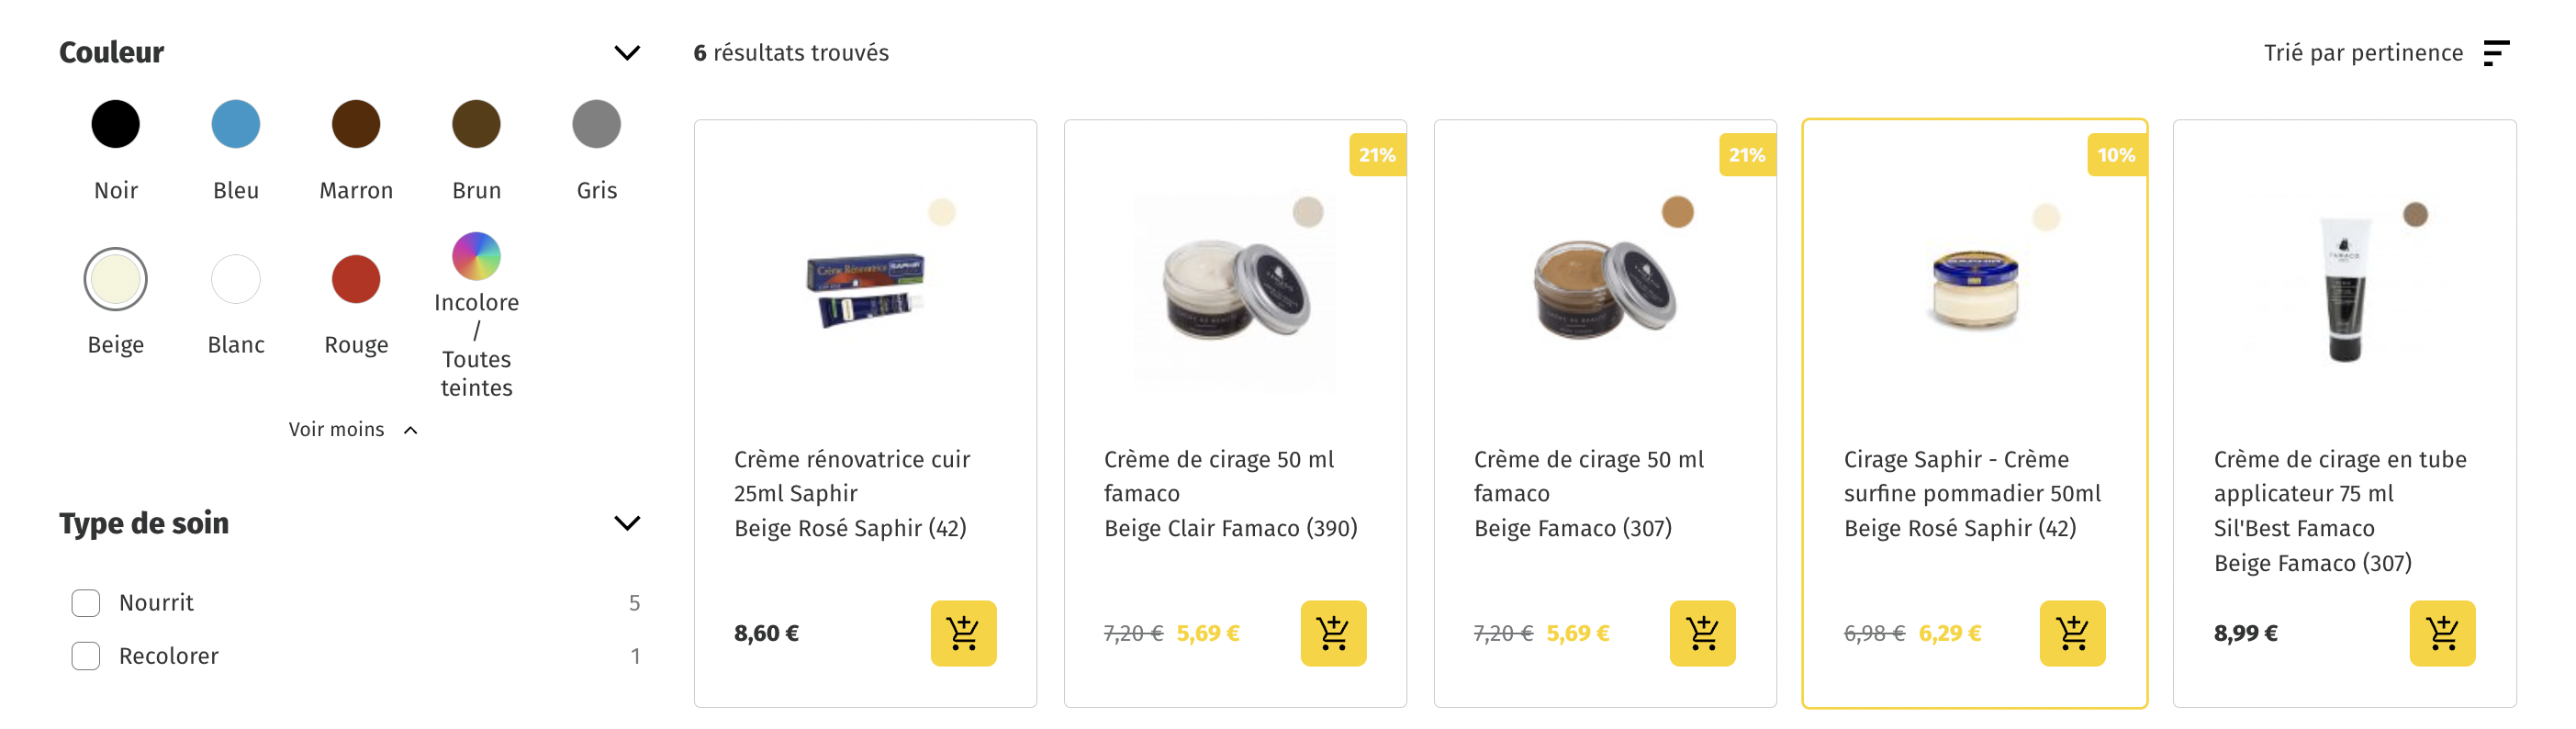
Another way to enhance the appearance of filters is to use colors instead of plain text. Take a look at this example:
To configure the Color filter, add the filter and choose color from the dropdown menu. Then complete the fields according to your needs. For example, type a filter custom name, let's say "Color". Then select the appearance, such as visual, and more options will be displayed for you to customize your filter.
Select between Type, Layout and Content.
-
Type: Color / Image
-
Layout: Grid / List
-
Content: With labels / Without labels
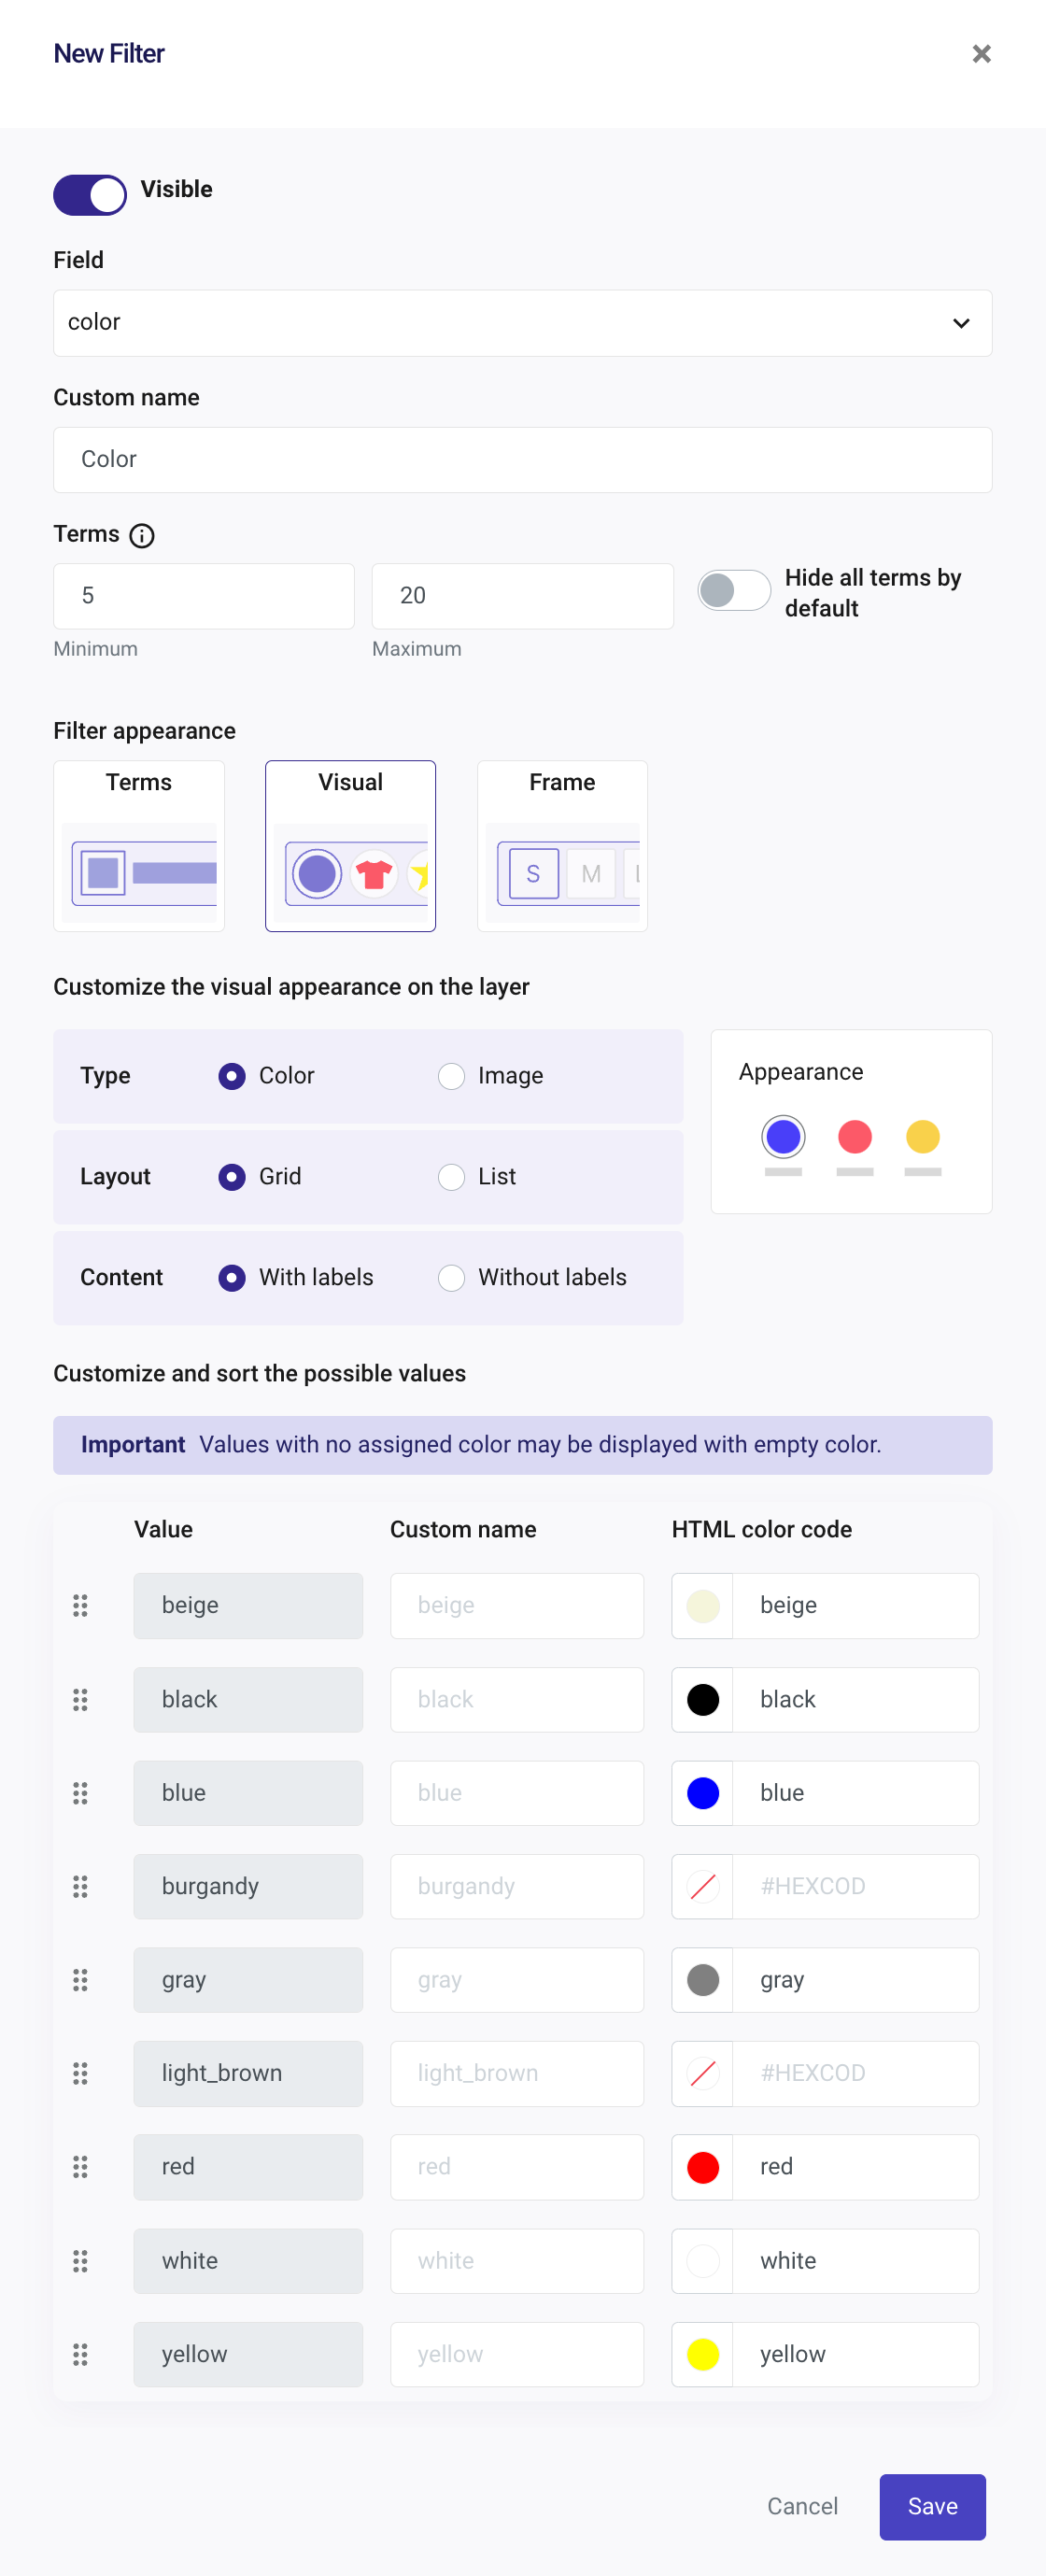
Each value within the selected field's feed can be assigned a custom name, allowing for text translation when the original feed is in English. Additionally, you can specify an HTML color code for each value. Certain common colors (e.g.: white, black, gray, blue, red) already have generic color assignments in place.
The "multicolor" value is displayed as the first option when the field is empty.
Group Filter by Color Code
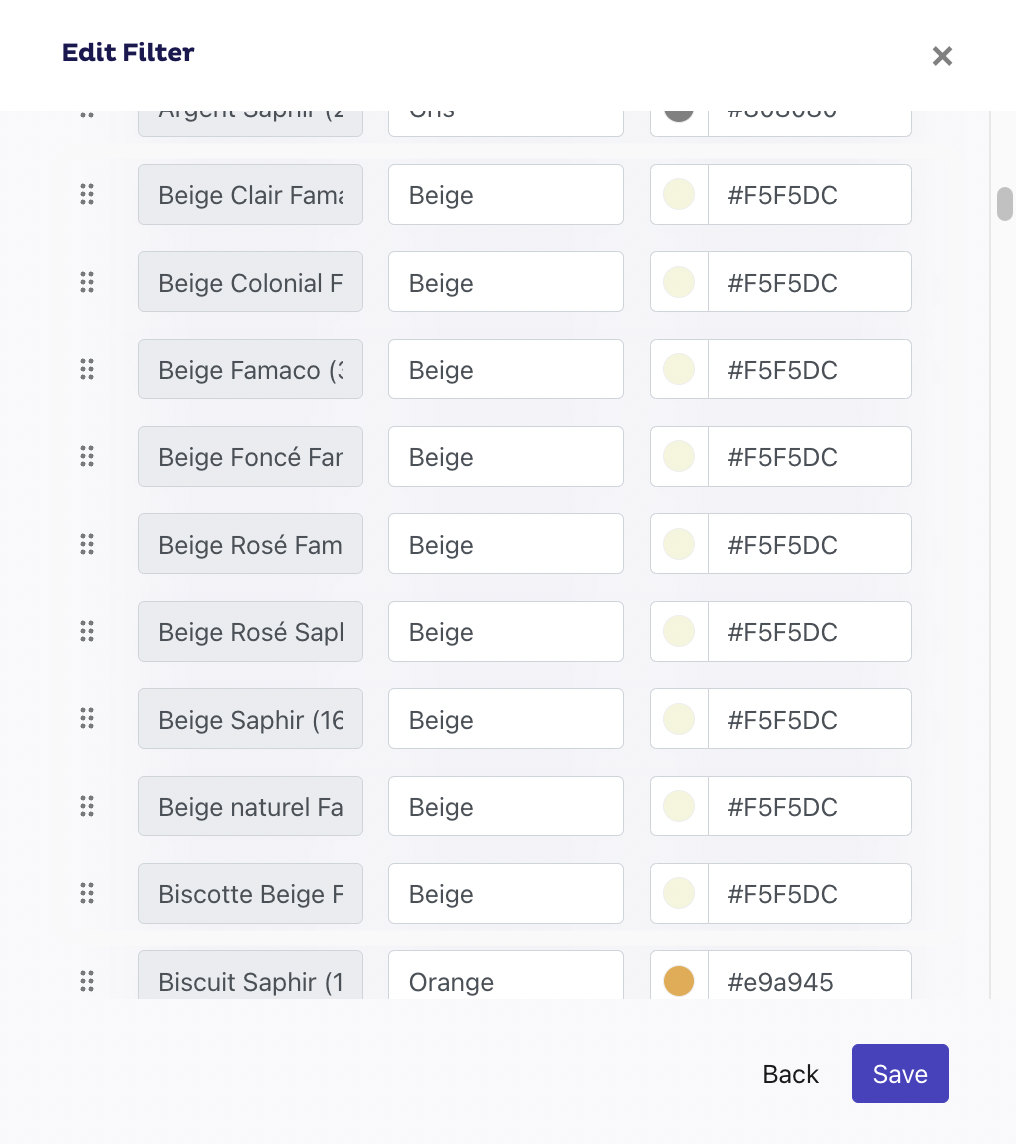
You can group values from the feed to show them under the same color in your filter. Let's say you have a product in a range of beige in your store, and you don't want your color filter to show "light beige, medium beige, dark beige, etc." You can group in your filter all those beige colors into one and still show the range in the results. Take a look at this example:
How to Group Colors
Go to Search Engines > Settings > Filters and click on Add Filter if you are creating it for the first time or click on the existing color filter to edit it.
- Enter the same HTML color code for the values you want to group.
- We recommend writing the same custom name for all terms grouped under the same color. Otherwise, the Layer will display the first of them. If no custom name exists, the Layer will show the default value of the feed.
- Remember to save the changes.
Best_price filtering field
In the data feed, you have the option to provide both a regular price and a sale price. However, when it comes to filtering the results, you typically want to filter by the final price, which could be either the regular price or the sale price. To facilitate this, Doofinder mandates consolidating the price information into a single field, which is why the 'best_price' field serves this purpose.