Doofinder can integrate with nopCommerce through its own developed module. Notice that the module is developed and maintained by nopCommerce.
1. Prerequisites
You will need:
- A nopCommerce store.
- A Doofinder account:
- If you don't have one, you can sign up here to get your 15-day free trial period.
- A product data feed URL (XML/CSV), or a Google Shopping file.
- If you prefer, instead of using a data feed, you can also take the API route. Please notice that we do not offer support in this case. Check here our API documentation.
2. Configure Doofinder in your nopCommerce admin
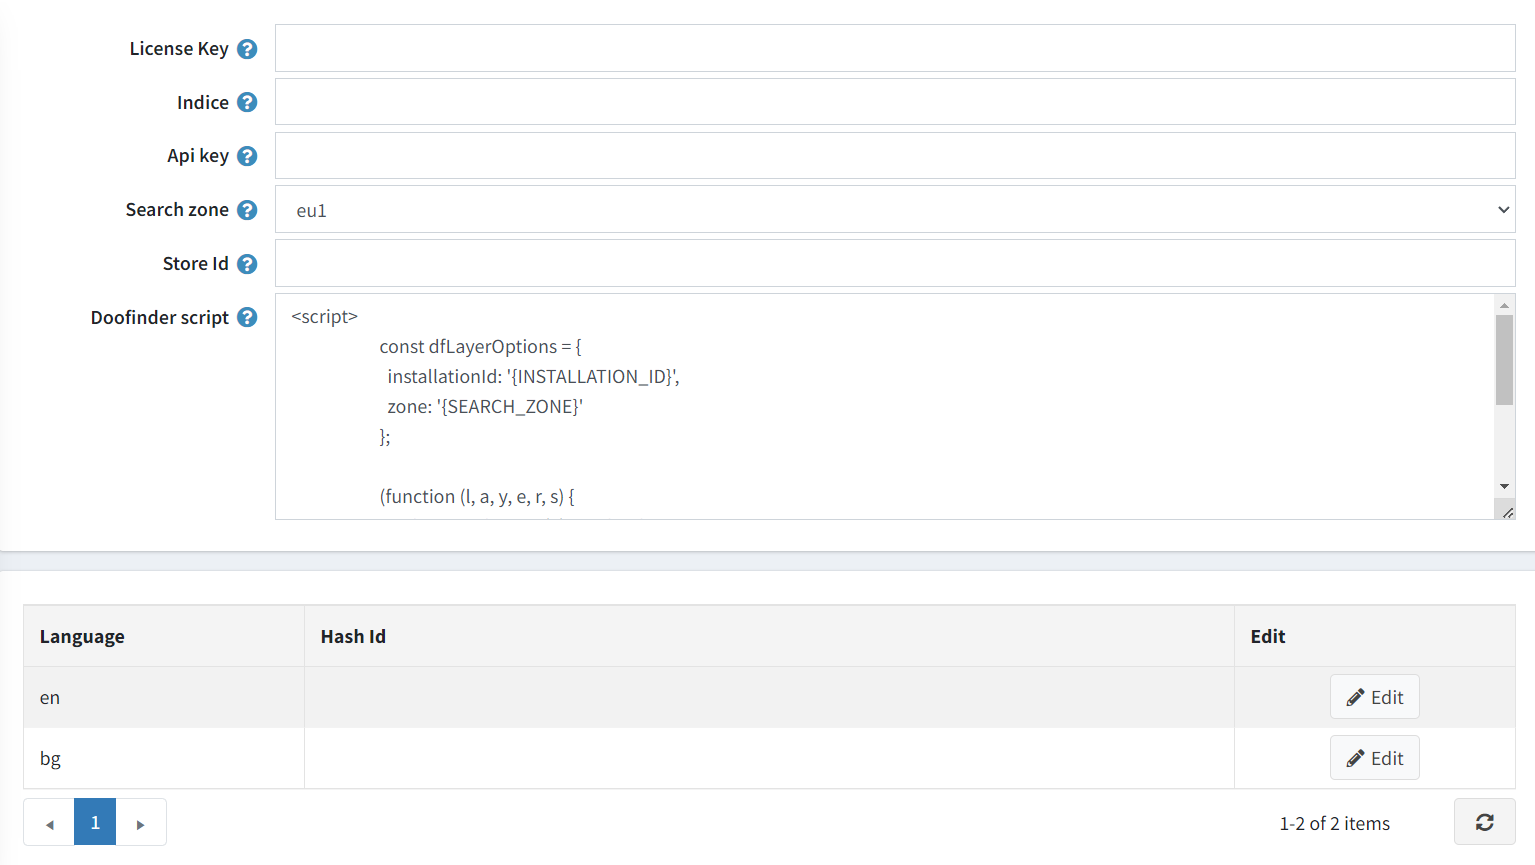
- License key: will be provided to you by nopCommerce after plugin purchase.
- API key: in Doofinder, find it under Account > API Keys.
- Search Zone: You can find it under Configuration > General settings > Installation script and right after
httpsyou will see the zone eu1 / us1 / ap1. See example:<script src="https://eu1-config.doofinder.com/2.x/YOUR-INSTALLATION-ID.js" async></script>. - Installation Id: on the same code above, where you see “YOUR-INSTALLATION-ID”, your ID will be.
3. Connect the data feed to Doofinder
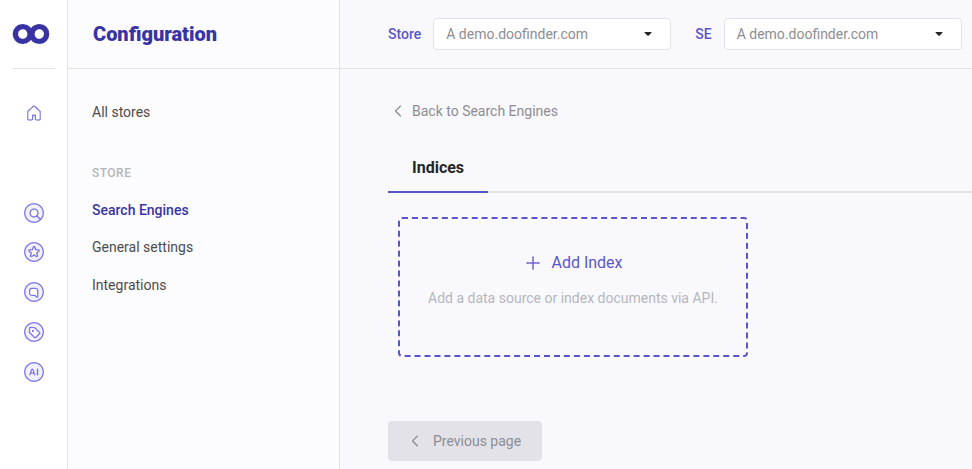
- In your Doofinder admin, place the data feed source: go to your Admin Panel > Configuration > Search Engine > See Indices.
- Create a new data source type: Google Shopping or a generic XML/CSV file.
- Add the feed URL to Indices.
4. Run the feed indexing
- Click on process now to run the data feed.
- Check that products are imported correctly from the Results Preview section.
- Verify basic fields: ID, name, URL, price, image, etc.
If everything looks good, schedule the automatic updates!
First Installation Resources
- Installing Doofinder.
- Create a Search Engine.
- nopCommerce documentation about Doofinder installation and How to install a plugin.